- 开发环境
- Node.js
- Vscode
- vscode安装Debugger for Chrome
- 创建开发目录(也是解决方案)
- 执行初始化命令,创建electronpicture工程,并添加main.js和index.html文件
npm init- 安装electron
npm install electron -dev - 如果安装失败,则可能需要将参数unsafe-perm设置为true
npm install electron --unsafe-perm=true- 如果网速较慢可以添加--verbose来显示下载速度
npm install --verbose electron- 如果最后一直装不上,可以直接下载Release进行开发
工程目录结构如下

- 添加测试页面
index页面
<!DOCTYPE html>
<html lang="en">
<head>
    <meta charset="UTF-8">
    <meta name="viewport" content="width=device-width, initial-scale=1.0">
    <meta http-equiv="X-UA-Compatible" content="ie=edge">
    <title>Document</title>
</head>
<body>
    <p>This is test pag!</p>
</body>
</html>
main.js页面
const { app, BrowserWindow, ipcMain } = require('electron');
//const edge = require('electron-edge-js');
const path = require('path');

let win;
function createWindow() {
    win = new BrowserWindow({
        width: 800,
        height: 400
    }),
        win.loadFile(path.join(__dirname, 'index.html'));
        //打开页面调试功能
    win.webContents.openDevTools();
}
app.on('ready', createWindow)- 配置启动调试
{
    // Use IntelliSense to learn about possible attributes.
    // Hover to view descriptions of existing attributes.
    // For more information, visit: https://go.microsoft.com/fwlink/?linkid=830387
    "version": "0.2.0",
    "compounds": [{
        "name": "Electron",
        "configurations": [
            "Electron Main",
            "Electron Renderer"
        ]
    }],
    "configurations": [
        {
            "type": "node",
            "request": "launch",
            "name": "Electron Main",
            "runtimeExecutable": "${workspaceRoot}/node_modules/.bin/electron",

            "args": [
                "${workspaceRoot}/main.js",
                "--remote-debugging-port=9333" //Set debugging port for renderer process
            ],
            "protocol": "inspector" //Specify to use v8 inspector protocol
        },
        {
            "type": "node",
            "request": "attach",
            "name": "Electron Renderer",
            "protocol": "inspector",
            "port": 9333
        },
        {
            "type": "node",
            "request": "launch",
            "name": "Launch Program",
            "program": "${workspaceFolder}\\main.js"
        }
    ]
}
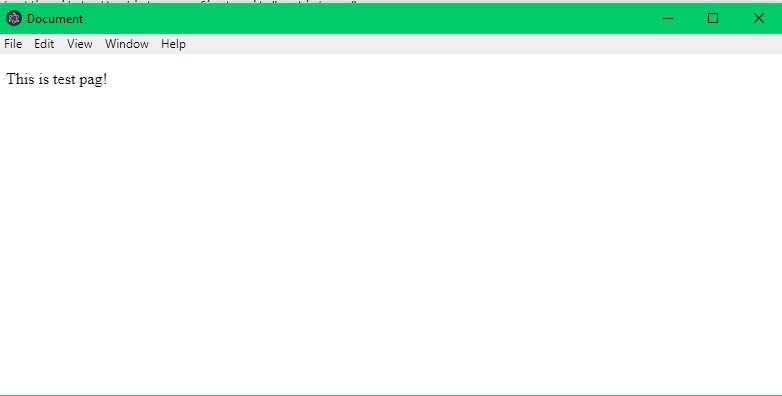
最终效果图

- 至此一个工程项目就搭建完成了,可以调试主进程和渲染进程,熟悉页面调试的也可以使用页面(chrome)的调试功能,开关见代码注释。