注意标题,后台War包上传Getshell!这种方法的利用上下文是你已经能够登录Tomcat的管理后台,注意是Tomcat的管理后台而不是Web应用程序的后台!本文章一切演示以vuln提供的漏洞环境为例
Tomcat后台
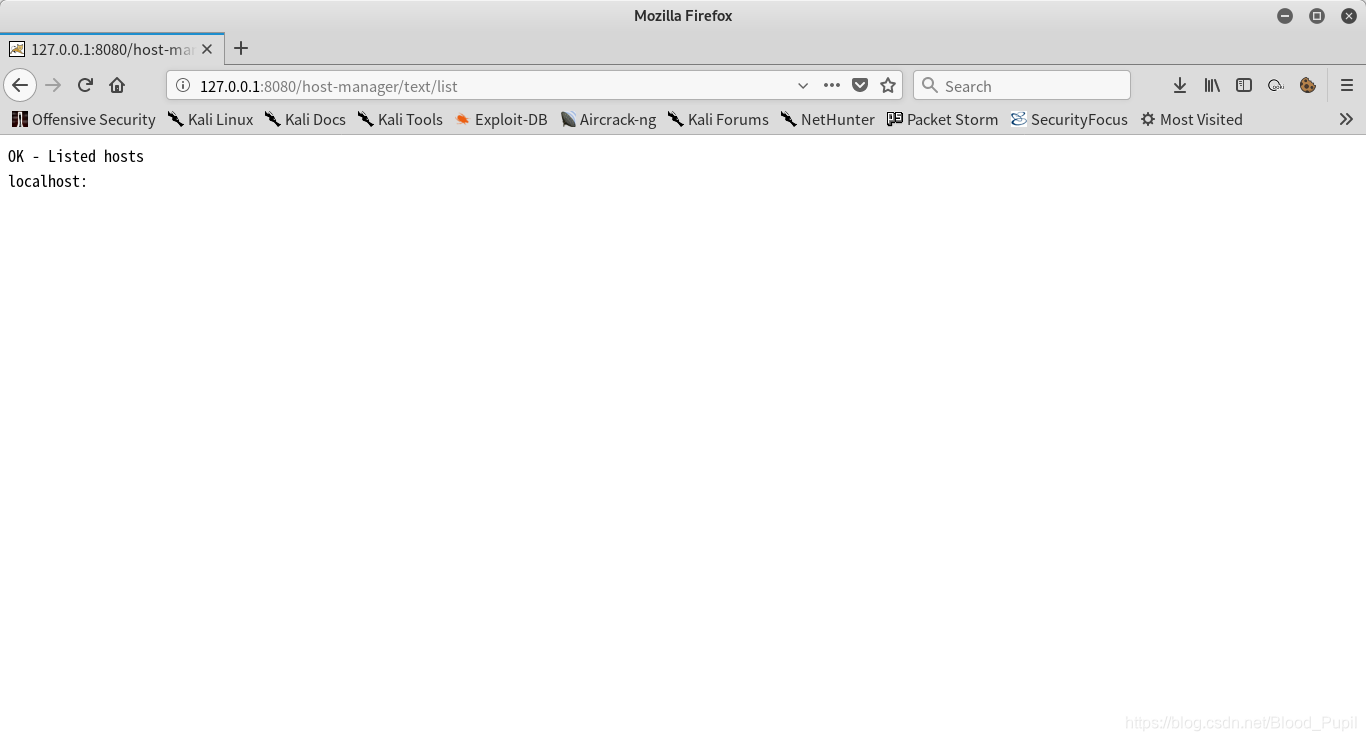
使用本文所描述的技能的前提是先进入Tomcat的管理后台,那么Tomcat管理后台的URI你知道吗?有哪些限制阻止你登录后台,你知道吗?正所谓知己知彼百战不殆,那不如我们首先了解下Tomcat后台相关设置吧!首先我们看一下Tomcat手册中给出的如下描述:
Tomcat
It would be quite unsafe to ship Tomcat with default settings that allowed anyone on the Internet to execute the Manager application on your server. Therefore, the Manager application is shipped with the requirement that anyone who attempts to use it must authenticate themselves, using a username and password that have one of manager-xxx roles associated with them (the role name depends on what functionality is required). Further, there is no username in the default users file ($CATALINA_BASE/conf/tomcat-users.xml) that is assigned to those roles. Therefore, access to the Manager application is completely disabled by default.
怎么,没看明白?英语太差?好吧用中国话说就是Tomcat默认情况下是不允许任何人登录管理后台的。这样做也是为了安全起见,我们都知道弱密码或者默认密码这个东西,当我们发现某个管理页面的时候第一反映就是拿弱密码或者默认密码登录试试并且通过这种方法也经常能够遇到惊喜: > !所以Tomcat为了解决这个问题直接就不设置默认密码与用户名。
那么问题来了,管理后台既然存在不可能不让用吧?!当然让用了,文档里也写的很清楚如果有使用管理后台的必要,需要使用者在用户配置文件中(tomcat-users.xml)手动设置用户名,密码并且根据其需要的功能设置用户角色,需要说明默认配置件中没有声明任何的用户角色。以本文所使用的漏洞环境的tomcat-users.xml内容如下:
<?xml version="1.0" encoding="UTF-8"?>
<tomcat-users xmlns="http://tomcat.apache.org/xml"
              xmlns:xsi="http://www.w3.org/2001/XMLSchema-instance"
              xsi:schemaLocation="http://tomcat.apache.org/xml tomcat-users.xsd"
              version="1.0">

    <role rolename="manager-gui"/>
    <role rolename="manager-script"/>
    <role rolename="manager-jmx"/>
    <role rolename="manager-status"/>
    <role rolename="admin-gui"/>
    <role rolename="admin-script"/>
    <user username="tomcat" password="tomcat" roles="manager-gui,manager-script,manager-jmx,manager-status,admin-gui,admin-script" />

</tomcat-users>
仔细观察上述文件中的角色就可以发现有几个是以manager为前缀有几个以admin为前缀。为什么会存在这种差异呢,这是因为Tomcat其实具有两个后台管理,一种是用于管理所部署Web应用,它对应的角色以manager开头;一个是用于管理虚拟主机,它对应的角色以admin开头。manger对应的四种角色作用分别为:
- manager-gui:允许用户登录图形化的Web应用管理及部署页面,页面地址为/manger/html
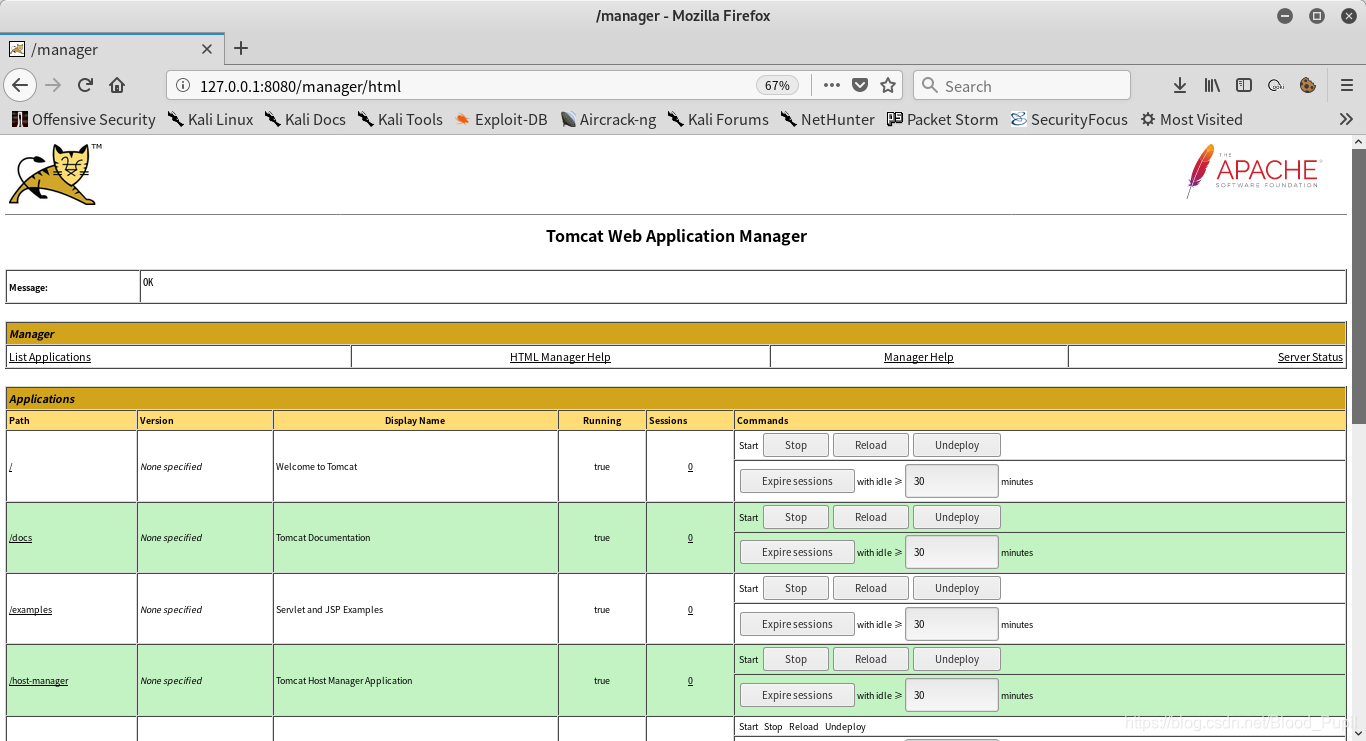
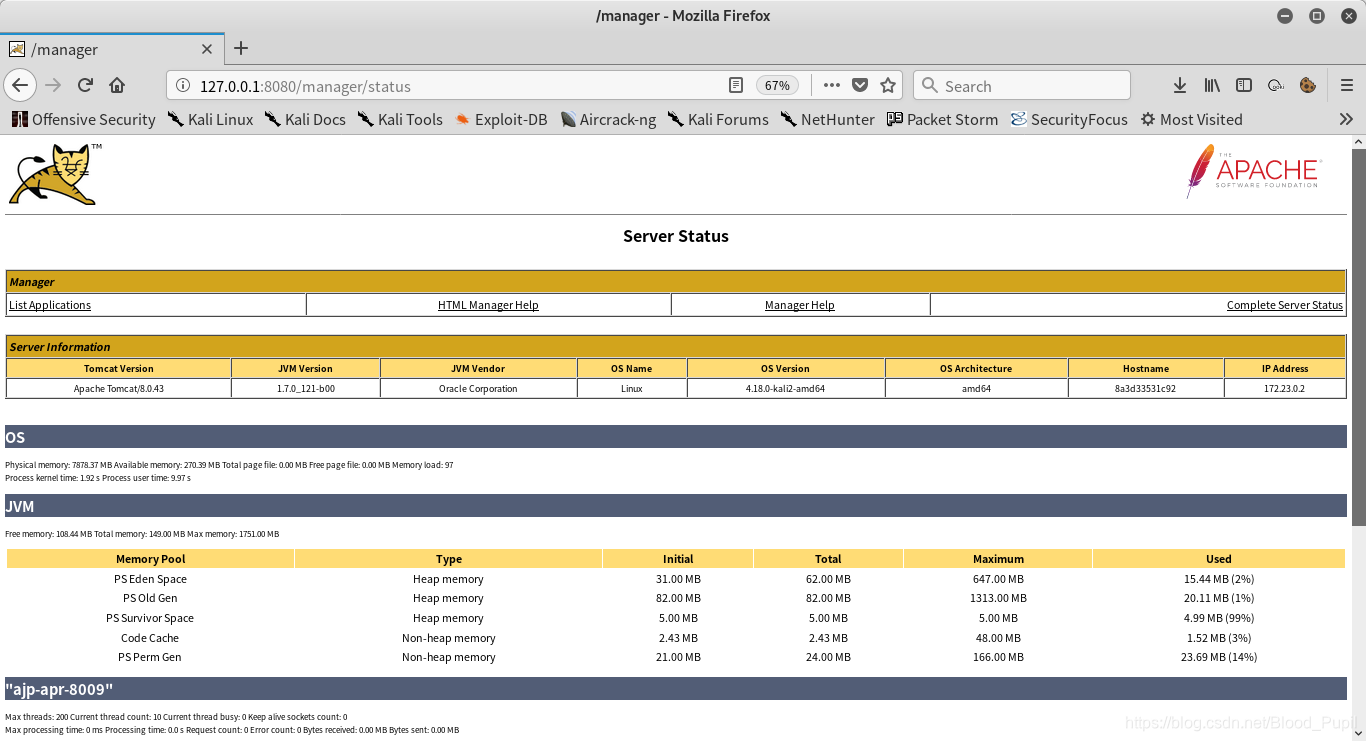
- manager-status:允许用户访问查看服务器状态的页面,页面地址为/manager/status
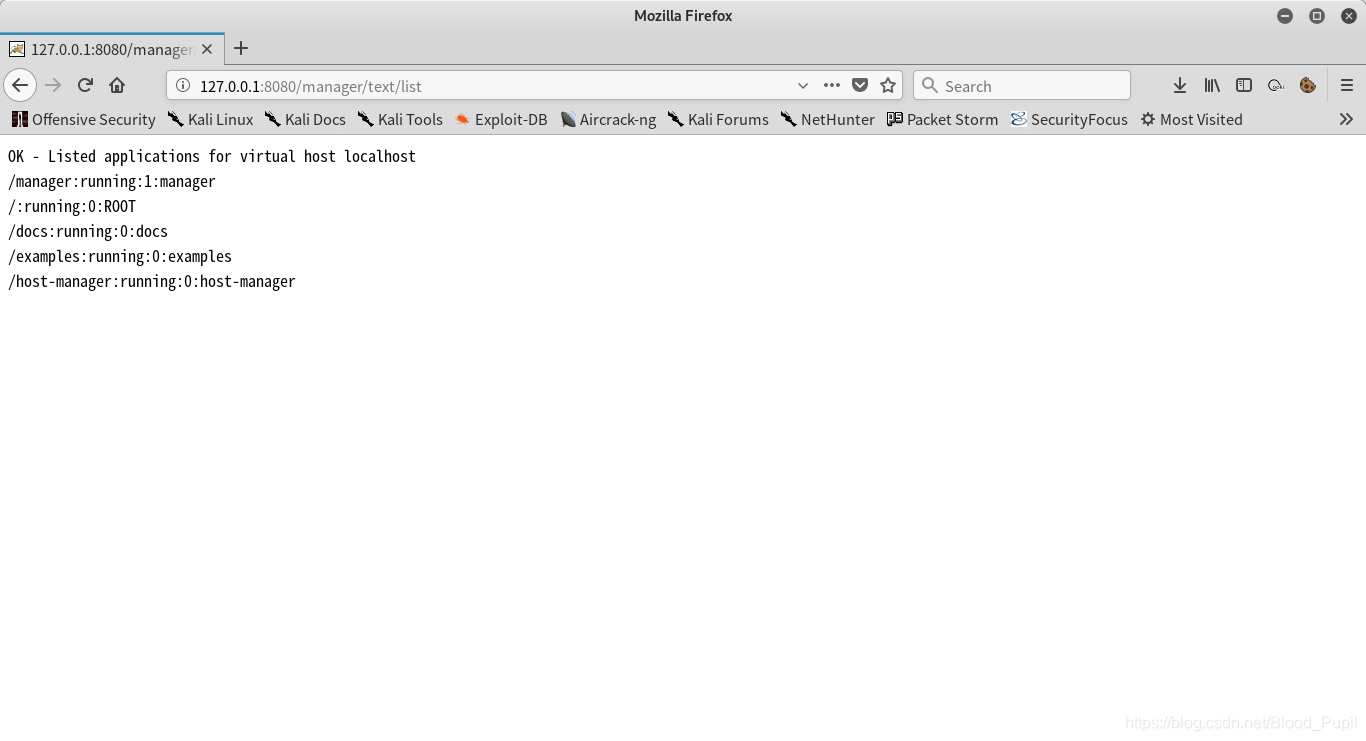
- manager-script:允许用户通过文本页面的形式执行管理命令,页面地址为/manager/text/命令?参数,具体命令可以参考此页面
- manager-jmx:允许用户通过JMX代理接口并访问“服务器状态”页面。(具体使用方式参考下面给出的几篇利用它搞破坏文章:>)
作为一个搞安全的人就需要有一双敏锐的眼睛:》,我在阅读文档是还看到下下面这句话:
The HTML interface is protected against CSRF (Cross-Site Request Forgery) attacks, but the text and JMX interfaces cannot be protected. It means that users who are allowed access to the text and JMX interfaces have to be cautious when accessing the Manager application with a web browser. To maintain the CSRF protection:
If you use web browser to access the Manager application using a user that has either manager-script or manager-jmx roles (for example for testing the plain text or JMX interfaces), you MUST close all windows of the browser afterwards to terminate the session. If you do not close the browser and visit other sites, you may become victim of a CSRF attack.
It is recommended to never grant the manager-script or manager-jmx roles to users that have the manager-gui role.
Note that JMX proxy interface is effectively low-level root-like administrative interface of Tomcat. One can do a lot, if he knows what commands to call. You should be cautious when enabling the manager-jmx role.
通过上面描述有没有发现什么惊喜?描述中提到在通过图形化界面访问Web应用管理及部署平台时会有CSRF保护机制,但是通过manager-script和manager-jmx这两种接口来管理后台时没有CSRF保护机制,这就说明其有可能遭受到CSRF攻击,并且最后一段还提到了manage-jmx这种管理接口权限非常高,这所名它在渗透测试过程中很有利用价值!那么在实战中真的可以使用吗?当然了具体攻击姿势请移步此文,英文的看不得话就看翻译的,以及这一篇吧。
接下来该介绍介绍虚拟主机管理了,以admin开头的两种角色为:
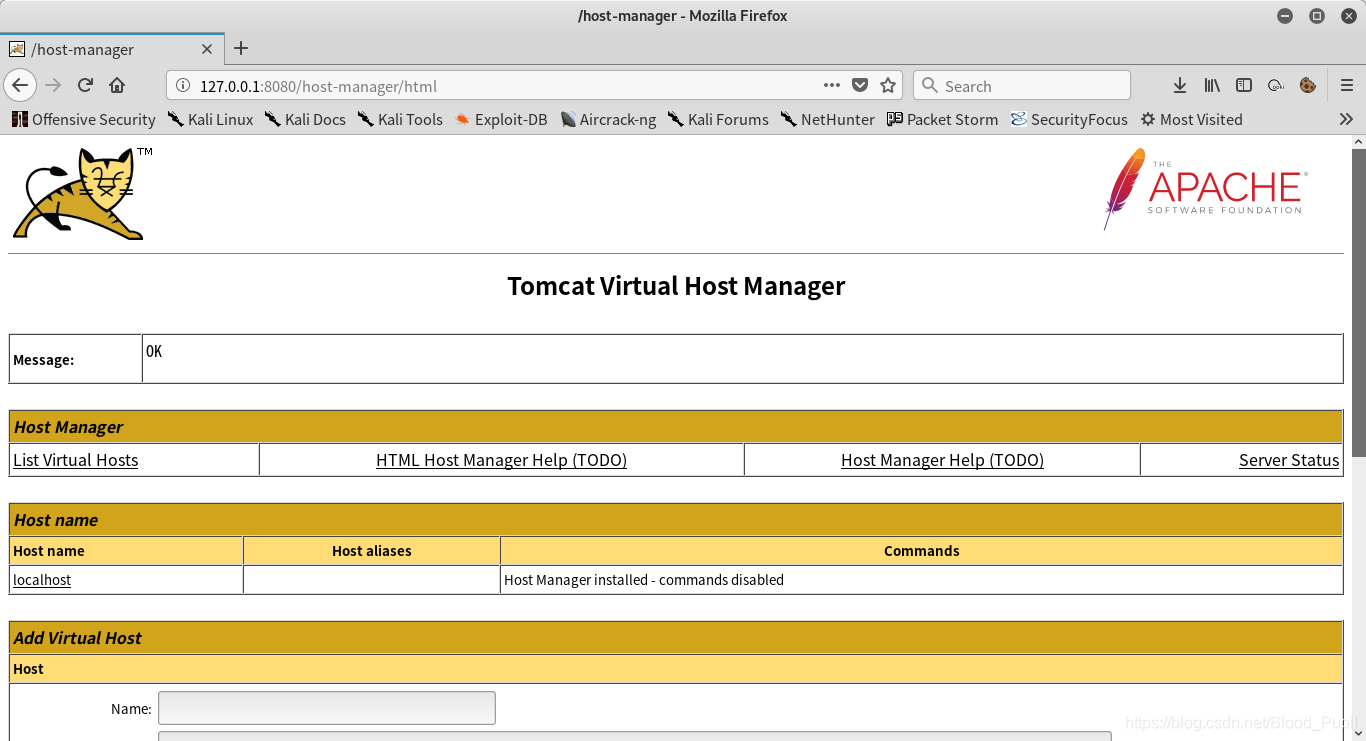
- admin-gui :对应用图形花管理界面,地址为/host-manager/html
- admin-script:允许用户通过文本页面的形式执行管理命令,页面地址为/manager/text/命令?参数,具体命令可以参考此处。
OK!后台部分内容到这里就介绍结束了!But,还需要有一点你需要知道,那就是通往后台的路没有那么简单,在复习下Tomcat的文档你会发现这句话:
In addition to the password restrictions, access to the Manager web application can be restricted by the remote IP address or host by adding a RemoteAddrValve or RemoteHostValve. See valves documentation for details. Here is an example of restricting access to the localhost by IP address:
扫描二维码关注公众号,回复: 5837386 查看本文章
<Context privileged="true">
         <Valve className="org.apache.catalina.valves.RemoteAddrValve"
                allow="127\.0\.0\.1"/>
</Context>
我去!真的是费劲!原来Tomcat还可以通过配置文件限制IP访问,具体配置文件位置如下所示,分别对应这Tomat Web应用管理与部署后台接入的控制以及虚拟主机管理的介入控制。不过实战中如果真的遇到这种情况CRSF,SSRF是不错的选择!
/usr/local/tomcat/webapps/manager/META-INF/context.xml
/usr/local/tomcat/webapps/host-manager/META-INF/context.xml
以vuln提供的漏洞环境为例,context.xml内容如下,表示允许所有IP访问:
<?xml version="1.0" encoding="UTF-8"?>
<Context antiResourceLocking="false" privileged="true" >
  <Valve className="org.apache.catalina.valves.RemoteAddrValve"
         allow="\d+\.\d+\.\d+\.\d+" />
</Context>
绕的有点远了,回到正题,我们还是看看War包上传Getshell吧,至于什么是War包这里就不详细解释了,你就把它理解为一种压缩包,这个压缩包里包含了你要上传的Web应用的所有资源(文件),你上传后Tomcat会自动将其解压部署为Web应用。
要部署War包首先要生成一个War包,这里我们使用CVE-2017-12615这篇文章中的代码为例,打包命令如下:
root@kali:~/evil# dir
evil.jsp
root@kali:~/evil# jar cvf evil.war .
已添加清单
正在添加: evil.jsp(输入 = 694) (输出 = 390)(压缩了 43%)
root@kali:~/evil# dir
evil.jsp  evil.war
root@kali:~/evil#
参数解释如下:
-c, --create               创建档案
-v, --verbose              在标准输出中生成详细输出
-f, --file=FILE            档案文件名。省略时, 基于操作
接下来进入后上传War包:
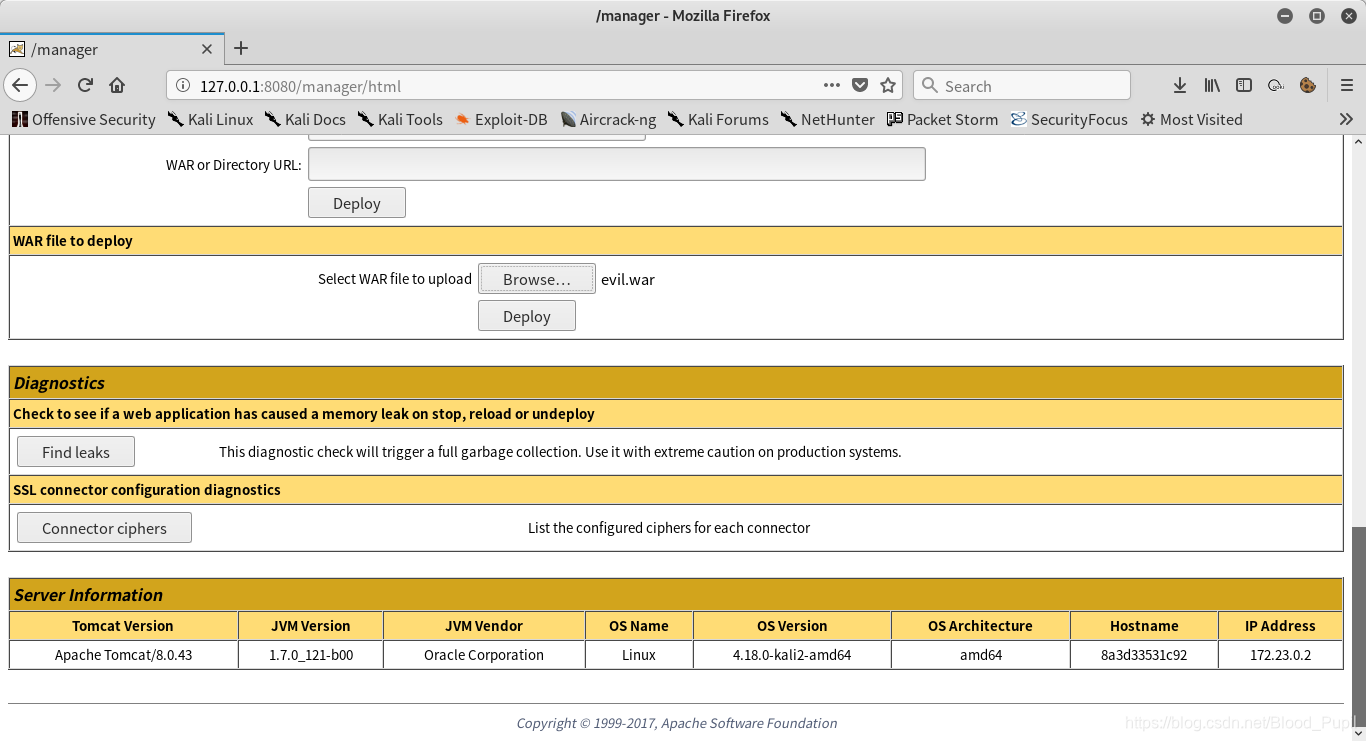
如果上传成功你会看到如下信息:

访问/evil/evil.jsp成功Getshell!

总结
读文档总是能够发现惊喜!