1. 配置摄像头并重启
sudo raspi-config
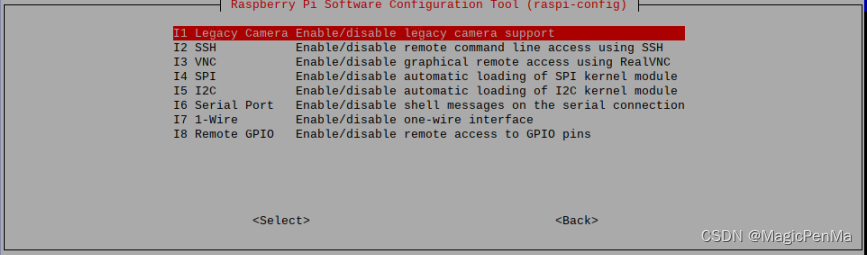
2. 应该出现两个=1。若无,首先测查是否使能摄像头。若使能,继续。(树莓派4B配置CSI摄像头(新版本libcamera)_libcamera cam -l_宏定义狂魔的博客-CSDN博客)
vcgencmd get_camera #检测摄像头3. 配置/boot/config.txt中的dtoverlay为你的摄像头型号
| Camera Module | In /boot/config.txt |
|---|---|
| V1 camera (OV5647) |
|
| V2 camera (IMX219) |
|
| HQ camera (IMX477) |
|
| GS camera (IMX296) |
|
| Camera Module 3 (IMX708) |
|
| IMX290 and IMX327 |
|
| IMX378 |
|
| OV9281 |
|
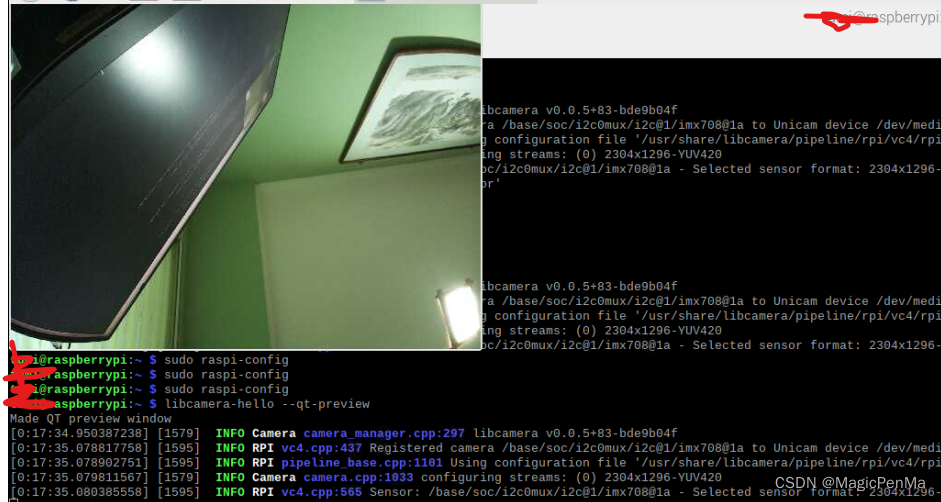
4. 试用(新树莓派已使用libcamera库)
libcamera-hello #摄像头helloworld
如果出现类似 failed to import fd 21 Aborted问题,尝试:
libcamera-hello --qt-preview效果如下:
5. 关于上述failed to import fd 21 Aborted和libcamera-still -o test.jpg出现failed to allocate capture buffers的问题解决:也许把config.txt中的如下2行uncomment重启就可以解决:
# Enable DRM VC4 V3D driver
dtoverlay=vc4-kms-v3d
max_framebuffers=2