every blog every motto: You can do more than you think.
https://blog.csdn.net/weixin_39190382?type=blog
0. 前言
图像直方图、直方图均衡化
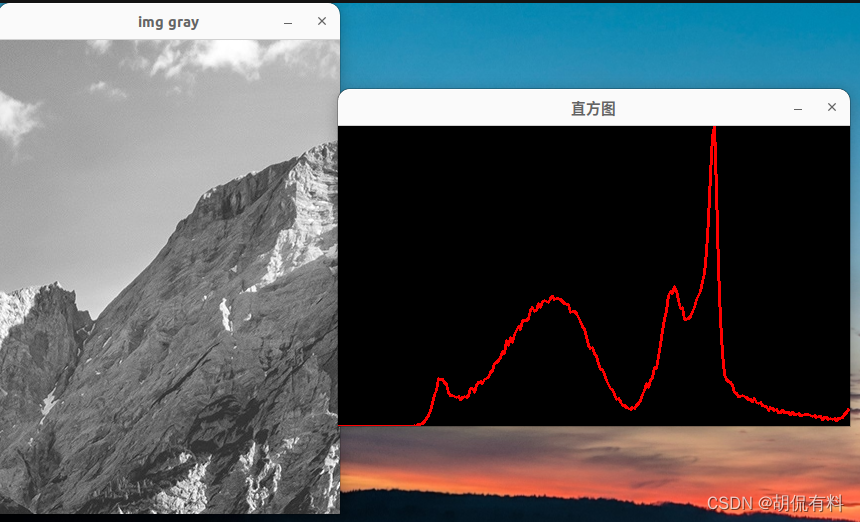
1. 图像直方图
#include <iostream>
#include <opencv2/opencv.hpp>

using namespace cv;
using namespace std;

int main(){


    Mat img, img_gray,hist;
    img = imread("/home/v/home.png");
    if (img.empty()){


        cout << "Could not open or find the image" << endl;
        return -1;
    }

    cvtColor(img, img_gray, COLOR_BGR2GRAY);
    imshow("img gray",img_gray);

    // 获取图像直方图
    int histSize = 256;
    float range[] = {

     0, 256 };
    const float* histRange = {

     range };
    calcHist(&img_gray, 1, 0, Mat(), hist, 1, &histSize, &histRange, true, false);

    // 创建直方图
    int hist_h = 300;
    int hist_w = 512;
    int bin_w = hist_w / histSize; // 直方图的等级
    Mat hist_img(hist_h, hist_w, CV_8UC3, Scalar(0, 0, 0));

    // 绘制并显示直方图
    normalize(hist, hist, 0, hist_h, NORM_MINMAX, -1, Mat()); // 归一化直方图
    for (int i=1;i<histSize;i++){


        line(hist_img, Point(bin_w*(i-1), hist_h - cvRound(hist.at<float>(i-1))),
             Point(bin_w*(i), hist_h - cvRound(hist.at<float>(i))),
             Scalar(0, 0, 255), 2, 8, 0);
    }

    imshow("直方图",hist_img);
    waitKey(0);
    return 0;
}
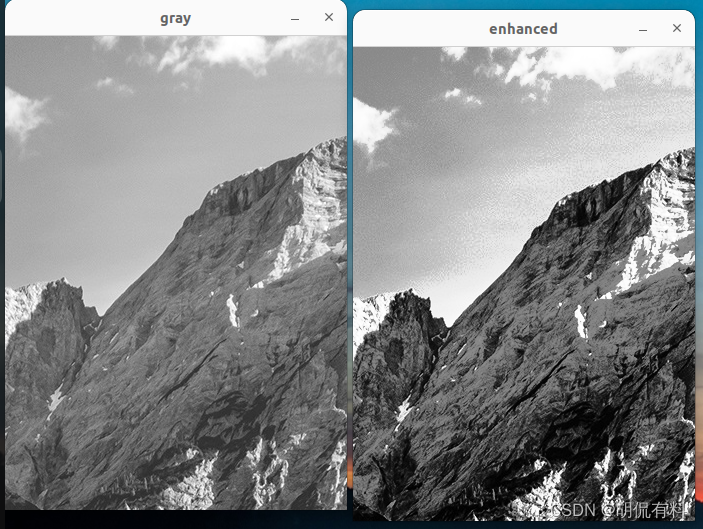
2. 直方图均衡化
#include<iostream>
#include<opencv2/opencv.hpp>

using namespace cv;
using namespace std;

int main(){


    Mat img,img_gray,img_enhanced;
    img = imread("/home/v/home.png");

    if (img.empty()){


        cout<<"Error"<<endl;
        return -1;
    }

    cvtColor(img,img_gray,COLOR_BGR2GRAY);
    imshow("gray",img_gray);

    equalizeHist(img_gray,img_enhanced); // 直方图均衡化
    imshow("enhanced",img_enhanced);

    waitKey(0);
    return 0;
}