Netty的各种简介,整体架构就不介绍了,如果大家感觉的确需要,给我留言我再追加。
这里再推广一个自己做得netty+spring的集成方案,优化netty配置启动,并提供基础服务器搭建的配置+极少代码的实现方案。
http://download.csdn.net/detail/jackieliyido/9497093
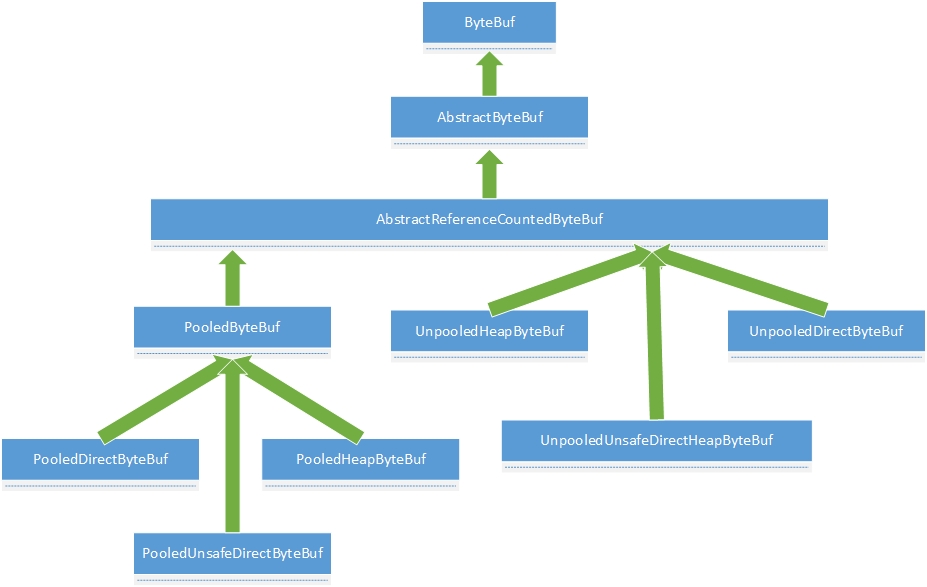
回归正事:咱们直接从从Netty的核心类ByteBuf开始看起。先看抽象类定义,后面的方法我们具体看核心实现AbstractByteBuf
先看ByteBuf源码。
@SuppressWarnings("ClassMayBeInterface")
public abstract class ByteBuf implements ReferenceCounted, Comparable<ByteBuf>
先告诉编译器忽略ClassMayBeInterface警告。
然后看到ByteBuf类本身实现了一个netty的引用计数器,以及compareble接口。为什么要写这里,因为看类名的时候第一反应是这个类继承自ByteBuffer.
然后再看注释,注释很重要,作为netty初学者是最重要的guide line。
 * <h3>Creation of a buffer</h3>
 *
 * It is recommended to create a new buffer using the helper methods in
 * {@link Unpooled} rather than calling an individual implementation's
 * constructor.
推荐使用helper 的方法去创建一块新的buffer,不推荐使用实现类自己的构造器。
下一段:
 * <h3>Random Access Indexing</h3>
 *
 * Just like an ordinary primitive byte array, {@link ByteBuf} uses
 * <a href="http://en.wikipedia.org/wiki/Zero-based_numbering">zero-based indexing</a>.
 * It means the index of the first byte is always {@code 0} and the index of the last byte is
 * always {@link #capacity() capacity - 1}.  For example, to iterate all bytes of a buffer, you
 * can do the following, regardless of its internal implementation:
 *
 * <pre>
 * {@link ByteBuf} buffer = ...;
 * for (int i = 0; i < buffer.capacity(); i ++) {
 *     byte b = buffer.getByte(i);
 *     System.out.println((char) b);
 * }
 * </pre>
这一段比较水,其实说的bytebuf是遵循以0为第一位的计数方式。第一眼看到zero-based indexing 没反应过来,后来一看就是说从0开始计数。嗯,作者很负责,同时学了一个装逼的词 zero-based indexing...
同时咱不漏过上面的一句话,buffer.capacity(),这个方法是获取buffer的容量。buffer.getByte(i),获取指定位置的字节数据
重头戏开始来来了 ,来看下面一段:
* <h3>Sequential Access Indexing</h3>
 *
 * {@link ByteBuf} provides two pointer variables to support sequential
 * read and write operations - {@link #readerIndex() readerIndex} for a read
 * operation and {@link #writerIndex() writerIndex} for a write operation
 * respectively.  The following diagram shows how a buffer is segmented into
 * three areas by the two pointers:
 *
 * <pre>
 *      +-------------------+------------------+------------------+
 *      | discardable bytes |  readable bytes  |  writable bytes  |
 *      |                   |     (CONTENT)    |                  |
 *      +-------------------+------------------+------------------+
 *      |                   |                  |                  |
 *      0      <=      readerIndex   <=   writerIndex    <=    capacity
* </pre>看图上第一段,是被丢弃的字节,这个和我们的电脑磁盘操作一样,删除文件时只是将文件的描述指针从当前位置挪开(好吧,其实我也不知道叫啥指针甚至于是不是指针 ),将这块区域置为新空间标识,嗯,大概就是这么个意思
 。
。
第一段下面有个readerIndex,也就是在0到readIndex之间都是被丢弃的字节(已读完)。readerIndex 到writerIndex之间为可读内容,writeable到容量之间的区域为可写区域。
这里容易误解的地方在于,什么是write,read.这里的读写不是指我们写数据发出去,读数据进来两个动作同时发生,而是指单个业务行为比如读数据进来的时候实际发生的底层动作。有点绕,写的好像有点多余。
通过几个图应该就可以看出来了(这部分参考的《netty权威指南》):
初始化ByteBuf的时候:
 *      +---------------------------------------------------------+
 *      |                    writable bytes                       |
 *      |                                                         |
 *      +---------------------------------------------------------+
 *      |                                                         |
 *      0 =readerIndex =writerIndex                           capacity
写入N个字节后的ByteBuf:
 *      +--------------------------------------+------------------+
 *      |                readable bytes        |  writable bytes  |
<pre name="code" class="java"> *      |                                      |                  |
读取M(M<N)个字节以后:
 *      +-------------------+------------------+------------------+
 *      | discardable bytes |  readable bytes  |  writable bytes  |
 *      |                   |                  |                  |
 *      +-------------------+------------------+------------------+
 *      |                   |                  |                  |
 *      0            M=readerIndex      N=writerIndex          capacity
调用discardReadBytes操作后的ByteBuf:
 *      +-------------------+-------------------------------------+
 *      | readable bytes    |           writable bytes            |
 *      |                   |                                     |
 *      +-------------------+-------------------------------------+
 *      |                   |                                     |
 *      0=readerIndex      N-M=writerIndex                    capacity
调用clear方法后:
 *      +---------------------------------------------------------+
 *      |                    writable bytes                       |
 *      |                                                         |
 *      +---------------------------------------------------------+
 *      |                                                         |
 *      0 =readerIndex =writerIndex                           capacity
认真看完以上几个图后,可以知道readerIndex和writerIndex的工作方式了。
继续回到注释上,我们掠过代码中关于两个指针的描述后,来到如下内容:
 * <h3>Search operations</h3>
 *
 * For simple single-byte searches, use {@link #indexOf(int, int, byte)} and {@link #bytesBefore(int, int, byte)}.
 * {@link #bytesBefore(byte)} is especially useful when you deal with a {@code NUL}-terminated string.
 * For complicated searches, use {@link #forEachByte(int, int, ByteBufProcessor)} with a {@link ByteBufProcessor}
* implementation.关于重置和标记:
 * <h3>Mark and reset</h3>
 *
 * There are two marker indexes in every buffer. One is for storing
 * {@link #readerIndex() readerIndex} and the other is for storing
 * {@link #writerIndex() writerIndex}.  You can always reposition one of the
 * two indexes by calling a reset method.  It works in a similar fashion to
 * the mark and reset methods in {@link InputStream} except that there's no
* {@code readlimit}.补充下InputStream.mark(int readlimit)当中readlimit的作用:在inputStream中,mark的作用是在你mark完一个数据点时,当你继续往下读的时候可以通过调用reset方法回到mark的地点。但是,这个mark需要有个限制,当你在读readlimit的数据长度内,都会保留mark,超出则不再保留mark
关于衍生缓冲区:
 * <h3>Derived buffers</h3>
 *
 * You can create a view of an existing buffer by calling either
 * {@link #duplicate()}, {@link #slice()} or {@link #slice(int, int)}.
 * A derived buffer will have an independent {@link #readerIndex() readerIndex},
 * {@link #writerIndex() writerIndex} and marker indexes, while it shares
 * other internal data representation, just like a NIO buffer does.
 * <p>
 * In case a completely fresh copy of an existing buffer is required, please
 * call {@link #copy()} method instead.
调用duplicate()、slice()、slice(int index, int length)会创建一个现有缓冲区的视图。衍生的缓冲区有独立的readerIndex、writerIndex和标注索引,共享内部数据。如果需要现有缓冲区的全新副本,可以使用copy()获得。
这里需要说明:duplicate,slice方法均持有独立的读写索引,但是共享内容指针引用。即修改副本的内容将影响原本中的内容。
最后一段,关于转换成JDK已存在的类
 * <h3>Conversion to existing JDK types</h3>
 *
 * <h4>Byte array</h4>
 *
 * If a {@link ByteBuf} is backed by a byte array (i.e. {@code byte[]}),
 * you can access it directly via the {@link #array()} method.  To determine
 * if a buffer is backed by a byte array, {@link #hasArray()} should be used.
 *
 * <h4>NIO Buffers</h4>
 *
 * If a {@link ByteBuf} can be converted into an NIO {@link ByteBuffer} which shares its
 * content (i.e. view buffer), you can get it via the {@link #nioBuffer()} method.  To determine
 * if a buffer can be converted into an NIO buffer, use {@link #nioBufferCount()}.
 *
 * <h4>Strings</h4>
 *
 * Various {@link #toString(Charset)} methods convert a {@link ByteBuf}
 * into a {@link String}.  Please note that {@link #toString()} is not a
 * conversion method.
 *
 * <h4>I/O Streams</h4>
 *
 * Please refer to {@link ByteBufInputStream} and
* {@link ByteBufOutputStream}.NIO Buffer:可以通过使用nioBuffer()方法使ByteBuf转换为java.nio.ByteBuffer。判断是否能转换的方法为:nioBufferCount(). nioBufferCount()返回NIO buffer的个数,如果没有则返回-1.
转String:toString(Charset)将可读区域的bytes按照指定编码转换成String,转换不修改readerIndex和writerIndex. toString()打印内存地址,并不转换成String
IO stream:参看日后分析的ByteBufInputStream和ByteBufOutputStream
第一篇先写到这,接下来我们主要分析AbstractByteBuf、HeapByteBuf、DirectByteBuf等几个核心实现。