环境:
Linux主机,cengtos7系统
安装有openresty软件,用来访问生成日志信息 1.15.8版本
安装有filebeat软件,用来收集openresty的日志 7.3版本
安装有redis软件,用来接收filebeat发送过来的日志,5.0.5版本
- filebeat.yml配置
filebeat.inputs:
- type: log
  enabled: true
  paths:
    - /usr/local/openresty/nginx/logs/host.access.log
  fields:
    log_source: messages
  fields_under_root: true

output.redis:
  hosts: ["192.168.0.142:6379"]
  key: nginx_log
  password: foobar2000
  db: 0
如下参数的效果
  fields:
    log_source: messages
  fields_under_root: true
使用fields表示在filebeat收集的日志中多增加一个字段log_source,其值是messages,用来在logstash的output输出到elasticsearch中判断日志的来源,从而建立相应的索引
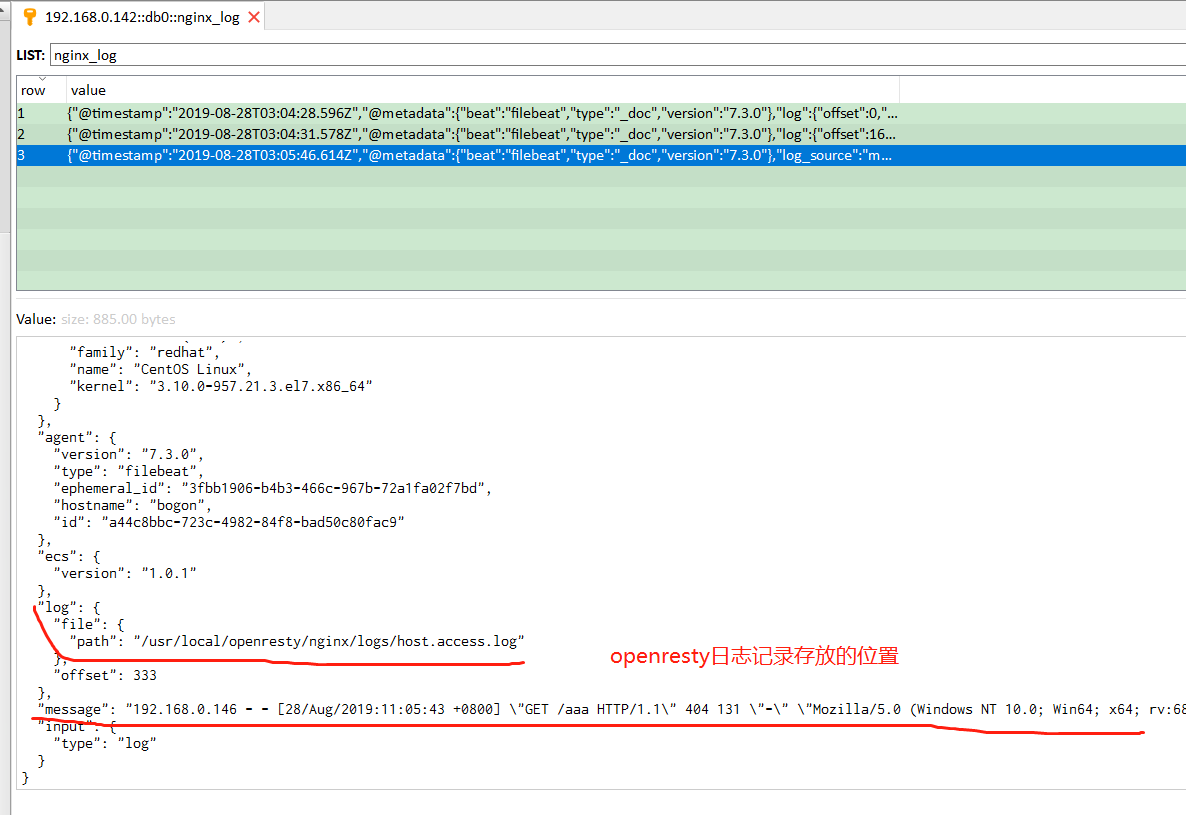
若fields_under_root设置为true,表示上面新增的字段是顶级参数,在redis中查看的话效果如下:


顶级字段在output输出到elasticsearch中的使用如下:
output {
  # 根据redis键 messages_secure 对应的列表值中,每一行数据的其中一个参数来判断日志来源
  if [log_source] == 'messages' {  # 注意判断条件的写法
    elasticsearch {
      hosts => ["http://192.168.80.104:9200"]
      index => "filebeat-message-%{+YYYY.MM.dd}"
      #user => "elastic"
      #password => "elastic123"
    }
  }
}
若fields_under_root设置为false,表示上面新增的字段是则是fields的二级字段,在redis中查看的话效果如下:

fields二级字段在output输出到elasticsearch中的使用如下:
output {
  # 根据redis键 messages_secure 对应的列表值中,每一行数据的其中一个参数来判断日志来源
  if [fields][log_source] == 'messages' {  # 注意判断条件的写法
    elasticsearch {
      hosts => ["http://192.168.80.104:9200"]
      index => "filebeat-message-%{+YYYY.MM.dd}"
      #user => "elastic"
      #password => "elastic123"
    }
  }
} - 若是多个应用的日志都输出到redis中,只需要在filebeat.inputs:下面再新增
- type: log段就行,如下所示:
filebeat.inputs:
- type: log
  enabled: true
  paths:
    - /usr/local/openresty/nginx/logs/host.access.log # 假设应用1的日志路径
  fields:
    log_source: messages # logstash判断日志来源

### 新增的###
- type: log
  enabled: true
  paths:
    - /usr/local/openresty/nginx/logs/error.log  # 假设应用2的日志路径
  fields:
    log_source: secure
### 新增的###


output.redis:
  hosts: ["192.168.80.107:6379"]
  key: messages_secure
  password: foobar2000
  db: 0