版权声明:本文为博主原创文章,遵循 CC 4.0 BY-SA 版权协议,转载请附上原文出处链接和本声明。
背景
elk版本:7.1.1
nginx 版本随意
简介
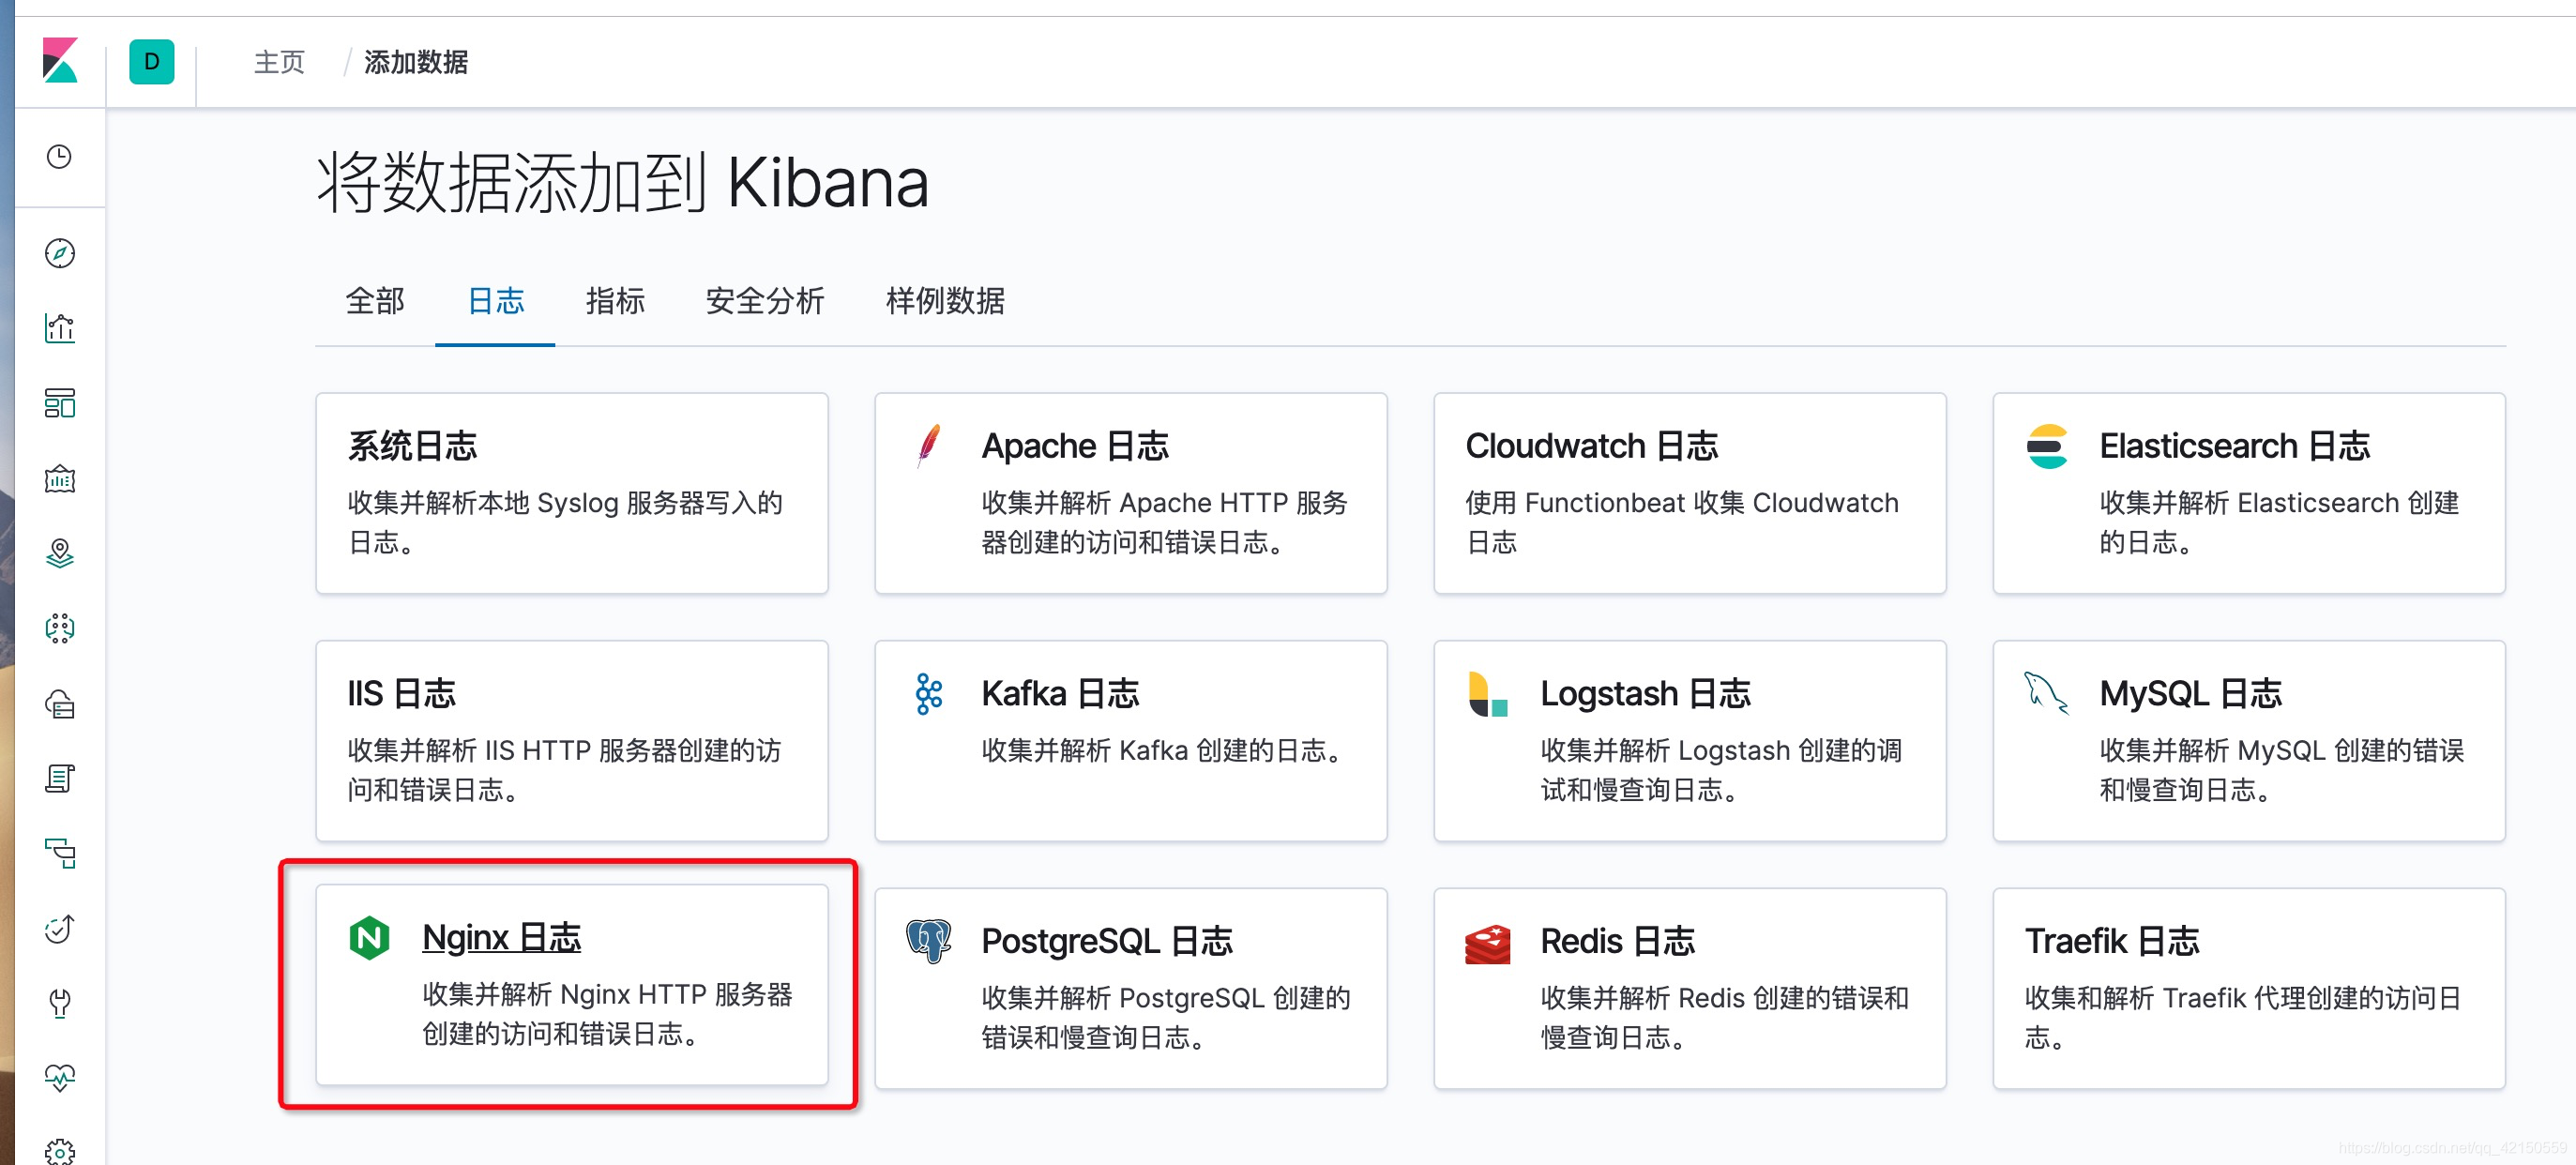
在kibana中自带nginx日志插件,非常的好用,点开

根据官方文档中的步骤一步一步来。
我们需要在nginx服务器上,装一个filebeat,会自动把本地的日志推送到远程的elk服务器上
日志的地址是可以配置的。
换句话说,我们也可以换一个服务器。这个服务器专门拉nginx的日志,只要有日志文件就行,不需要nginx部署在上面
filebeat的地址:https://www.elastic.co/guide/en/beats/filebeat/7.1/filebeat-getting-started.html
mac版本
安装filebeat
curl -L -O https://artifacts.elastic.co/downloads/beats/filebeat/filebeat-7.1.1-darwin-x86_64.tar.gz
tar xzvf filebeat-7.1.1-darwin-x86_64.tar.gz
cd filebeat-7.1.1-darwin-x86_64/
安装rpm版本
curl -L -O https://artifacts.elastic.co/downloads/beats/filebeat/filebeat-7.1.1-x86_64.rpm
sudo rpm -vi filebeat-7.1.1-x86_64.rpm
修改filebeat.yml
output.elasticsearch:
  hosts: ["<es_url>"]
  username: "elastic"
  password: "<password>"
setup.kibana:
  host: "<kibana_url>"
其中, 是 elastic 用户的密码,<es_url> 是 Elasticsearch 的 URL,<kibana_url> 是 Kibana 的 URL。
启动nginx模式
./filebeat modules enable nginx
启动filebeat
setup 命令加载 Kibana 仪表板。如果仪表板已设置,请省略此命令。
./filebeat setup
./filebeat -e
配置日志路径
在 modules.d/nginx.yml 文件中修改设置。
一定要注意paths的格式,要用[""]
    access:
    enabled: true
var.paths: ["/var/log/nginx/access.log*"]
k8s配置方式
如果是在k8s集群中部署的elk,修改配置文件时,可以把k8s的svc调成nodeport模式,暴露端口出来给filebeat配置
配置完成
配置成功后回到kibana应该有数据显示了