FrameLayout
这个布局相对前面两节介绍的布局就简单了很多,因此它的应用场景也就特别的少。这种布局没有方便的定位方式,所有的控件都会默认摆放在布局的左上角。新建UILayoutTestThree工程,修改activity_main.xml的代码:
<?xml version="1.0" encoding="utf-8"?>
<FrameLayout xmlns:android="http://schemas.android.com/apk/res/android"
    android:layout_width="match_parent"
    android:layout_height="match_parent">

    <TextView
        android:id="@+id/text_view"
        android:layout_width="wrap_content"
        android:layout_height="wrap_content"
        android:text="This is FrameLayout"
        />

    <Button
        android:id="@+id/button"
        android:layout_width="wrap_content"
        android:layout_height="wrap_content"
        android:text="FrameLayout"
        />

</FrameLayout>
运行程序,效果如图:
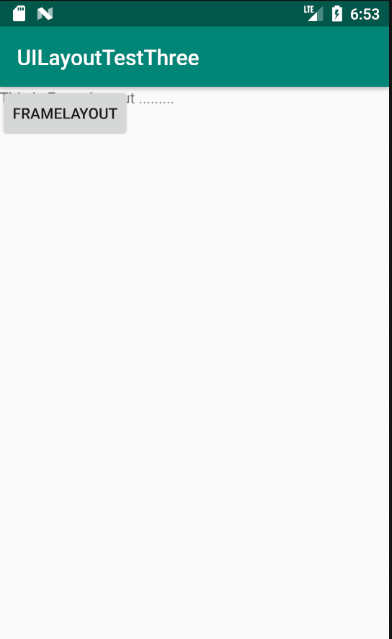
可以看到两个控件都集中在了左上角的位置。因为TextView控件在Button控件之前添加,因此Button在TextView上面。之前我们学习了layout_gravity属性来指定控件在布局中的对齐方式,这里也同样适用。修改activity_main.xml中的代码:
<?xml version="1.0" encoding="utf-8"?>
<FrameLayout xmlns:android="http://schemas.android.com/apk/res/android"
    android:layout_width="match_parent"
    android:layout_height="match_parent">

    <TextView
        android:id="@+id/text_view"
        android:layout_width="wrap_content"
        android:layout_height="wrap_content"
        android:layout_gravity="top"
        android:text="This is FrameLayout ........."
        />

    <Button
        android:id="@+id/button"
        android:layout_width="wrap_content"
        android:layout_height="wrap_content"
        android:layout_gravity="bottom"
        android:text="FrameLayout"
        />

</FrameLayout>