vuepress
快速搭建个人博客, 使用 markdown 语法写博客
第一次使用, 全程不到二十分钟就可以制作自己的博客
1. 依赖环境
node.js
需要版本 node.js 14.0 +
yarn
也可以使用 npm 但是这篇文章使用的 yarn
2. 本地安装
创建并进入一个新目录
# 创建项目目录(名字自己随便取, 不要太离谱)
$ mkdir vuepress-starter
# 进入目录
$ cd vuepress-starter
初始化项目
$ git init
$ yarn init
创建如下目录, 如果没有则补全, 补全的文件暂时空白就好
├─ docs
│  ├─ .vuepress
│  │  ├─ public
│  │  └─ config.js
│  ├─ guide
│  └─ README.md
├─ .gitignore
└─ package.json
将
VuePress安装为本地依赖
$ yarn add -D vuepress@next
在
package.json中scripts中进行添加
{


  "scripts": {


    "docs:dev": "vuepress dev docs",
    "docs:build": "vuepress build docs"
  }
}
将默认的临时目录和缓存目录添加到
.gitignore文件中
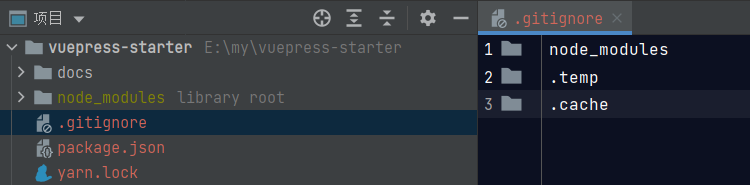
node_modules
.temp
.cache
创建你的第一篇文档
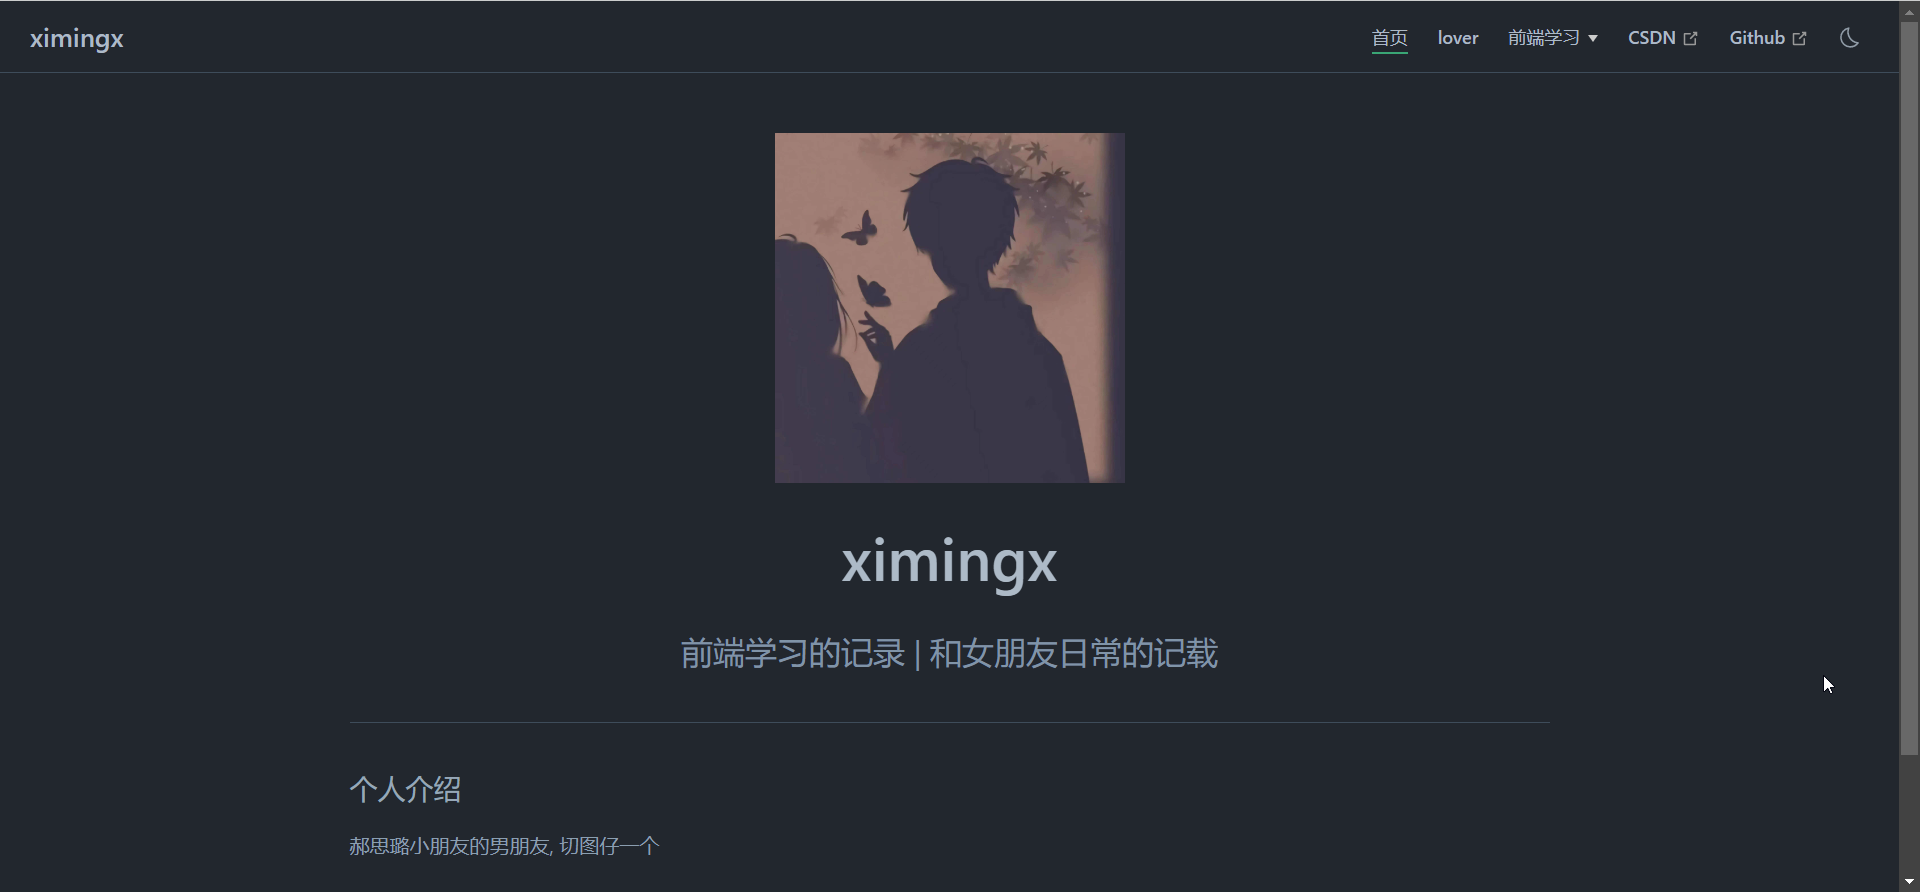
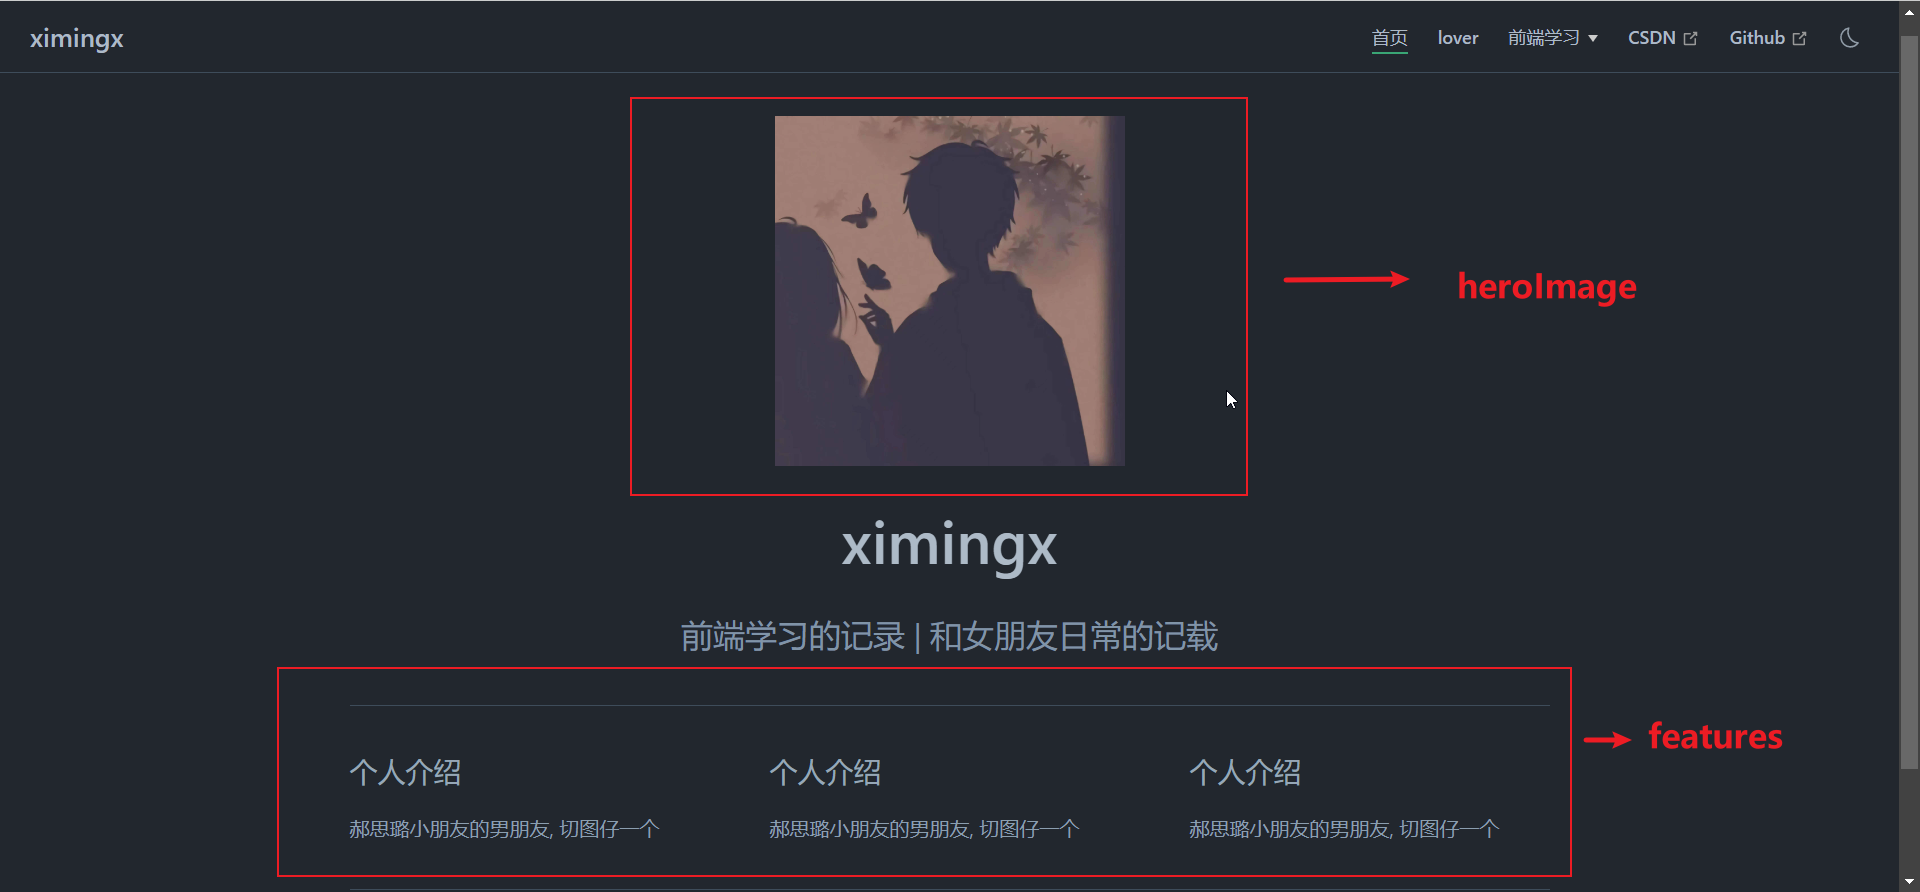
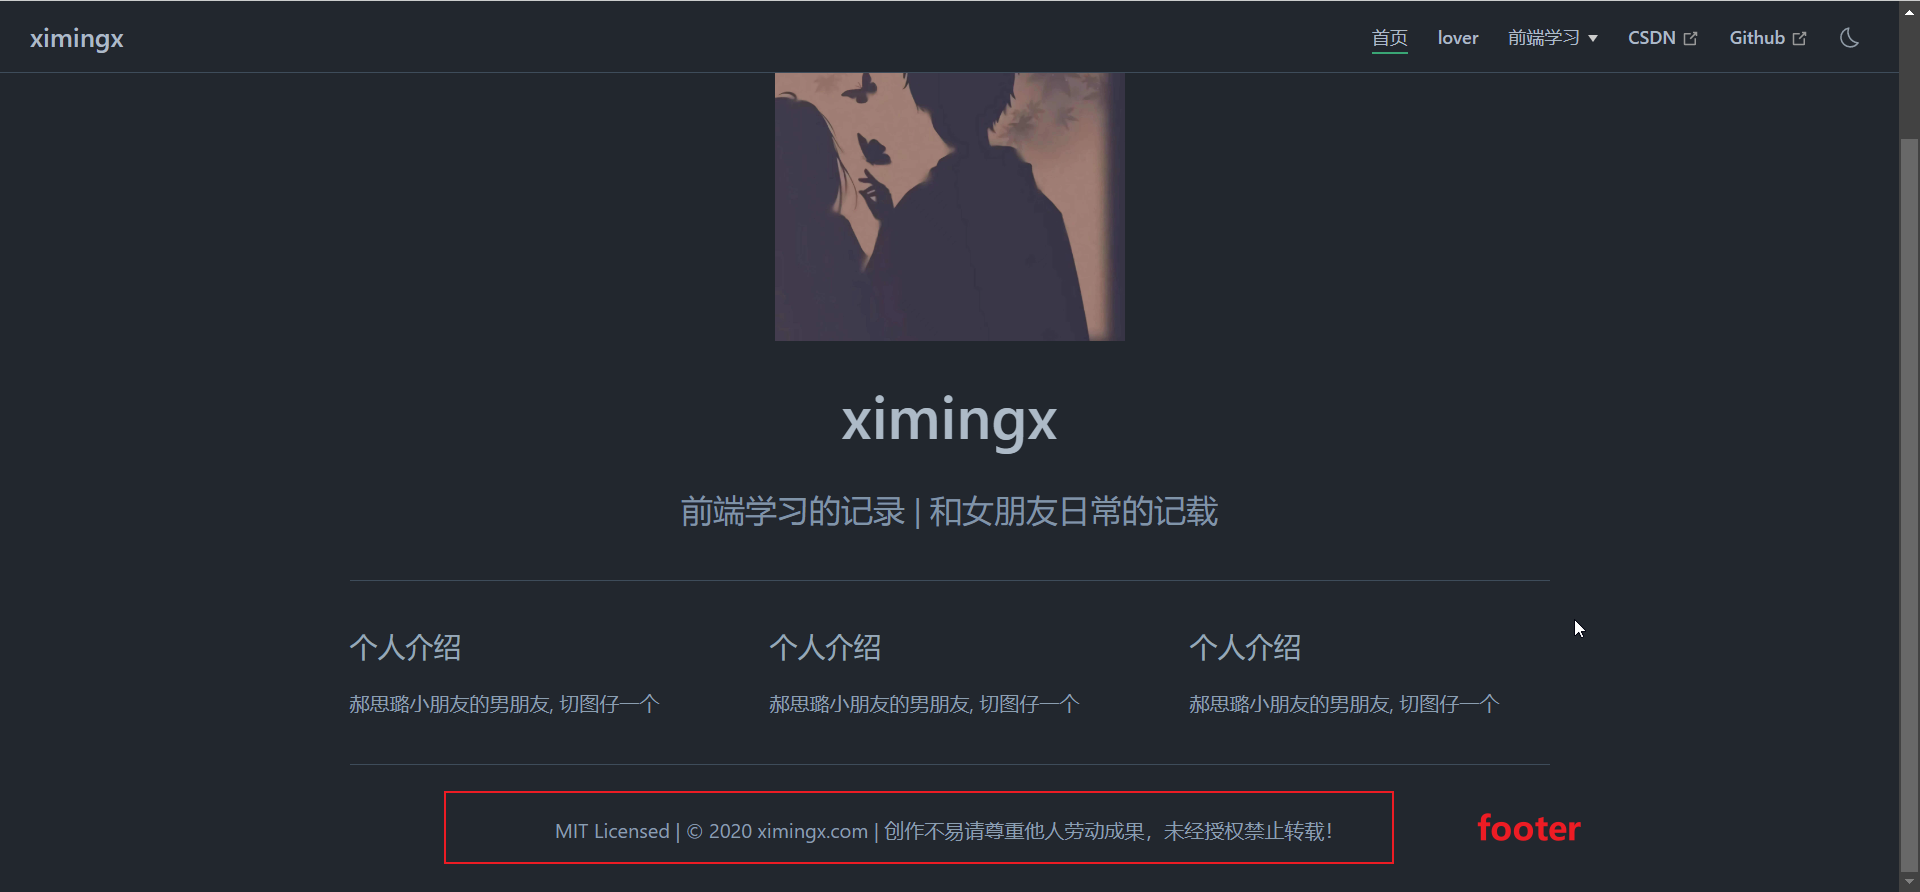
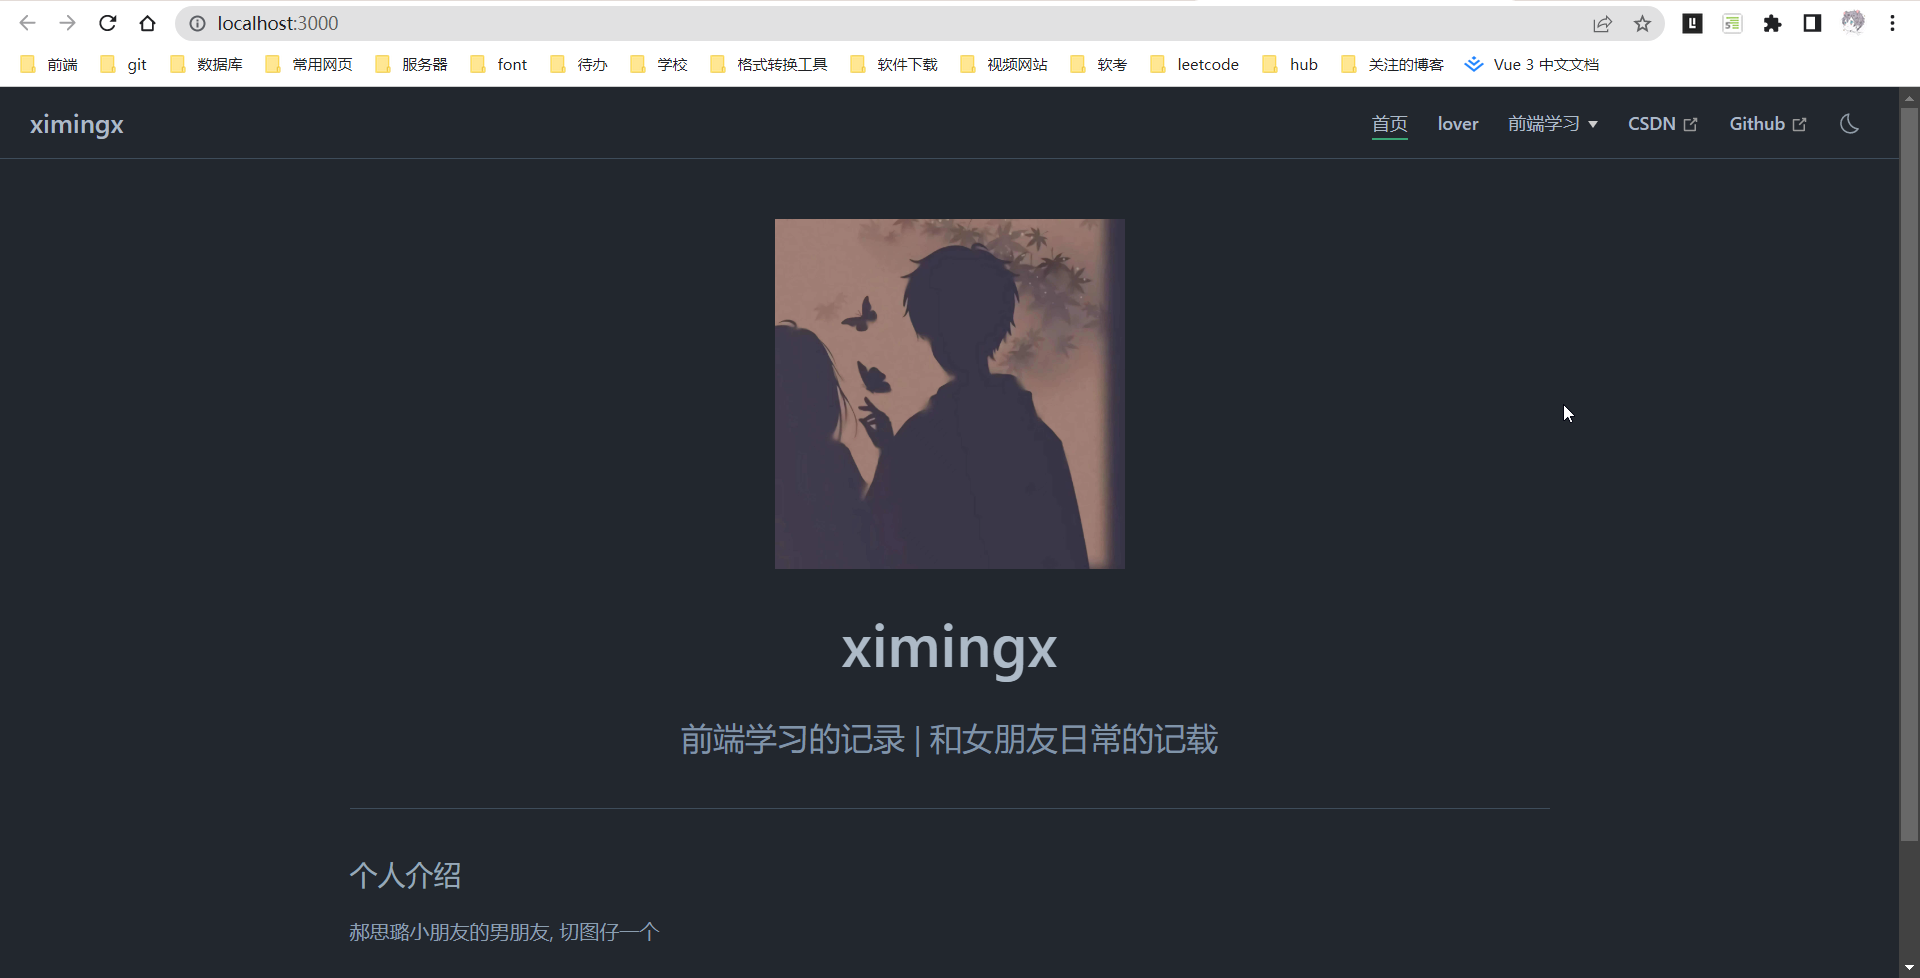
在 docs 目录下创建的 README.md 里面输入, 并在 docs/.vuepress/public 目录下放一张照片, 命名为 logo.jpg
---
home: true
actionLink: /zh/guide/
heroImage: /logo.jpg
features:
- title: 个人介绍
  details: 郝思璐小朋友的男朋友, 切图仔一个
- title: 个人介绍
  details: 郝思璐小朋友的男朋友, 切图仔一个
- title: 个人介绍
  details: 郝思璐小朋友的男朋友, 切图仔一个
footer: MIT Licensed | © 2020 ximingx.com | 创作不易请尊重他人劳动成果,未经授权禁止转载!
---
在本地启动服务器来开发你的文档网站
$ yarn docs:dev
到了这一步, 你看到的其实和我的相差很大, 没有左上角的导航栏, 不要慌
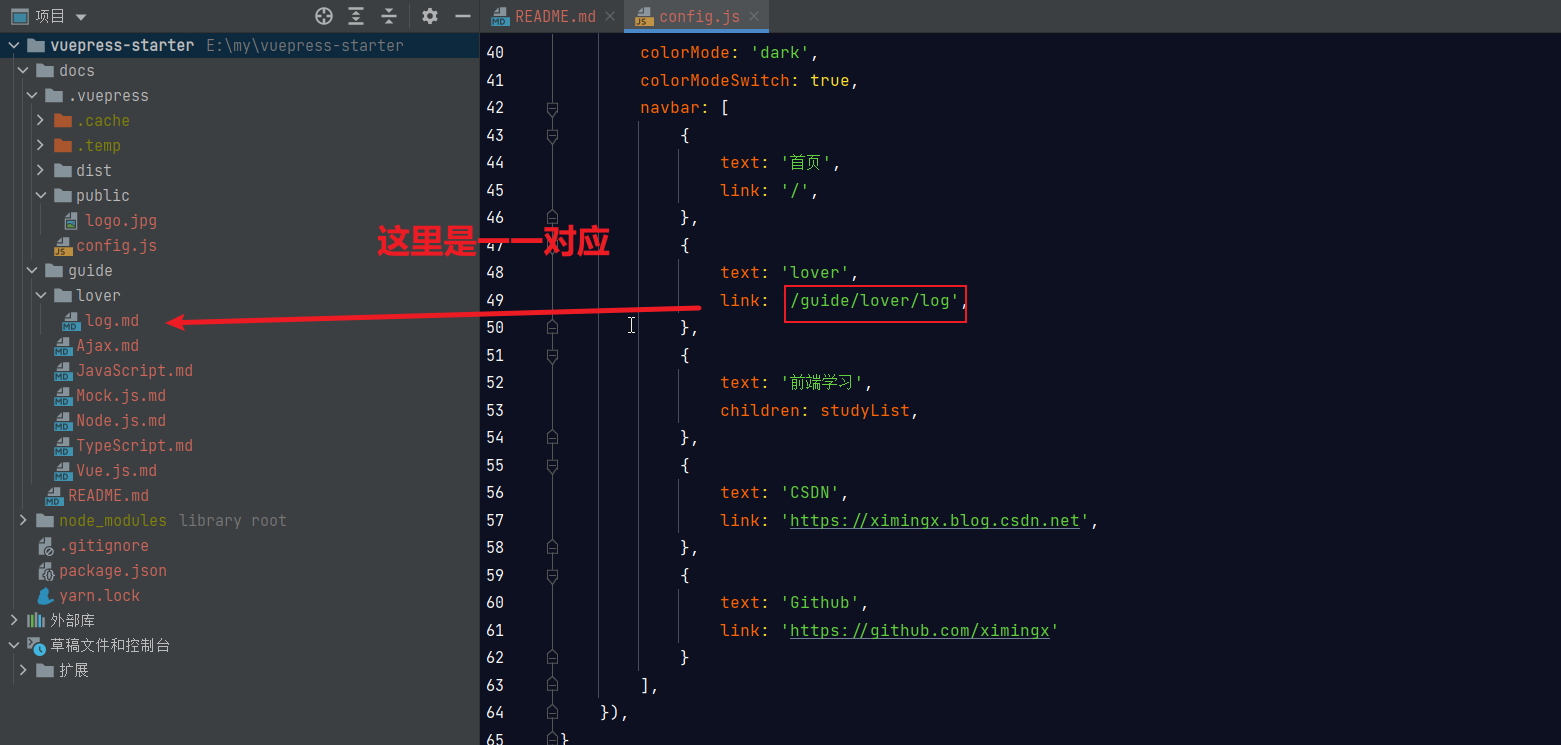
3. 导航栏配置
进入 docs/.vuepress/config.js 写入内容
const {

    defaultTheme} = require('vuepress')

// 这是一个二级列表中的选项
let studyList = [
    {


        text: 'Ajax',
        link: '/guide/Ajax',
    },
    {


        text: 'Vue',
        link: '/guide/Vue.js',
    },
    {


        text: 'Mock.js',
        link: '/guide/Mock.js',
    },
    {


        text: 'JavaScript',
        link: '/guide/JavaScript',
    },
    {


        text: 'TypeScript',
        link: '/guide/TypeScript',
    },
    {


        text: 'Node.js',
        link: '/guide/Node.js',
    }
]

module.exports = {


    lang: 'zh-CN',
    title: 'ximingx',
    base: '/',
    description: '前端学习的记录 | 和女朋友日常的记载',
    port: 8080,
    head: [
        ['link', {

    rel: 'icon', href: '/logo.jpg'}]
    ],
    theme: defaultTheme({


        // 默认主题配置
        colorMode: 'dark',
        colorModeSwitch: true,
        // 一级导航
        navbar: [
            {


                text: '首页',
                link: '/',
            },
            {


                text: 'lover',
                link: '/guide/lover/log',
            },
            {


                text: '前端学习',
                children: studyList,
            },
            {


                text: 'CSDN',
                link: 'https://ximingx.blog.csdn.net',
            },
            {


                text: 'Github',
                link: 'https://github.com/ximingx'
            }
        ],
    }),
}
所以这里是需要你自己写的
markdown文章的, 并且将他们一一对应
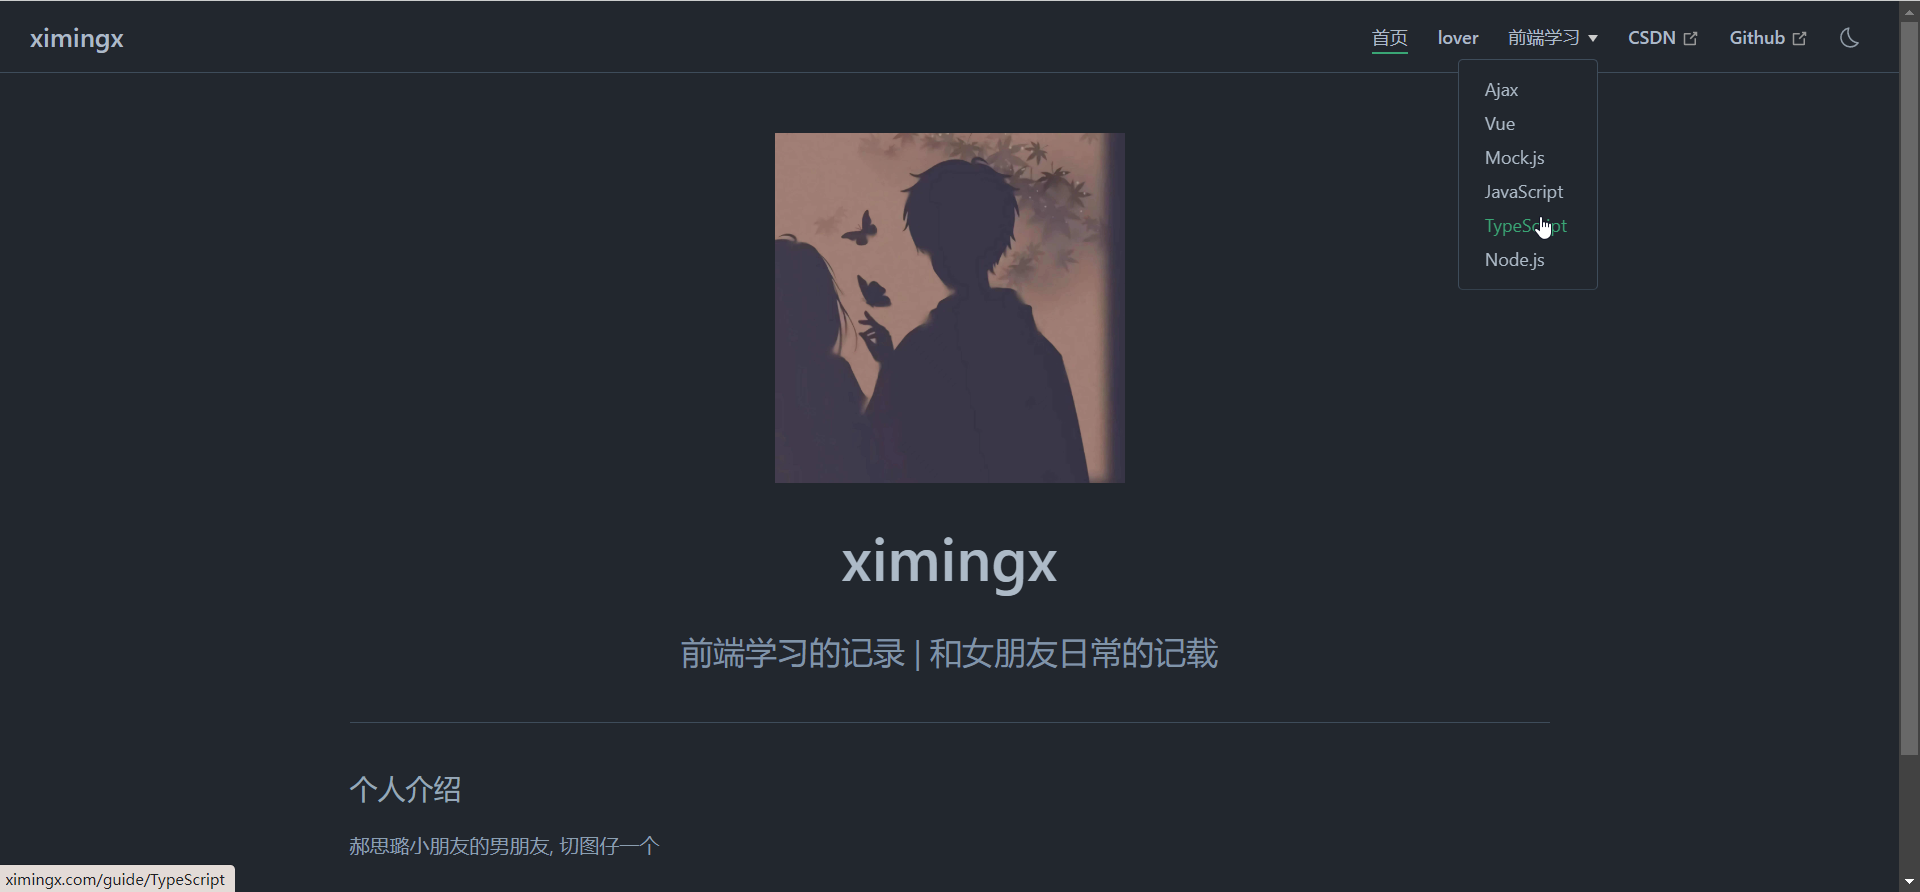
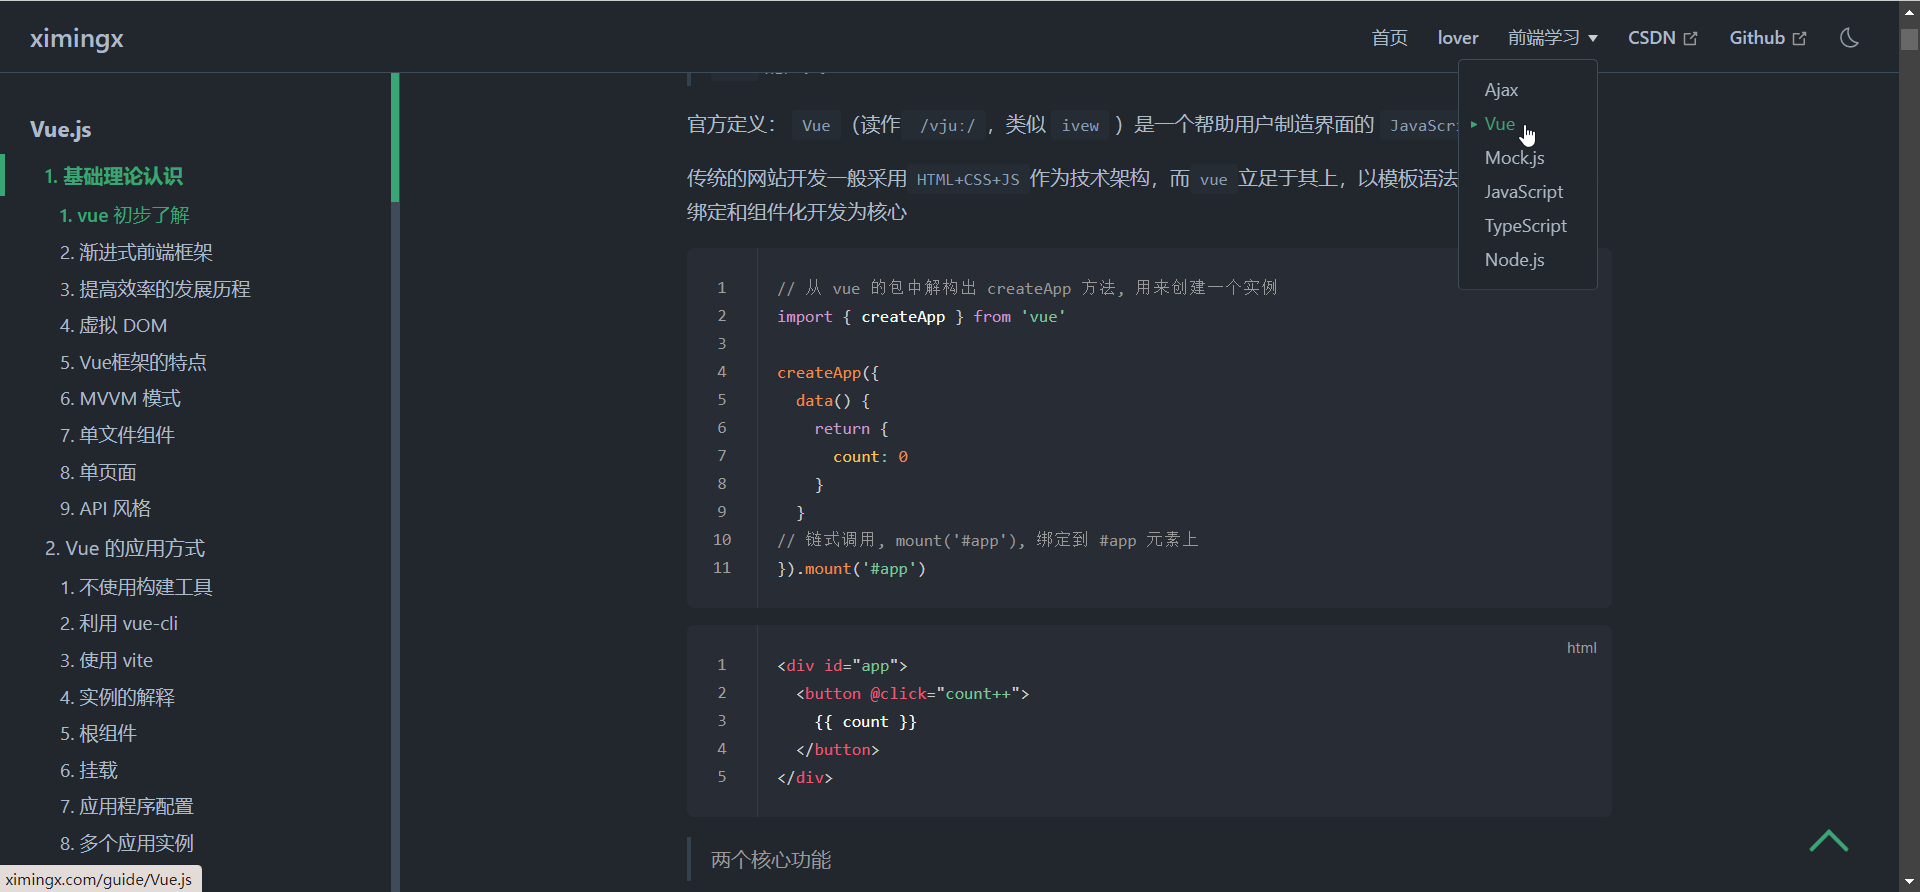
这里是本地项目最后的演示
博主是一个无聊的大学生, 有问题随时加好友交流, 至于有多无聊, 我也不知道
4. 本地测试
将项目进行打包
$ yarn docs:build
此时可以看到
docs/.vuepress/build目录
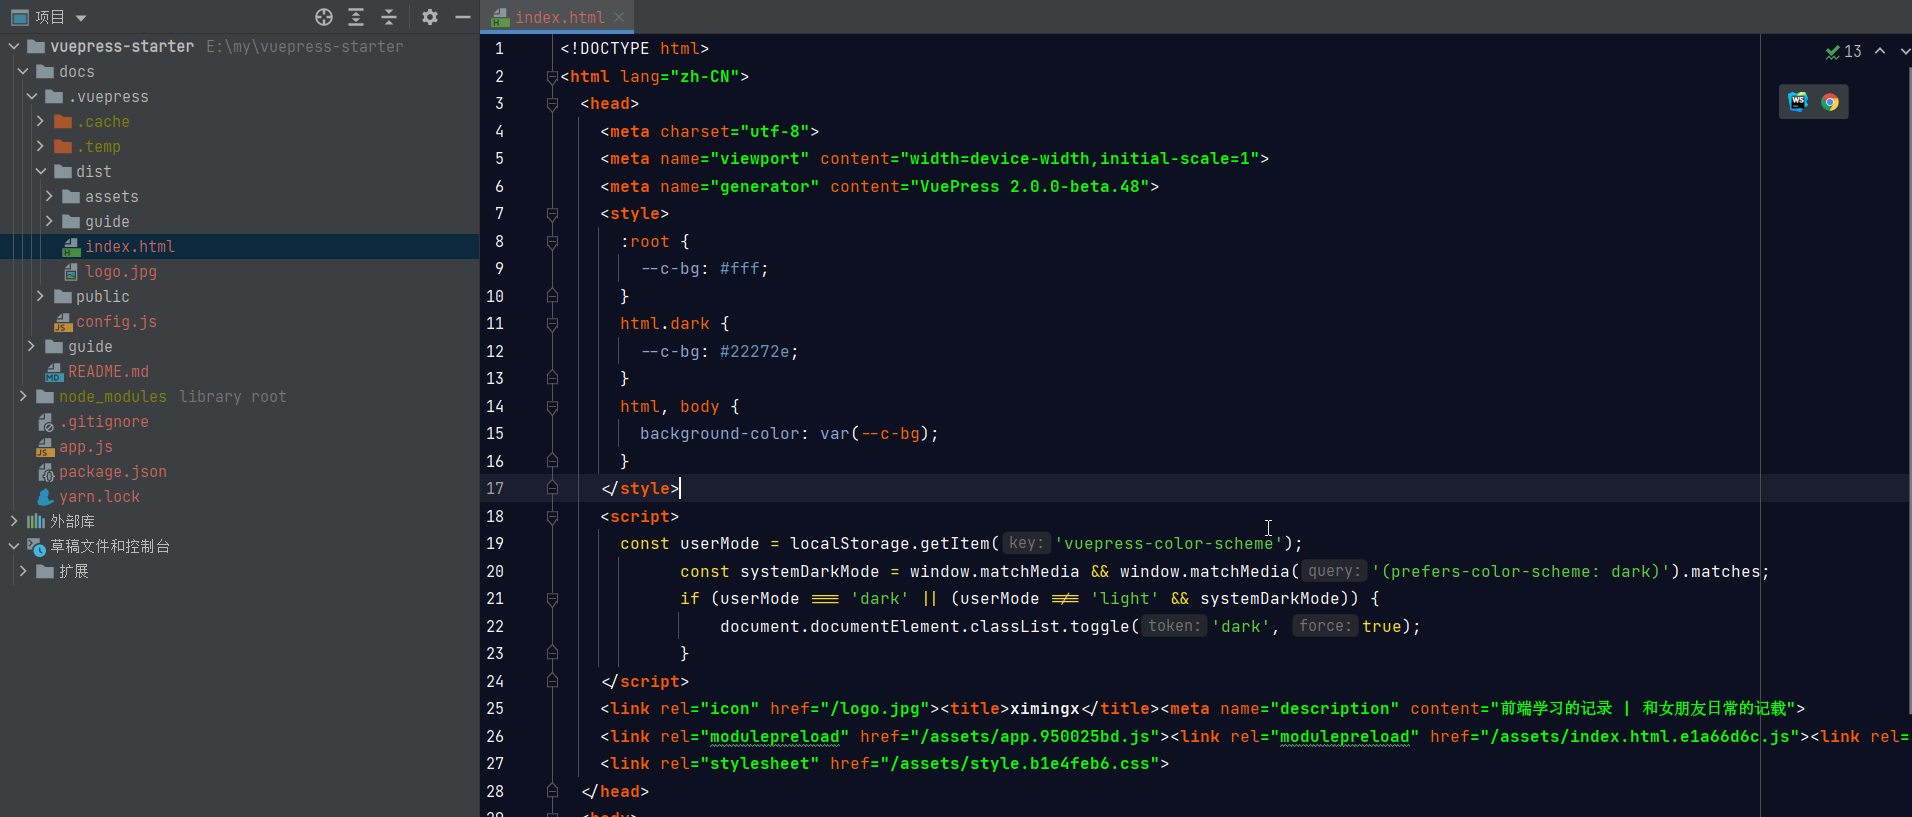
但是直接运行 index.html 是不可以进行访问的, 样式会出现问题, 很丑
我们需要借助于 express 框架
在项目根目录下新建一个
app.js
# 安装需要的依赖包
$ yarn add express
在 app.js 输入
const express = require('express');
const app = express();
const port = 3000;
app.use(express.static('./docs/.vuepress/dist'));
app.listen(port, () => {


    console.log(`Server running on http://localhost:${

      port}`);
});
此时已经可以本地打包运行了
$ node app.js
5. 部署到服务器
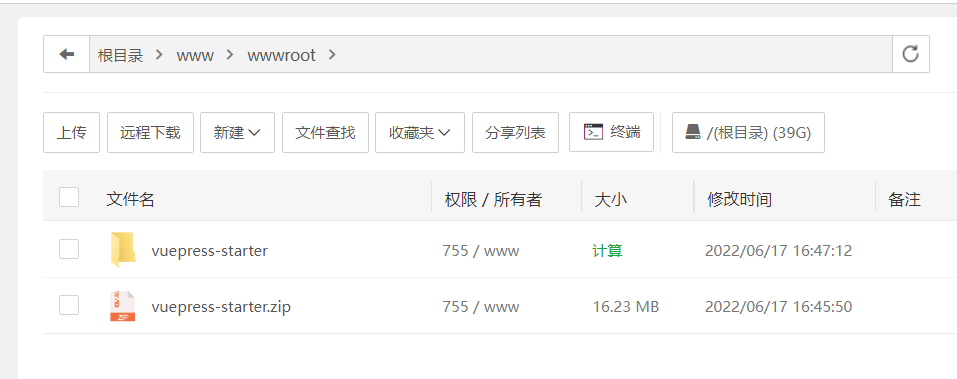
将项目压缩, 并放到服务器上
www/wwwroot目录, 上传后解压缩
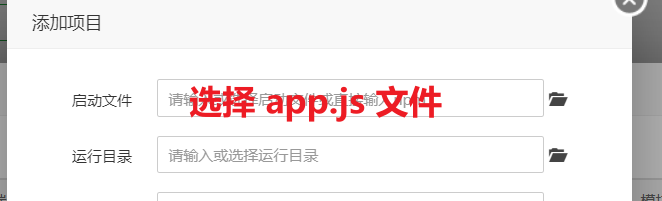
使用腾讯云的宝塔面板, 安装
pm2 管理器

选择添加项目
然后就可以通过自己的域名访问了, 好了, 撒花结束