文章目录
已更新Ubuntu20.04版本安装,见Ubuntu20.04 源码安装 OMPL 与 Moveit
需求:
因为在命令行终端以binary安装的Moveit,规划算法都是封装好的,无法自定义算法,所以需要ompl源码安装,之后自定义ompl算法,再将ompl配置进Moveit,故moveit也需要源码安装。
一、源码安装 moveit
1.1 先检查是否安装二进制Moveit
//可以尝试能否在任意终端下 正确打开moveit 助手界面
roslaunch moveit_setup_assistant setup_assistant.launch


// 可以通过指令的方式安装二进制moveit  【本教程不必执行此指令】
sudo apt-get install ros-melodic-moveit
若 安装了二进制Moveit,需要提前卸载后安装源码Moveit
卸载方式如下:
sudo apt-get remove ros-melodic-moveit-*
1.2 源码安装 Moveit
1、更新软件包
rosdep update
sudo apt-get update
sudo apt-get dist-upgrade
2、安装依赖
sudo apt-get install python-wstool python-catkin-tools clang-format-3.9
3、创建Moveit工作空间
mkdir ~/ws_moveit
cd ~/ws_moveit
4、加载环境变量
source /opt/ros/melodic/setup.bash
5、下载moveit源码,先不急着编译【将ompl源码配置进moveit源码后统一编译】
   wstool init src
    wstool merge -t src https://raw.githubusercontent.com/ros-planning/moveit/master/moveit.rosinstall
    wstool update -t src
    rosdep install -y --from-paths src --ignore-src --rosdistro melodic
    catkin config --extend /opt/ros/melodic --cmake-args -DCMAKE_BUILD_TYPE=Release
    sudo catkin build       // 先别着急编译
可能的问题:在进行 wstool merge -t src https://raw.githubusercontent.com/ros-planning/moveit/master/moveit.rosinstall报错:
ERROR in config: Unable to download URL [https://raw.githubusercontent.com/ros-planning/moveit/master/moveit.rosinstall]: <urlopen error [Errno 110] Connection timed out>
解决方案见 【问题1】
// 执行此指令后,会在src路径下出现两个隐藏文件,
wstool merge -t src https://raw.githubusercontent.com/ros-planning/moveit/master/moveit.rosinstall

// 可以通过crtl+h 使其可视化,并作出如下调整:
此处参考 博文链接

// 执行此指令,依次下载如下功能包
wstool update -t src
waiting…
二、源码安装 ompl
2.1 先检查是否安装二进制ompl
//进入到如下目录下
cd /opt/ros/melodic

// 查找
find ./ -name "libompl"
find ./ -name "ompl*"
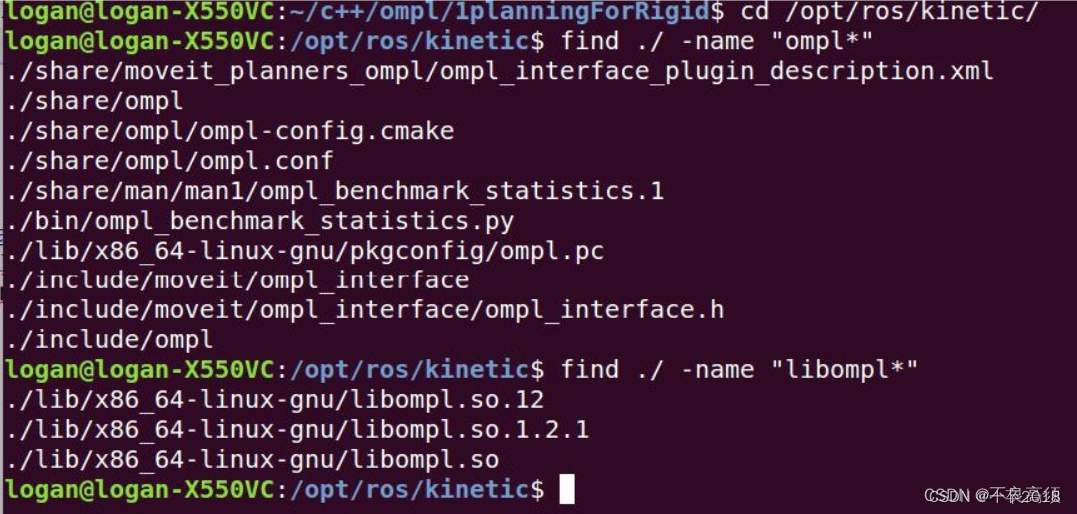
查询结果类似如下:
则需要先将二进制 ompl 进行卸载,卸载方式如下所示:
sudo apt-get purge ros-melodic-ompl

源码安装OMPL可以采用OMPL官方的 安装教程。

创建一个文件夹用来安装ompl
mkdir ~/ws_ompl
cd ~/ws_ompl
把官方安装链接下载的install-ompl-ubuntu.sh 脚本文件 下载地址在此 放在ws_ompl下,并执行如下指令:
// 根据官方安装文档来操作
chmod u+x install-ompl-ubuntu.sh
我选择安装最新版本的 OMPL,无需 Python 绑定
./install-ompl-ubuntu.sh
这个过程中,因为会下载源码,所以最好科学上网。有兴趣的小伙伴可以看看脚本内容,包括下载源码,安装依赖项,编译的过程。
三、Moveit 联合 OMPL 统一编译
下载完之后把脚本编译好的ompl-1.6.0文件夹复制放到ws_moveit/src里面
再统一编译
cd ~/ws_moveit

// 添加一下环境变量,
source /opt/ros/melodic/setup.bash

sudo catkin build
结果如下所示:

推荐在 .bashrc里面添加环境变量
echo "source /home/melodic/ws_moveit/devel/setup.bash" >> ~/.bashrc
source ~/.bashrc
源码安装 Moveit 到此完成。
三、Moveit 联合 OMPL 使用
3.1 Moveit 源码安装的思路
Moveit源码安装,就是在 ws_moveit/src 中存放多个功能包,并安装相应的依赖,共同完成编译。
//  1、创建新的功能包
mkdir -p ~/ws_moveit/src


// 2、依次下载多个功能包
cd ~/ws_moveit/src

git clone -b noetic-devel https://github.com/moveit/geometric_shapes.git

git clone -b melodic-devel https://github.com/moveit/moveit.git

git clone -b master https://github.com/moveit/moveit_msgs.git

git clone -b master https://github.com/moveit/moveit_resources.git

git clone -b melodic-devel https://github.com/moveit/moveit_tutorials.git

git clone -b melodic-devel https://github.com/moveit/moveit_visual_tools.git

git clone -b melodic-devel https://github.com/moveit/panda_moveit_config.git

git clone -b melodic-devel https://github.com/PickNikRobotics/rviz_visual_tools

git clone -b melodic-devel https://github.com/moveit/srdfdom


// 3、从src目录中的package.xml文件查找并自动安装与melodic发行版相关的系统依赖项。
rosdep install -y --from-paths src --ignore-src --rosdistro melodic


// 4、配置catkin工作空间以扩展/opt/ros/melodic路径,并将CMake的构建类型设置为“Release”。
catkin config --extend /opt/ros/melodic --cmake-args -DCMAKE_BUILD_TYPE=Release


// 5、将ompl源码功能包放入ws_moveit/src


// 6、编译
sudo catkin build


// 7、设置环境变量
// 一次性设置
source ~/ws_moveit/devel/setup.bash

// 或者 永久设置
echo 'source ~/ws_moveit/devel/setup.bash' >> ~/.bashrc
source ~/.bashrc
3.2 Moveit 使用
3.2.1 MoveIt Quickstart in RViz
当你想要开始使用MoveIt时,最快的方式是通过其RViz插件。RViz是ROS中的主要可视化工具,对于机器人调试来说是一个极其有用的工具。MoveIt的RViz插件允许你设置虚拟环境(场景),以交互方式创建机器人的起始和目标状态,测试各种运动规划器,并可视化输出。
开始步骤
-
第一步:启动演示并配置插件
启动演示:
// 1、启动demo 并 配置插件
roslaunch panda_moveit_config demo.launch rviz_tutorial:=true


// 2、在打开的RVIZ窗口设置,配置 “MotionPlanning”
Add ----- MotionPlanning
一旦你添加了MoveIt的RViz插件并配置好了RViz的显示,你就可以开始使用MoveIt的各种功能了,比如设置目标位置、选择运动规划器、查看轨迹等。这些功能通常都可以通过RViz的图形界面来方便地进行操作。
- 2、与可视化的robots进行交互
机器人在
/planning_scene规划环境中的配置(默认激活)。
为机器人规划的路径(默认激活)。
绿色:运动规划的起始状态(默认禁用)。
橙色:运动规划的目标状态(默认激活)。
使用“Scene Robot”选项卡中的“Show Robot Visual”复选框来显示规划场景中的机器人。
使用“Planned Path”选项卡中的“Show Robot Visual”复选框来显示规划的路径。
使用“Planning Request”选项卡中的“Query Start State”复选框来显示起始状态。
使用“Planning Request”选项卡中的“Query Goal State”复选框来显示目标状态。
通过这些复选框的开关来切换不同的可视化内容。
- 3、与Panda交互
-
- 【使用标记拖动手臂并改变其方向】
在接下来的步骤中,我们只需要场景机器人、起始状态和目标状态:
在“Planned Path”选项卡中取消选中“Show Robot Visual”复选框。
在“Scene Robot”选项卡中选中“Show Robot Visual”复选框。
在“Planning Request”选项卡中选中“Query Goal State”复选框。
在“Planning Request”选项卡中选中“Query Start State”复选框。
开始拖拽箭头控制机械臂运动
-
- 【碰撞状态】
通过标记拖动手臂,注意当你尝试将其中一个手臂移动到与另一个手臂碰撞时会发生什么。发生碰撞的两个连杆会变为红色。
在“Planning”选项卡下的“MotionPlanning”插件中,有一个“Use Collision-Aware IK”复选框,它允许你切换IK求解器的行为。当该复选框被选中时,求解器将持续尝试为所需的末端执行器姿态找到无碰撞的解决方案。当该复选框未被选中时,求解器将允许在解决方案中出现碰撞。无论复选框的状态如何,发生碰撞的连杆都将始终以红色显示。
-
- 【超出工作空间】
无法超出作业空间作业
- 4、使用运动规划
现在,你可以使用MoveIt RViz插件开始为Panda机器人进行运动规划。
将起始状态移动到期望的位置。
将目标状态移动到另一个期望的位置。
确保两个状态都不会与机器人本身发生碰撞。
确保规划路径正在被可视化。同时,在“Planned Path”选项卡中勾选“Show Trail”复选框。
在“MotionPlanning”选项卡下的“Planning”窗口中,按下“Plan”按钮。你应该能够看到手臂移动的视觉化效果以及轨迹。
3.2.2 Move Group C++ Interface
3.2.3
问题1、 在操作 rosdep update 时报超时错误
出现 访问 https://raw.githubusercontent.com/ 超时 导致 总是更新不成功,提示错误
ERROR: error loading sources list: The read operation timed out

解决方法:
出现这类错误的问题可能是raw.githubusercontent.com网站被墙了;
一般这种情况,你可以打开百度,但是无法访问该网站;
所以只需要修改hosts文档,添加这个网站的IP地址。
#打开hosts文件
sudo vi /etc/hosts
#在最后面插入一句
199.232.28.133 raw.githubusercontent.com
#保存后退出,继续执行之前的指令rosdep update
————————————————
解决方案 解决:ERROR: error loading sources list: The read operation timed out

问题2、E: 仓库 “http://mirrors.ustc.edu.cn/ros/ubuntu focal Release” 没有 Release 文件

sudo sh -c '. /etc/lsb-release && echo "deb http://mirrors.tuna.tsinghua.edu.cn/ros/ubuntu/ `lsb_release -cs` main" > /etc/apt/sources.list.d/ros-latest.list'
解决方案:换源
E: 仓库 “http://mirrors.ustc.edu.cn/ros/ubuntu focal Release” 没有 Release 文件