Stable Diffusion WebUI
- 安装部署
-
- 环境准备
- 下载代码
- 启动webu.sh
- 访问WebUI
- 其他异常
- 其他设置
-
- 开启VAE和CLIP
- 部分参数说明
- 安装插件
-
- 中文汉化插件
- 安装civitai插件
- 提示词插件
-
- oldsix-prompt
- prompt-all-in-one
- 提示词反推插件
- 图像浏览器
- 图像分辨率调整
- 提示词的补全/翻译
安装部署
Stable Diffusion WebUI是一个基于Gradio 库的浏览器界面,用于使用Stable Diffusion 生成图像。 Stable Diffusion WebUI 提供了一个简单易用的界面,可以让用户快速生成图像。
注意:
这里因为是使用服务器玩Stable Diffusion WebUI,需要安装部署,记录一些实践经验,这里推荐Windos系统使用秋叶启动器,其进行了大量整合,用起来一个字:
爽。
环境准备
注意:以下执行自动安装脚本
webu.sh,会自动在./venv下创建并激活python虚拟环境。因此这里根据需要决定是否使用conda创建虚拟环境
创建虚拟环境
conda create -n sd python=3.10.6
进入虚拟环境
conda activate sd
下载代码
git clone https://github.com/AUTOMATIC1111/stable-diffusion-webui.git
启动webu.sh
切换到stable-diffusion-webui目录,执行如下命令
bash webui.sh
如果是root用户执行,不出意外,将出现如下异常:
root@master:~/work/stable-diffusion-webui# ./webui.sh

################################################################
Install script for stable-diffusion + Web UI
Tested on Debian 11 (Bullseye), Fedora 34+ and openSUSE Leap 15.4 or newer.
################################################################

################################################################
ERROR: This script must not be launched as root, aborting...
################################################################
解决方案:
1.注释掉webui.sh中关于root权限的判断
# can_run_as_root=1默认是0,修改为1
can_run_as_root=0
2.直接执行如下命令
bash webui.sh -f
最终,正常的情况下出现访问IP与端口
(sd) root@master:~/work/stable-diffusion-webui# bash webui.sh

################################################################
Install script for stable-diffusion + Web UI
Tested on Debian 11 (Bullseye), Fedora 34+ and openSUSE Leap 15.4 or newer.
################################################################

################################################################
Running on root user
################################################################

################################################################
Repo already cloned, using it as install directory
################################################################

################################################################
Create and activate python venv
################################################################

################################################################
Launching launch.py...
################################################################
Cannot locate TCMalloc (improves CPU memory usage)
Python 3.10.13 (main, Sep 11 2023, 13:44:35) [GCC 11.2.0]
Version: v1.7.0
Commit hash: cf2772fab0af5573da775e7437e6acdca424f26e
Launching Web UI with arguments:
no module 'xformers'. Processing without...
no module 'xformers'. Processing without...
No module 'xformers'. Proceeding without it.
Style database not found: /root/.work/stable-diffusion-webui/styles.csv
Loading weights [6ce0161689] from /root/.work/stable-diffusion-webui/models/Stable-diffusion/v1-5-pruned-emaonly.safetensors
Running on local URL:  http://127.0.0.1:7860
访问WebUI
启动成功后,访问http://127.0.0.1:7860

在Stable Diffusion checkpoint选择模型哪儿,点击<=按钮就会下载默认的一个模型
Downloading: "https://huggingface.co/runwayml/stable-diffusion-v1-5/resolve/main/v1-5-pruned-emaonly.safetensors" to /root/work/stable-diffusion-webui/models/Stable-diffusion/v1-5-pruned-emaonly.safetensors

100%|███████████████████████████████████████████████████████████████████████████| 3.97G/3.97G [08:06<00:00, 8.76MB/s]
Calculating sha256 for /root/.work/stable-diffusion-webui/models/Stable-diffusion/v1-5-pruned-emaonly.safetensors: 6ce0161689b3853acaa03779ec93eafe75a02f4ced659bee03f50797806fa2fa
画个图试试整体程序是否执行正常

其他异常
启动webu.sh时,还可能遇到如下异常:
(sd) root@master:~/work/stable-diffusion-webui# bash webui.sh

################################################################
Install script for stable-diffusion + Web UI
Tested on Debian 11 (Bullseye), Fedora 34+ and openSUSE Leap 15.4 or newer.
################################################################

################################################################
Running on root user
################################################################

################################################################
Repo already cloned, using it as install directory
################################################################

################################################################
Create and activate python venv
################################################################

################################################################
ERROR: Cannot activate python venv, aborting...
################################################################
原因:stable-diffusion-webui目录下存在venv文件夹,将其删除重新执行
(sd) root@master:~/work/stable-diffusion-webui# ls
CHANGELOG.md           javascript      requirements-test.txt        venv
CITATION.cff           launch.py       requirements.txt             webui.bat
CODEOWNERS             LICENSE.txt     requirements_versions.txt    webui-macos-env.sh
configs                localizations   screenshot.png               webui.py
embeddings             models          script.js                    webui.sh
environment-wsl2.yaml  modules         scripts                      webui-user.bat
extensions             package.json    style.css                    webui-user.sh
extensions-builtin     pyproject.toml  test
html                   README.md       textual_inversion_templates
删除venv目录
rm venv/ -rf
重新运行命令,等待相关依赖下载
(sd) root@master:~/work/stable-diffusion-webui# bash webui.sh

################################################################
Install script for stable-diffusion + Web UI
Tested on Debian 11 (Bullseye), Fedora 34+ and openSUSE Leap 15.4 or newer.
################################################################

################################################################
Running on root user
################################################################

################################################################
Repo already cloned, using it as install directory
################################################################

################################################################
Create and activate python venv
################################################################

################################################################
Launching launch.py...
################################################################
Cannot locate TCMalloc (improves CPU memory usage)
Python 3.10.13 (main, Sep 11 2023, 13:44:35) [GCC 11.2.0]
Version: v1.7.0
Commit hash: cf2772fab0af5573da775e7437e6acdca424f26e
Installing torch and torchvision
Looking in indexes: https://pypi.org/simple, https://download.pytorch.org/whl/cu118
Collecting torch==2.0.1
  Downloading https://download.pytorch.org/whl/cu118/torch-2.0.1%2Bcu118-cp310-cp310-linux_x86_64.whl (2267.3 MB)
     ━━━━━━━╺━━━━━━━━━━━━━━━━━━━━━━━━━━━━━━━━ 0.4/2.3 GB 45.1 MB/s eta 0:00:42
Installing clip
Traceback (most recent call last):
  File "/root/work/stable-diffusion-webui/launch.py", line 48, in <module>
    main()
  File "/root/work/stable-diffusion-webui/launch.py", line 39, in main
    prepare_environment()
  File "/root/work/stable-diffusion-webui/modules/launch_utils.py", line 391, in prepare_environment
    run_pip(f"install {clip_package}", "clip")
  File "/root/work/stable-diffusion-webui/modules/launch_utils.py", line 144, in run_pip
    return run(f'"{python}" -m pip {command} --prefer-binary{index_url_line}', desc=f"Installing {desc}", errdesc=f"Couldn't install {desc}", live=live)
  File "/root/work/stable-diffusion-webui/modules/launch_utils.py", line 116, in run
    raise RuntimeError("\n".join(error_bits))
RuntimeError: Couldn't install clip.
Command: "/root/work/stable-diffusion-webui/venv/bin/python3" -m pip install https://github.com/openai/CLIP/archive/d50d76daa670286dd6cacf3bcd80b5e4823fc8e1.zip --prefer-binary
Error code: 1
stdout: Collecting https://github.com/openai/CLIP/archive/d50d76daa670286dd6cacf3bcd80b5e4823fc8e1.zip
Traceback (most recent call last):
  File "/root/work/stable-diffusion-webui/launch.py", line 48, in <module>
    main()
  File "/root/work/stable-diffusion-webui/launch.py", line 39, in main
    prepare_environment()
  File "/root/work/stable-diffusion-webui/modules/launch_utils.py", line 424, in prepare_environment
    run_pip(f"install -r \"{requirements_file}\"", "requirements")
  File "/root/work/stable-diffusion-webui/modules/launch_utils.py", line 144, in run_pip
    return run(f'"{python}" -m pip {command} --prefer-binary{index_url_line}', desc=f"Installing {desc}", errdesc=f"Couldn't install {desc}", live=live)
  File "/root/work/stable-diffusion-webui/modules/launch_utils.py", line 116, in run
    raise RuntimeError("\n".join(error_bits))
RuntimeError: Couldn't install requirements.
Command: "/root/work/stable-diffusion-webui/venv/bin/python3" -m pip install -r "requirements_versions.txt" --prefer-binary
Error code: 1
有个Cannot locate TCMalloc (improves CPU memory usage)日志
Create and activate python venv
################################################################

################################################################
Launching launch.py...
################################################################
Cannot locate TCMalloc (improves CPU memory usage)
Python 3.10.13 (main, Sep 11 2023, 13:44:35) [GCC 11.2.0]
Version: v1.7.0
使用如下命令解决:
sudo apt-get install libgoogle-perftools4 libtcmalloc-minimal4 -y
其他设置
开启VAE和CLIP
安装部署SD成功后,发现跟平时用的SD有点不一样,少了VAE和CLIP.4
选择
Settings,拖到最下面会看到Show all pages,定位到「Quicksettings list」这一配置,在Quicksettings list里再添加两项:「sd_vae」、「CLIP_stop_at_last_layers」


SD VAE常用vae-ft-mse-840000,可以访问如下地址下载,然后将其放到work/stable-diffusion-webui/models/VAE目录
https://civitai.com/models/276082/vae-ft-mse-840000-ema-pruned-or-840000-or-840k-sd15-vae
部分参数说明
采样步数/Sampling steps
采样步数:范围1-150

数值越高:细节越多,渲染越慢

数值越低:细节越少,渲染越快

建议范围:20-40
采样器/Sampling method
a:噪点不居,关键词识别度稍低

Karras: 去噪快

DDIM&PLMS: SD最早的采样器(过时)

DPM: 比较建使周DPM+SDEKarras
画部修复:渲染人物图时记得沟上,提高SD对人体面部的细带捕捉
无缝贴图:主要用来做纹理图案背景
高分比率修复:把摸瑚的图片变清晰
图像生成种子/Seed
筛子: 重置种子为-1,出图完全随机

循环标志: 复制上张图的种子
安装插件
在stable-diffusion-webui中,安装插件有2种方式,这里主要以直接从URL方式安装为例说明。
1.进入
Extensions选项卡,点击Install from URL,输入框以下Git仓库地,然后点击黄色按钮Install完成安装
2.进入
Extensions选项卡,点击Available,搜索插件名称,然后点击按钮Install完成安装
中文汉化插件
进入Extensions选项卡,点击Install from URL,输入框以下Git仓库地,然后点击黄色按钮Install完成安装
https://github.com/VinsonLaro/stable-diffusion-webui-chinese.git

点击Apply And Restart UI重启WebUI

点击Settings,左侧点击User interface界面,在Localization,选择Chinese-All或者Chinese-English。然后点击黄色按钮Apply settings,再点击右侧的Reload UI完成汉化

汉化后整体效果如下:

安装civitai插件
插件URL:
https://github.com/butaixianran/Stable-Diffusion-Webui-Civitai-Helper.git

玩AI绘图,https://civitai.com/这个网站应该不用多说,在Account settings中创建一个API KEY

在设置项中,右侧选择Civitai Helper,配置上面申请的API Key,至于Proxy地址看自己网络情况

输入Civitai中的模型地址,然后执行1、2、3步骤进行模型下载
https://civitai.com/models/36520/ghostmix

同时后台程序控制台的日志可以看出下载进度
Civitai Helper: Getting model info by: https://civitai.com/models/36520/ghostmix
Civitai Helper: Run get_model_id_from_url
Civitai Helper: Request model info from civitai
Civitai Helper: Get subfolder for: /root/work/stable-diffusion-webui/models/Stable-diffusion
Civitai Helper: Get following info for downloading:
Civitai Helper: model_name:GhostMix
Civitai Helper: model_type:ckp
Civitai Helper: subfolders:['/']
Civitai Helper: version_strs:['v2.0-BakedVAE_76907', 'v2.0-NoVAE_77803', 'v1.2_59685', 'v1.2-BakedVAE_64503', 'v1.1_47142', 'v1.1-BakedVAE_53738', 'v1.0_42601']
Civitai Helper: Start downloading from: https://civitai.com/api/download/models/76907
Civitai Helper: File size: 2400065384
Civitai Helper: Target file path: /root/work/stable-diffusion-webui/models/Stable-diffusion/ghostmix_v20Bakedvae.safetensors
Civitai Helper: Downloading to temp file: /root/work/stable-diffusion-webui/models/Stable-diffusion/ghostmix_v20Bakedvae.downloading
Civitai Helper: Downloaded size: 0
[---------                                         ] 18%
提示词插件
oldsix-prompt
插件URL:
https://github.com/thisjam/sd-webui-oldsix-prompt.git
应用并重启

prompt-all-in-one
sd-webui-prompt-all-in-one是一个基于 stable-diffusion-webui 的扩展,旨在提高提示词/反向提示词输入框的使用体验。它拥有更直观、强大的输入界面功能,它提供了自动翻译、历史记录和收藏等功能,它支持多种语言,满足不同用户的需求。
插件URL:
https://github.com/Physton/sd-webui-prompt-all-in-one.git

提示词反推插件
可以从上传的图像中识别并提取内容关键词,方便我们生成类似的图像。
插件URL:
https://github.com/toriato/stable-diffusion-webui-wd14-tagger.git

图像浏览器
能轻松直观的查看、管理所有用 WebUI 生成的图像
https://github.com/AlUlkesh/stable-diffusion-webui-images-browser.git

图像分辨率调整
https://github.com/thomasasfk/sd-webui-aspect-ratio-helper
提示词的补全/翻译
https://github.com/DominikDoom/a1111-sd-webui-tagcomplete
关于AI绘画技术储备
学好 AI绘画 不论是就业还是做副业赚钱都不错,但要学会 AI绘画 还是要有一个学习规划。最后大家分享一份全套的 AI绘画 学习资料,给那些想学习 AI绘画 的小伙伴们一点帮助!
感兴趣的小伙伴,赠送全套AIGC学习资料和安装工具,包含AI绘画、AI人工智能等前沿科技教程,模型插件,具体看下方。
需要的可以微信扫描下方CSDN官方认证二维码免费领取【保证100%免费】

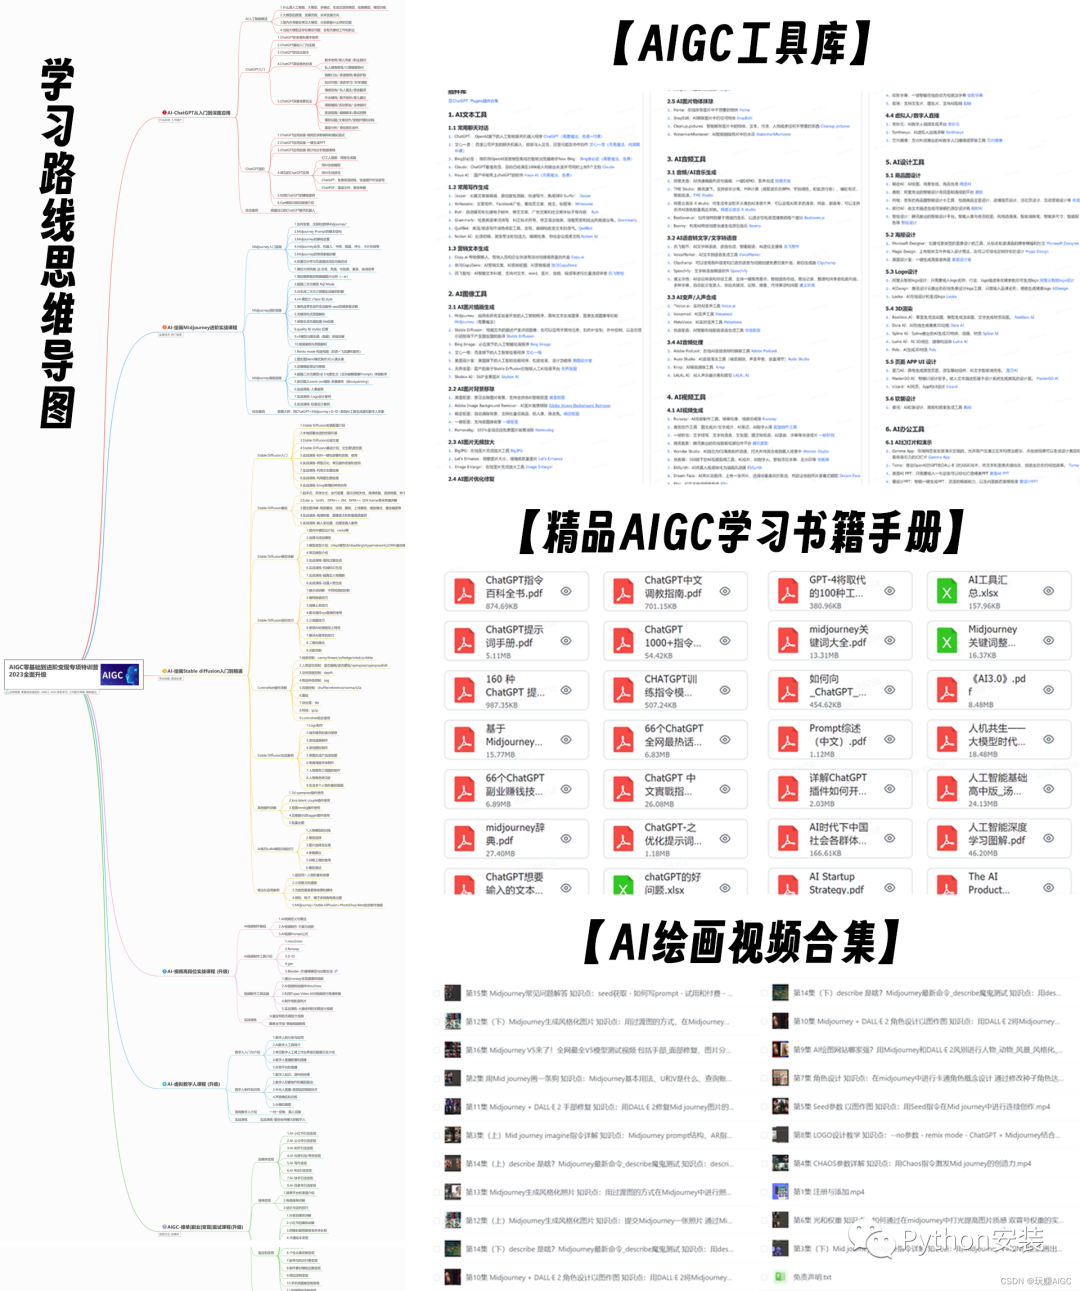
一、AIGC所有方向的学习路线
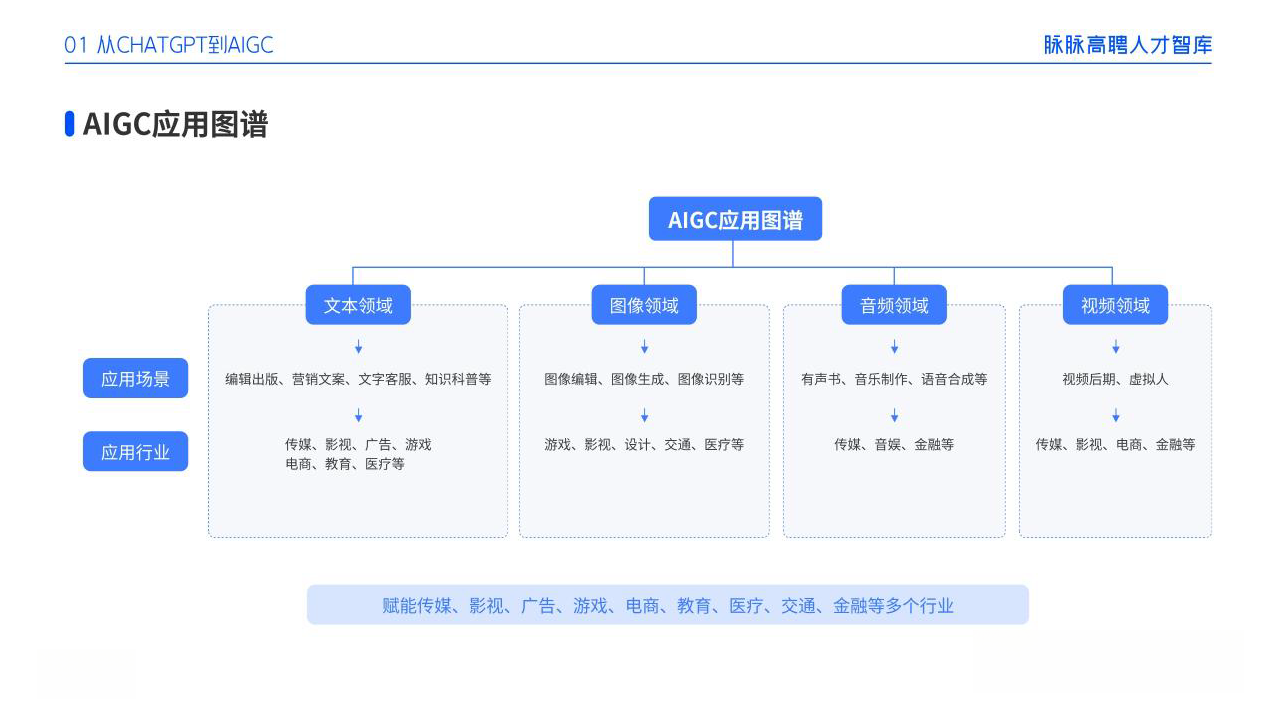
AIGC所有方向的技术点做的整理,形成各个领域的知识点汇总,它的用处就在于,你可以按照下面的知识点去找对应的学习资源,保证自己学得较为全面。
二、AIGC必备工具
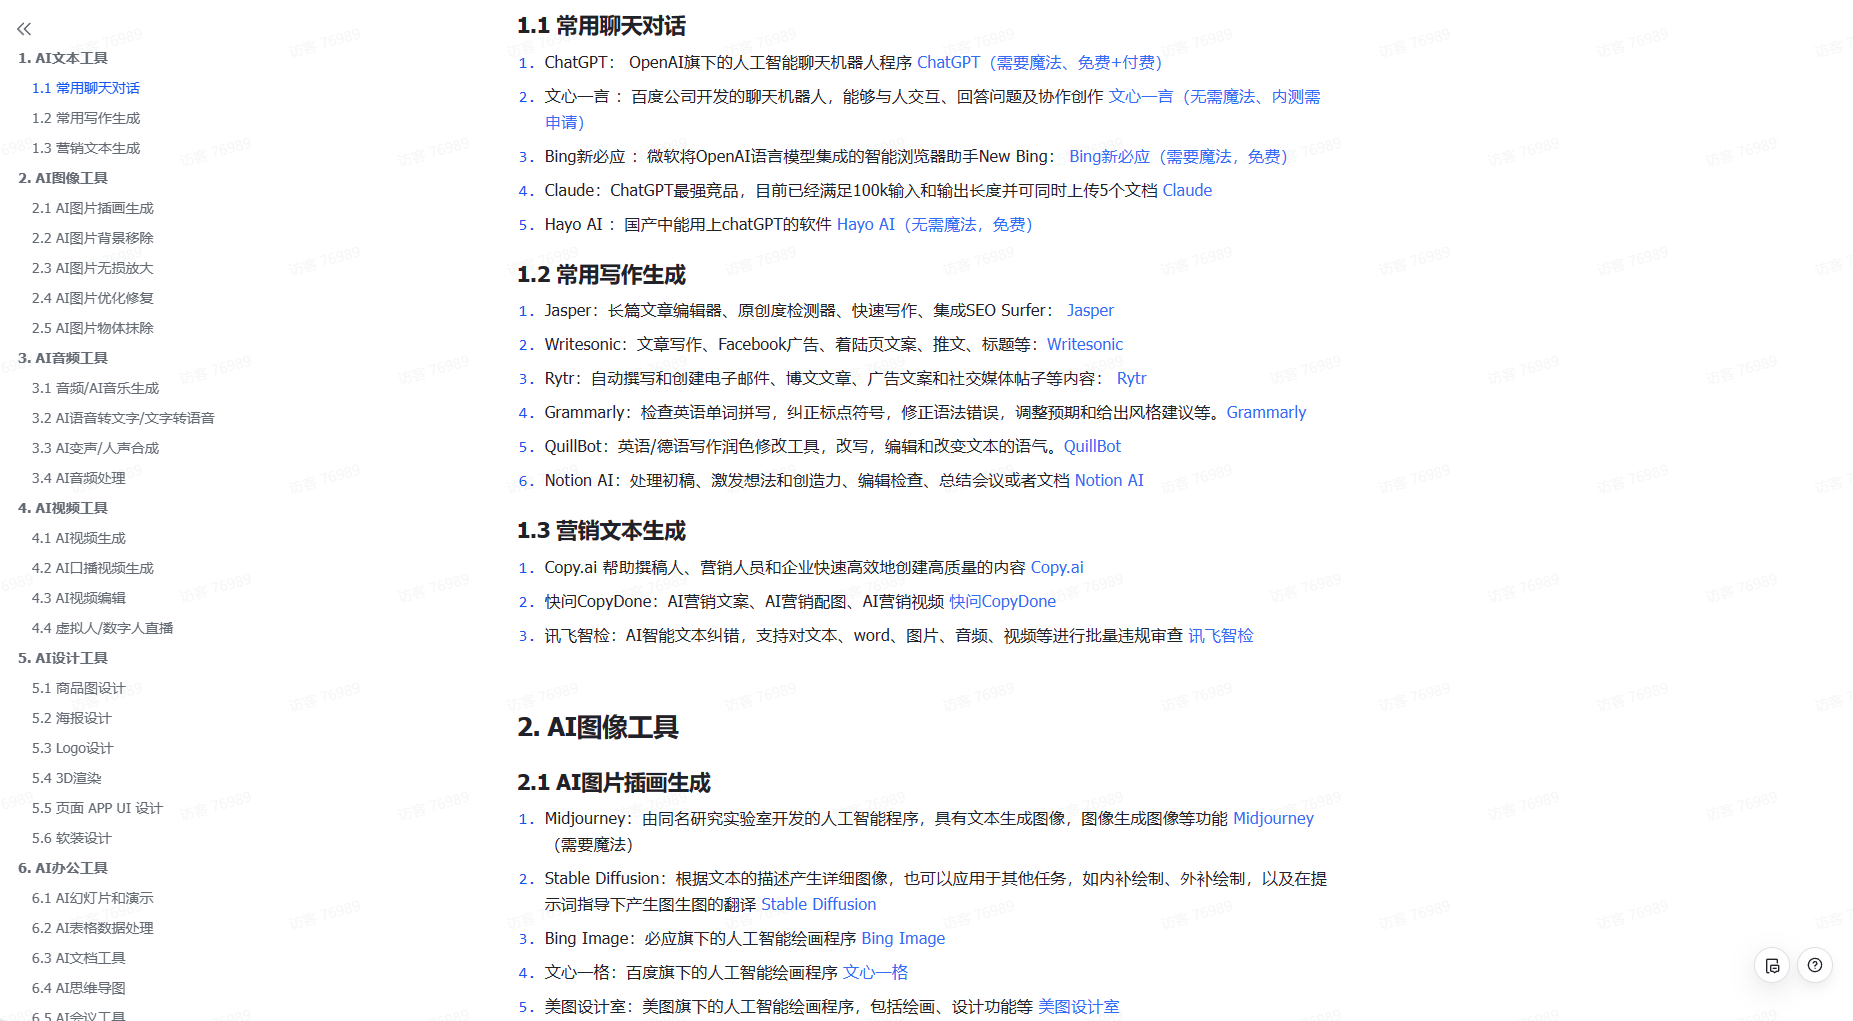
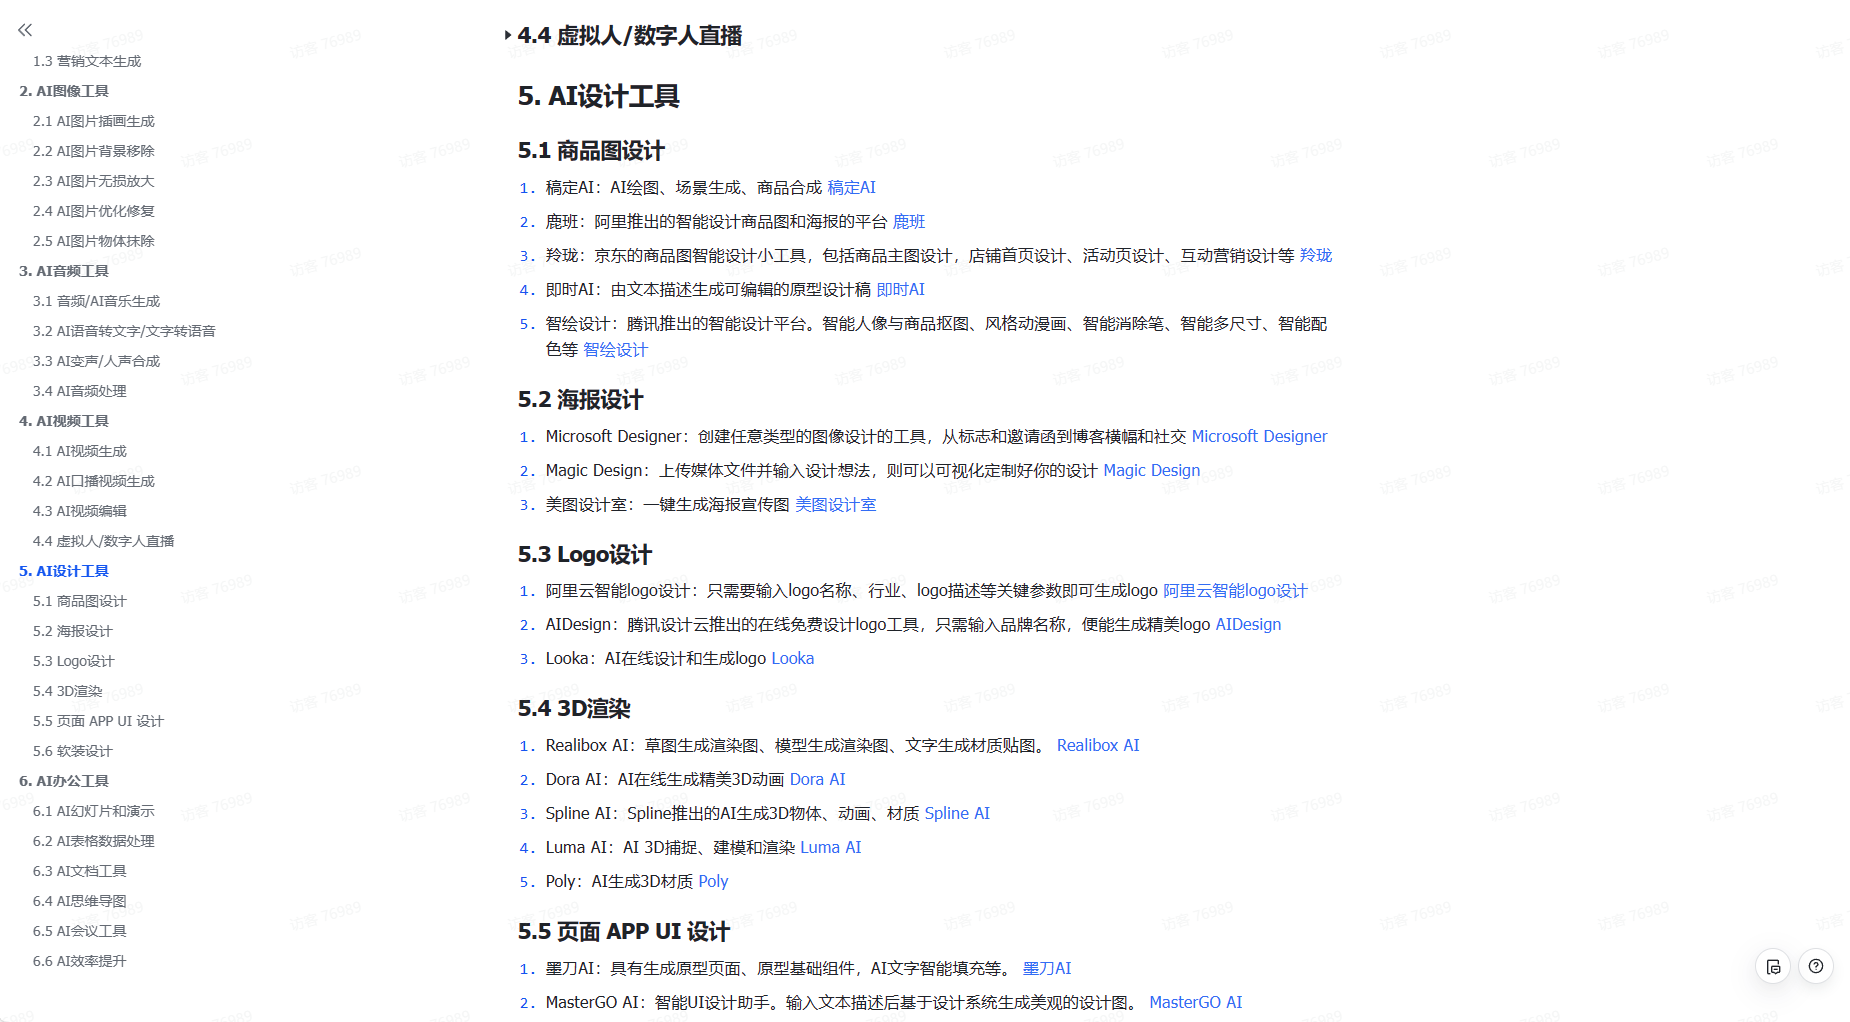
工具都帮大家整理好了,安装就可直接上手!

三、最新AIGC学习笔记
当我学到一定基础,有自己的理解能力的时候,会去阅读一些前辈整理的书籍或者手写的笔记资料,这些笔记详细记载了他们对一些技术点的理解,这些理解是比较独到,可以学到不一样的思路。
四、AIGC视频教程合集
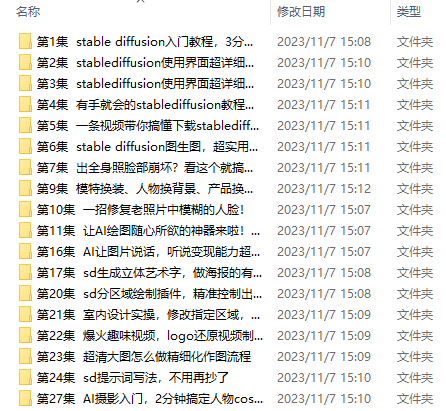
观看全面零基础学习视频,看视频学习是最快捷也是最有效果的方式,跟着视频中老师的思路,从基础到深入,还是很容易入门的。
五、实战案例
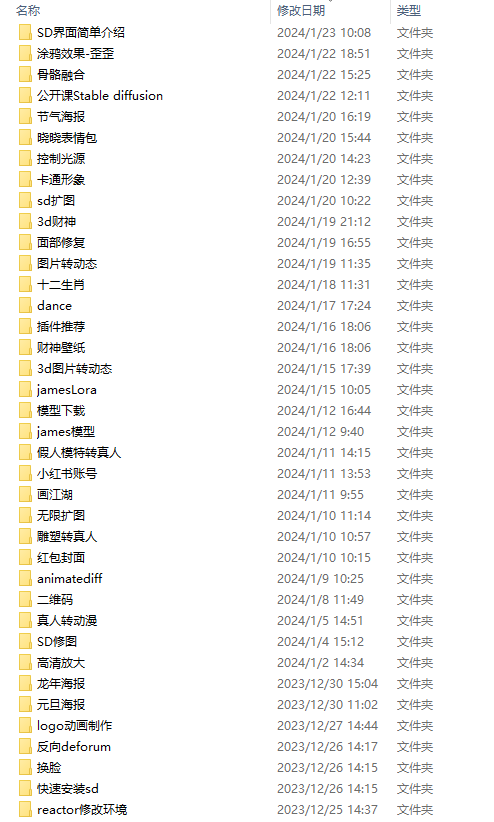
纸上得来终觉浅,要学会跟着视频一起敲,要动手实操,才能将自己的所学运用到实际当中去,这时候可以搞点实战案例来学习。
这份完整版的学习资料已经上传CSDN,朋友们如果需要可以微信扫描下方CSDN官方认证二维码免费领取【保证100%免费】
