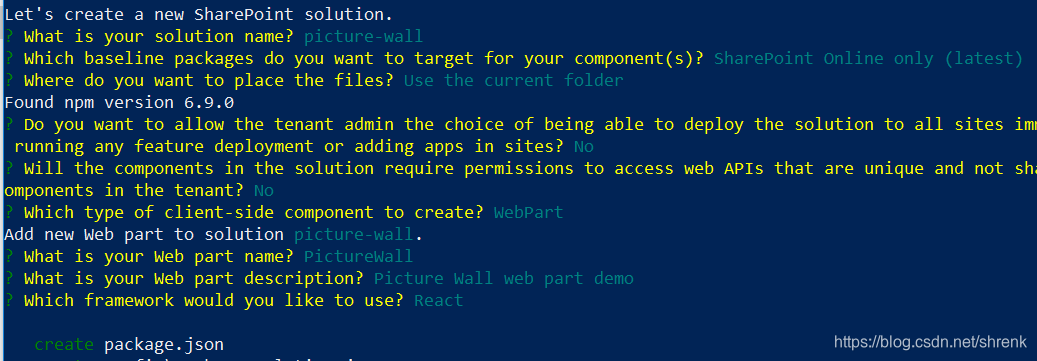
使用yo @microsoft/sharepoint创建web part:
使用如下命令安装masonry-layout以及类型定义:
npm install --save masonry-layout @types/masonry-layout安装pnpjs,用来读取保存在SharePoint图片库中的图片:
npm install --save @pnp/sp @pnp/odata @pnp/common @pnp/logging创建一个图片库,名为Picture Library,并上传一些图片,指定title和description:

使用VS Code打开项目,最终的项目结构如下:

实现方式:
首先在PictureWall组件的IPictureWallProps.ts文件中添加一个属性:domElement,稍后用来为页面元素应用Masonry样式。
export interface IPictureWallProps {
  description: string;
  domElement: HTMLElement;
}
再为PictureWall组件添加一个IPictureWallState.ts文件,定义PictureWall组件的一个状态:images对象数组,用来保存显示在图片墙上的图片。这个数组的类型是ImageInfo,也定义在这个文件中:
export interface ImageInfo {
    url: string;
    title: string;
    description: string;
}

export interface IPictureWallStates {
    images: ImageInfo[];
}
然后在PictureWall.tsx文件中导入IPictureWallStates接口中的ImageInfo,IPictureWallStates和sp对象,还有Spinner对象,用来在加载数据过程中显示滚动条。别忘记在类的定义中添加IPictureWallStates:

添加构造函数,初始化images状态:

添加componentWillMount方法,在这个方法中读取图片库中的图片数据。包括图片的url,title和description,然后把结果保存在组件的state中:

render方法中需要展示这些图片,我们定义一个名字为MasonryLayout的组件来展示图片,这个组件使用流行的Masonry框架,可以展示漂亮的图片墙。Masonry介绍:https://masonry.desandro.com/

接下来实现这个MasonryLayout组件。
添加一个masonry文件夹,在其中创建三个文件:
IMasonryLayoutProps.ts, MasonryLayout.module.scss,MasonryLayout.tsx:

IMasonryLayoutProps.ts中定义了MasonryLayout组件的两个属性:domElement和images:

MasonryLayout.module.scss中定义了样式:

MasonryLayout.tsx中定义MasonryLayout组件,首先导入相关接口,对象,以及Masonry对象:

最后定义MasonryLayout类如下,
其中在componentDidMount方法中,找到页面中的div元素,应用Masonry样式,
在render方法中展示图片,
要记得在componentWillUnmount方法中销毁masonry。

最后要在PictureWall组件中导入MasonryLayout组件:

在PictureWallWebPart中,传入domElement:

启动gulp serve,在online工作台中显示效果如下:

代码地址:https://github.com/shrenky/spfx-picturewall
参考:
https://blog.mastykarz.nl/use-masonry-sharepoint-framework-client-side-web-parts/
这个博客介绍了使用纯js和jquery的方法实现Masonry图片墙,这里用react框架实现,并且添加了从图片库读取图片的操作。
