文章目录
Fragment实现底部导航栏
由于在最近的学习过程中,我们发现很多时候,我们手机的下端,都会出现一个导航栏。这便让我有了很想了解他是如何完成的想法。今天,我便开始进行底部导航栏的实现。实现底部导航栏包含了几种方法。我将进行逐一介绍。
1.使用TextView
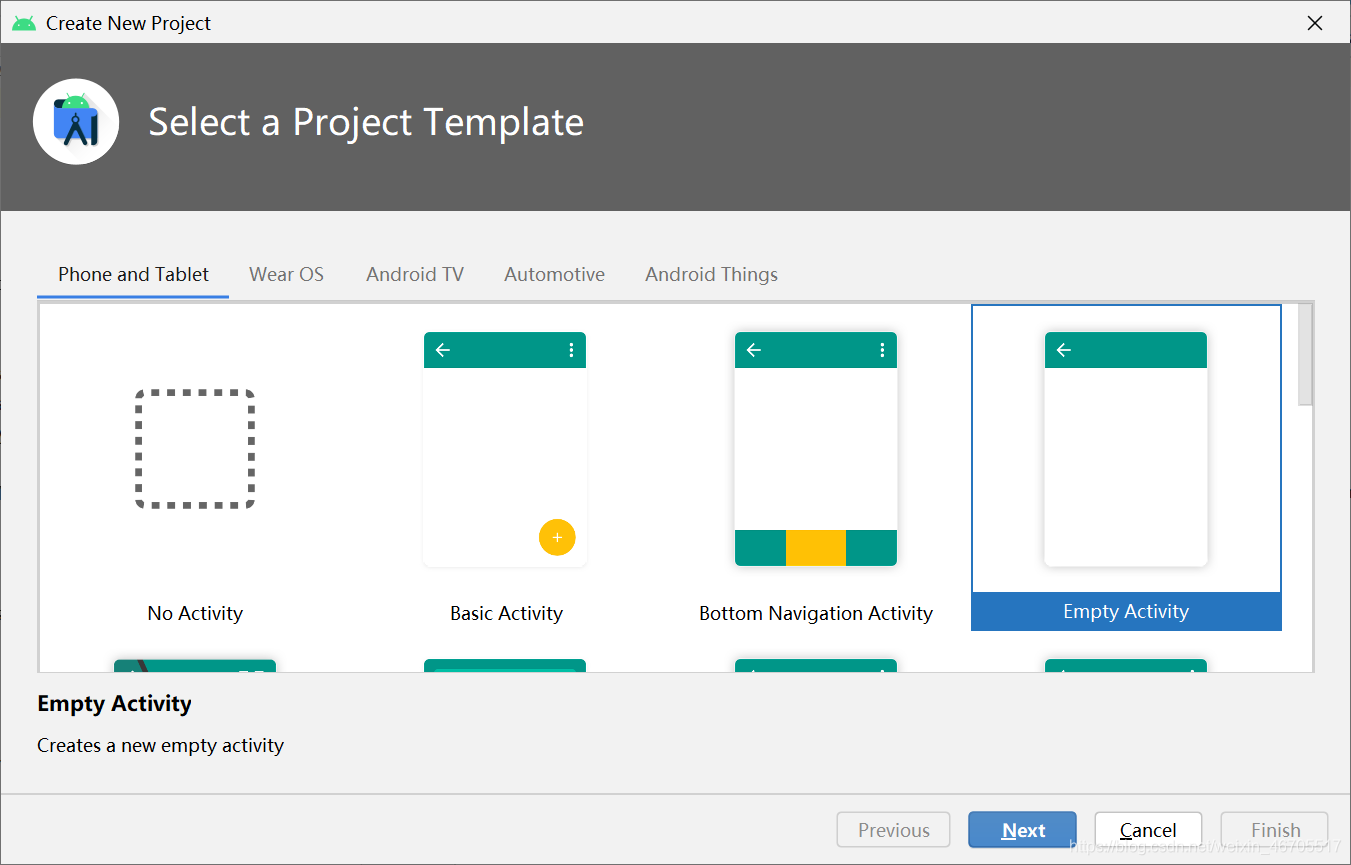
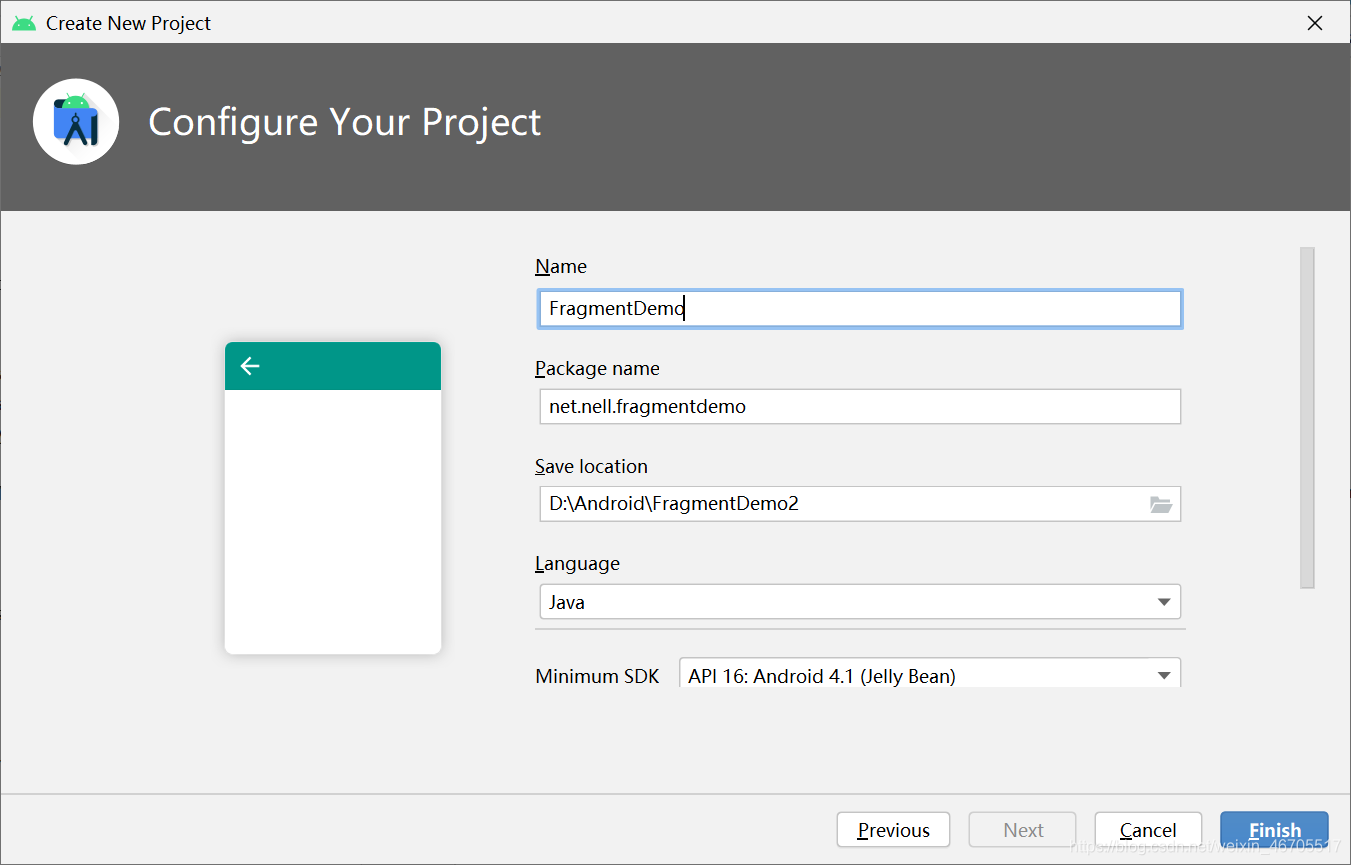
1.1 新建项目【FragmentDemo】
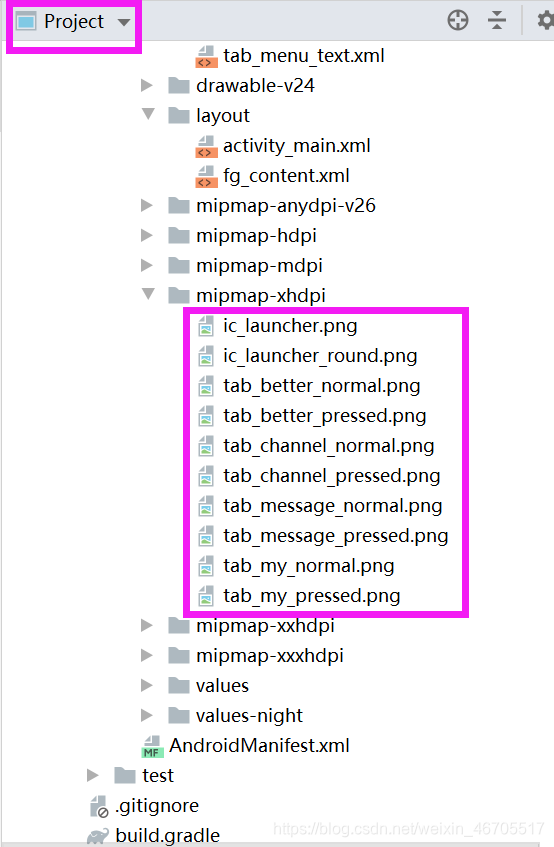
1.2 添加图片素材
1.3 底部选项的一些资源文件
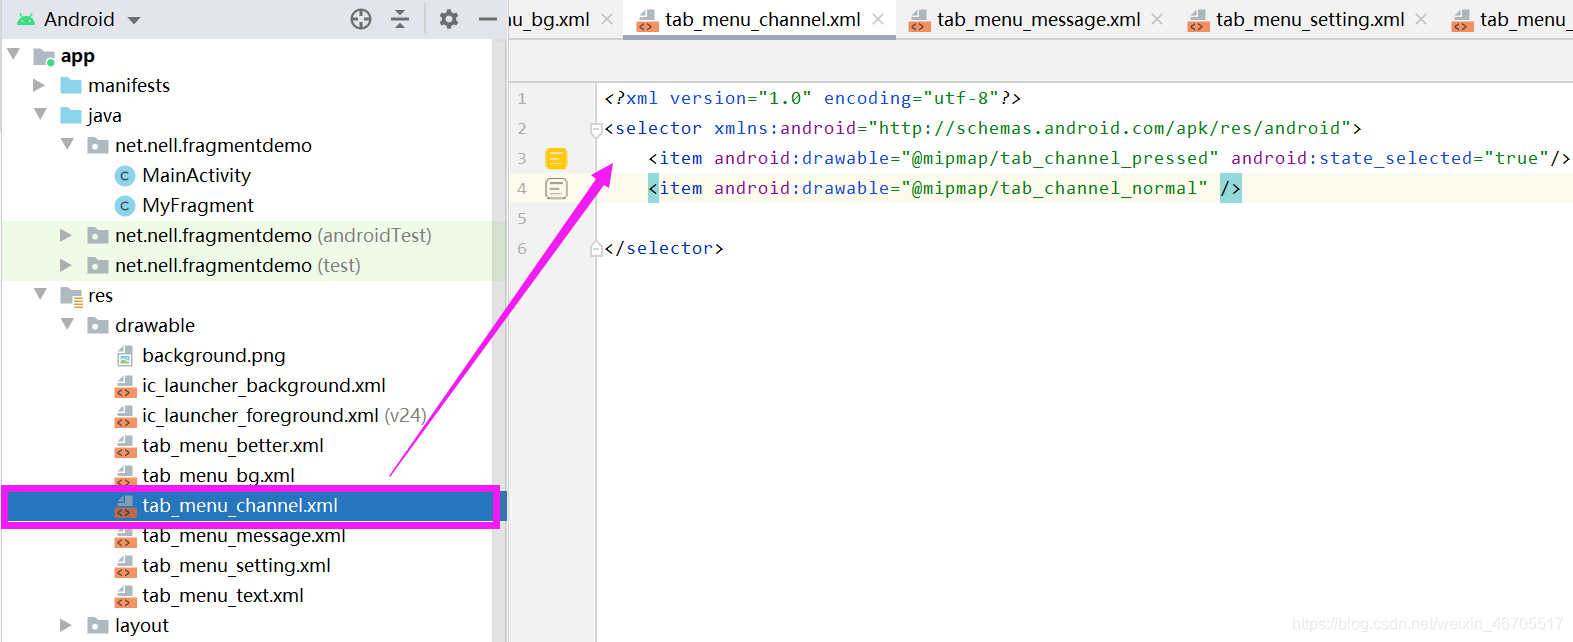
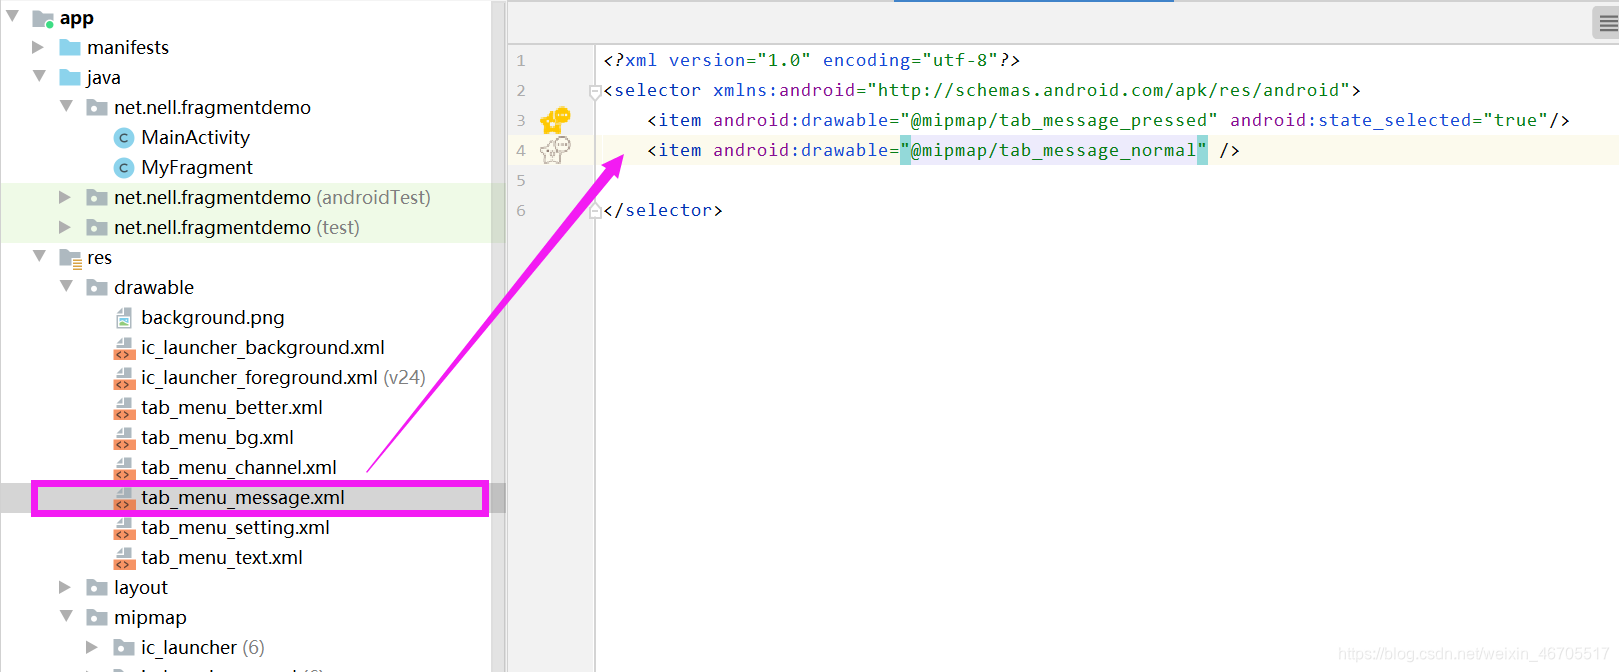
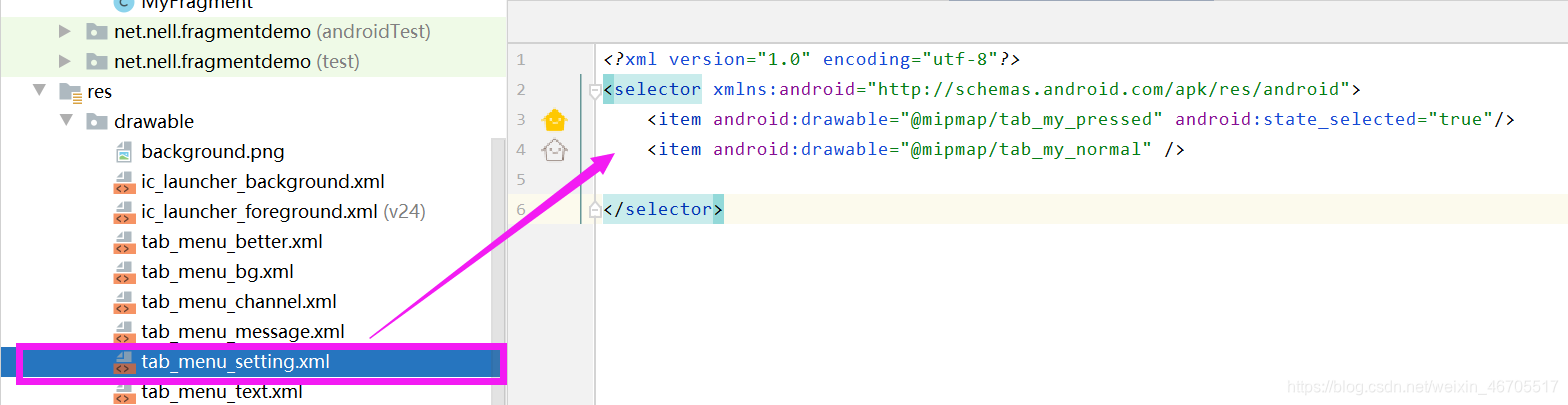
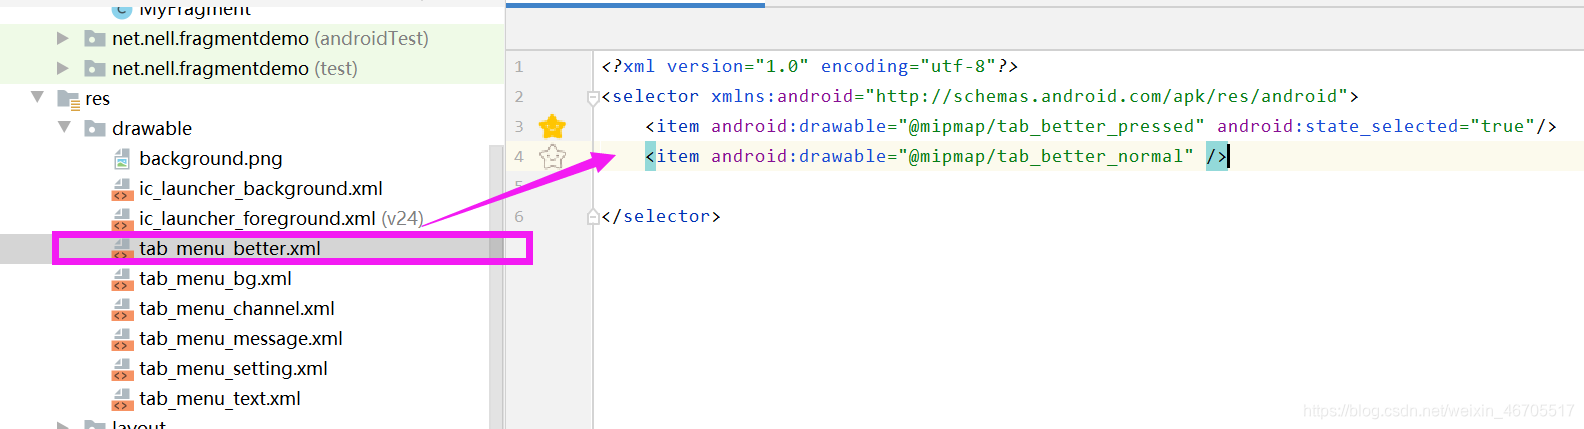
1.3.1 图片Drawable资源
<?xml version="1.0" encoding="utf-8"?>
<selector xmlns:android="http://schemas.android.com/apk/res/android">
    <item android:drawable="@mipmap/tab_channel_pressed" android:state_selected="true"/>
    <item android:drawable="@mipmap/tab_channel_normal" />

</selector>
<?xml version="1.0" encoding="utf-8"?>
<selector xmlns:android="http://schemas.android.com/apk/res/android">
    <item android:drawable="@mipmap/tab_message_pressed" android:state_selected="true"/>
    <item android:drawable="@mipmap/tab_message_normal" />

</selector>
<?xml version="1.0" encoding="utf-8"?>
<selector xmlns:android="http://schemas.android.com/apk/res/android">
    <item android:drawable="@mipmap/tab_my_pressed" android:state_selected="true"/>
    <item android:drawable="@mipmap/tab_my_normal" />

</selector>
<?xml version="1.0" encoding="utf-8"?>
<selector xmlns:android="http://schemas.android.com/apk/res/android">
    <item android:drawable="@mipmap/tab_better_pressed" android:state_selected="true"/>
    <item android:drawable="@mipmap/tab_better_normal" />

</selector>
1.3.2 文字资源文件

<?xml version="1.0" encoding="utf-8"?>
<selector xmlns:android="http://schemas.android.com/apk/res/android">
    <item android:color="@color/text_yellow" android:state_selected="true" />
    <item android:color="@color/text_gray" />
</selector>
1.3.3 背景资源文件
<?xml version="1.0" encoding="utf-8"?>
<selector xmlns:android="http://schemas.android.com/apk/res/android">
    <item android:state_selected="true">
        <shape>
            <solid android:color="#FFC4C4C4" />
        </shape>
    </item>
    <item>
        <shape>
            <solid android:color="@color/transparent" />
        </shape>
    </item>
</selector>
1.3.4 activity_main.xml

<RelativeLayout xmlns:android="http://schemas.android.com/apk/res/android"
    xmlns:tools="http://schemas.android.com/tools"
    android:layout_width="match_parent"
    android:layout_height="match_parent"
    tools:context=".MainActivity">

    <RelativeLayout
        android:id="@+id/ly_top_bar"
        android:layout_width="match_parent"
        android:layout_height="48dp"
        android:background="@color/bg_topbar">

        <TextView
            android:id="@+id/txt_topbar"
            android:layout_width="match_parent"
            android:layout_height="match_parent"
            android:layout_centerInParent="true"
            android:gravity="center"
            android:textSize="18sp"
            android:textColor="@color/text_topbar"
            android:text="信息"/>


        <View
            android:layout_width="match_parent"
            android:layout_height="2px"
            android:background="@color/div_white"
            android:layout_alignParentBottom="true"/>

    </RelativeLayout>


    <LinearLayout
        android:id="@+id/ly_tab_bar"
        android:layout_width="match_parent"
        android:layout_height="56dp"
        android:layout_alignParentBottom="true"
        android:background="@color/bg_white"
        android:orientation="horizontal">

        <TextView
            android:id="@+id/txt_channel"
            android:layout_width="0dp"
            android:layout_height="match_parent"
            android:layout_weight="1"
            android:background="@drawable/tab_menu_bg"
            android:drawablePadding="3dp"
            android:drawableTop="@drawable/tab_menu_channel"
            android:gravity="center"
            android:padding="5dp"
            android:text="@string/tab_menu_alert"
            android:textColor="@drawable/tab_menu_text"
            android:textSize="16sp" />

        <TextView
            android:id="@+id/txt_message"
            android:layout_width="0dp"
            android:layout_height="match_parent"
            android:layout_weight="1"
            android:background="@drawable/tab_menu_bg"
            android:drawablePadding="3dp"
            android:drawableTop="@drawable/tab_menu_message"
            android:gravity="center"
            android:padding="5dp"
            android:text="@string/tab_menu_profile"
            android:textColor="@drawable/tab_menu_text"
            android:textSize="16sp" />

        <TextView
            android:id="@+id/txt_better"
            android:layout_width="0dp"
            android:layout_height="match_parent"
            android:layout_weight="1"
            android:background="@drawable/tab_menu_bg"
            android:drawablePadding="3dp"
            android:drawableTop="@drawable/tab_menu_better"
            android:gravity="center"
            android:padding="5dp"
            android:text="@string/tab_menu_pay"
            android:textColor="@drawable/tab_menu_text"
            android:textSize="16sp" />

        <TextView
            android:id="@+id/txt_setting"
            android:layout_width="0dp"
            android:layout_height="match_parent"
            android:layout_weight="1"
            android:background="@drawable/tab_menu_bg"
            android:drawablePadding="3dp"
            android:drawableTop="@drawable/tab_menu_setting"
            android:gravity="center"
            android:padding="5dp"
            android:text="@string/tab_menu_setting"
            android:textColor="@drawable/tab_menu_text"
            android:textSize="16sp"/>

    </LinearLayout>

    <View
        android:id="@+id/div_tab_bar"
        android:layout_width="match_parent"
        android:layout_height="2px"
        android:background="@color/div_white"
        android:layout_above="@id/ly_tab_bar"/>


    <FrameLayout
        android:layout_width="match_parent"
        android:layout_height="match_parent"
        android:layout_below="@id/ly_top_bar"
        android:layout_above="@id/div_tab_bar"
        android:id="@+id/ly_content">

    </FrameLayout>

</RelativeLayout>
1.3.5 AndroidManifest.xml文件
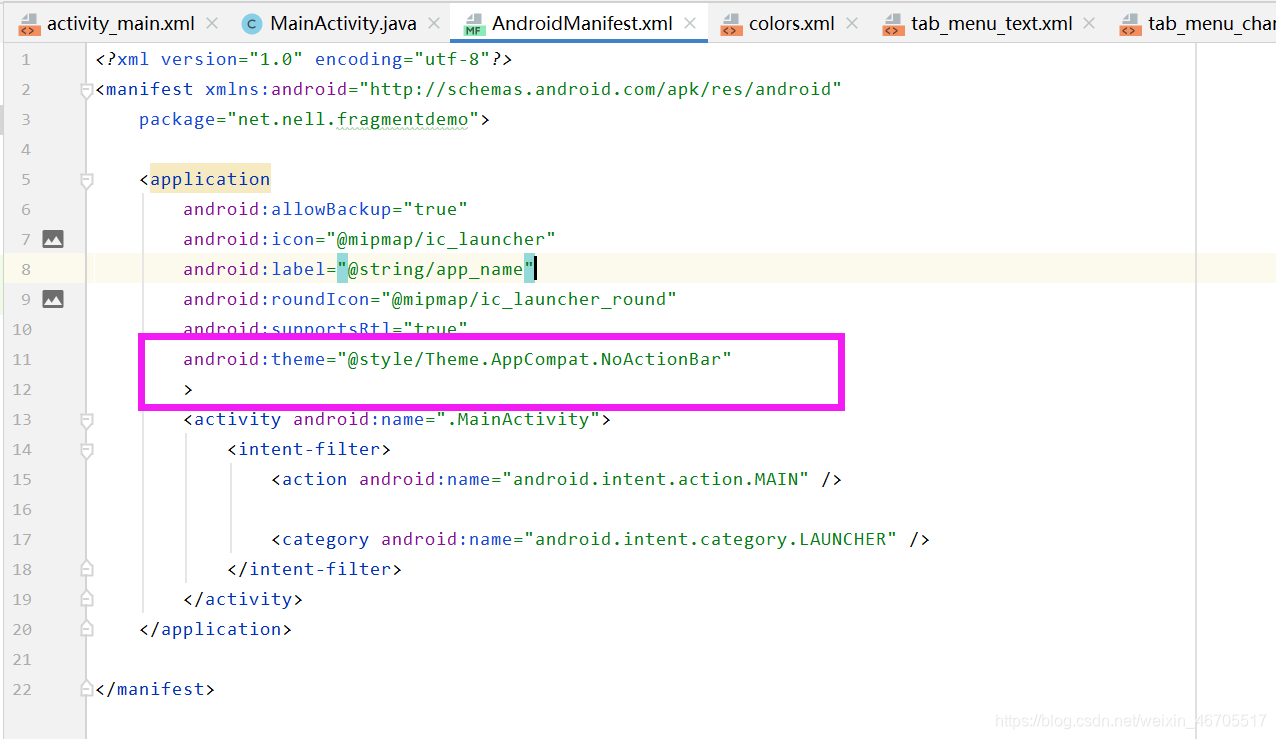
android:theme="@style/Theme.AppCompat.NoActionBar"
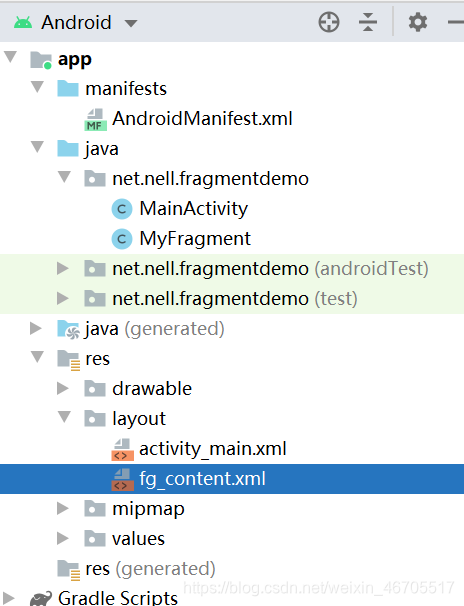
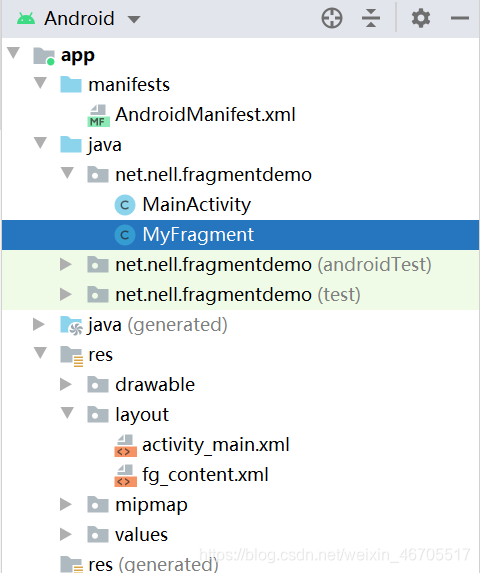
1.3.6 创建一个Fragment的简单布局与类
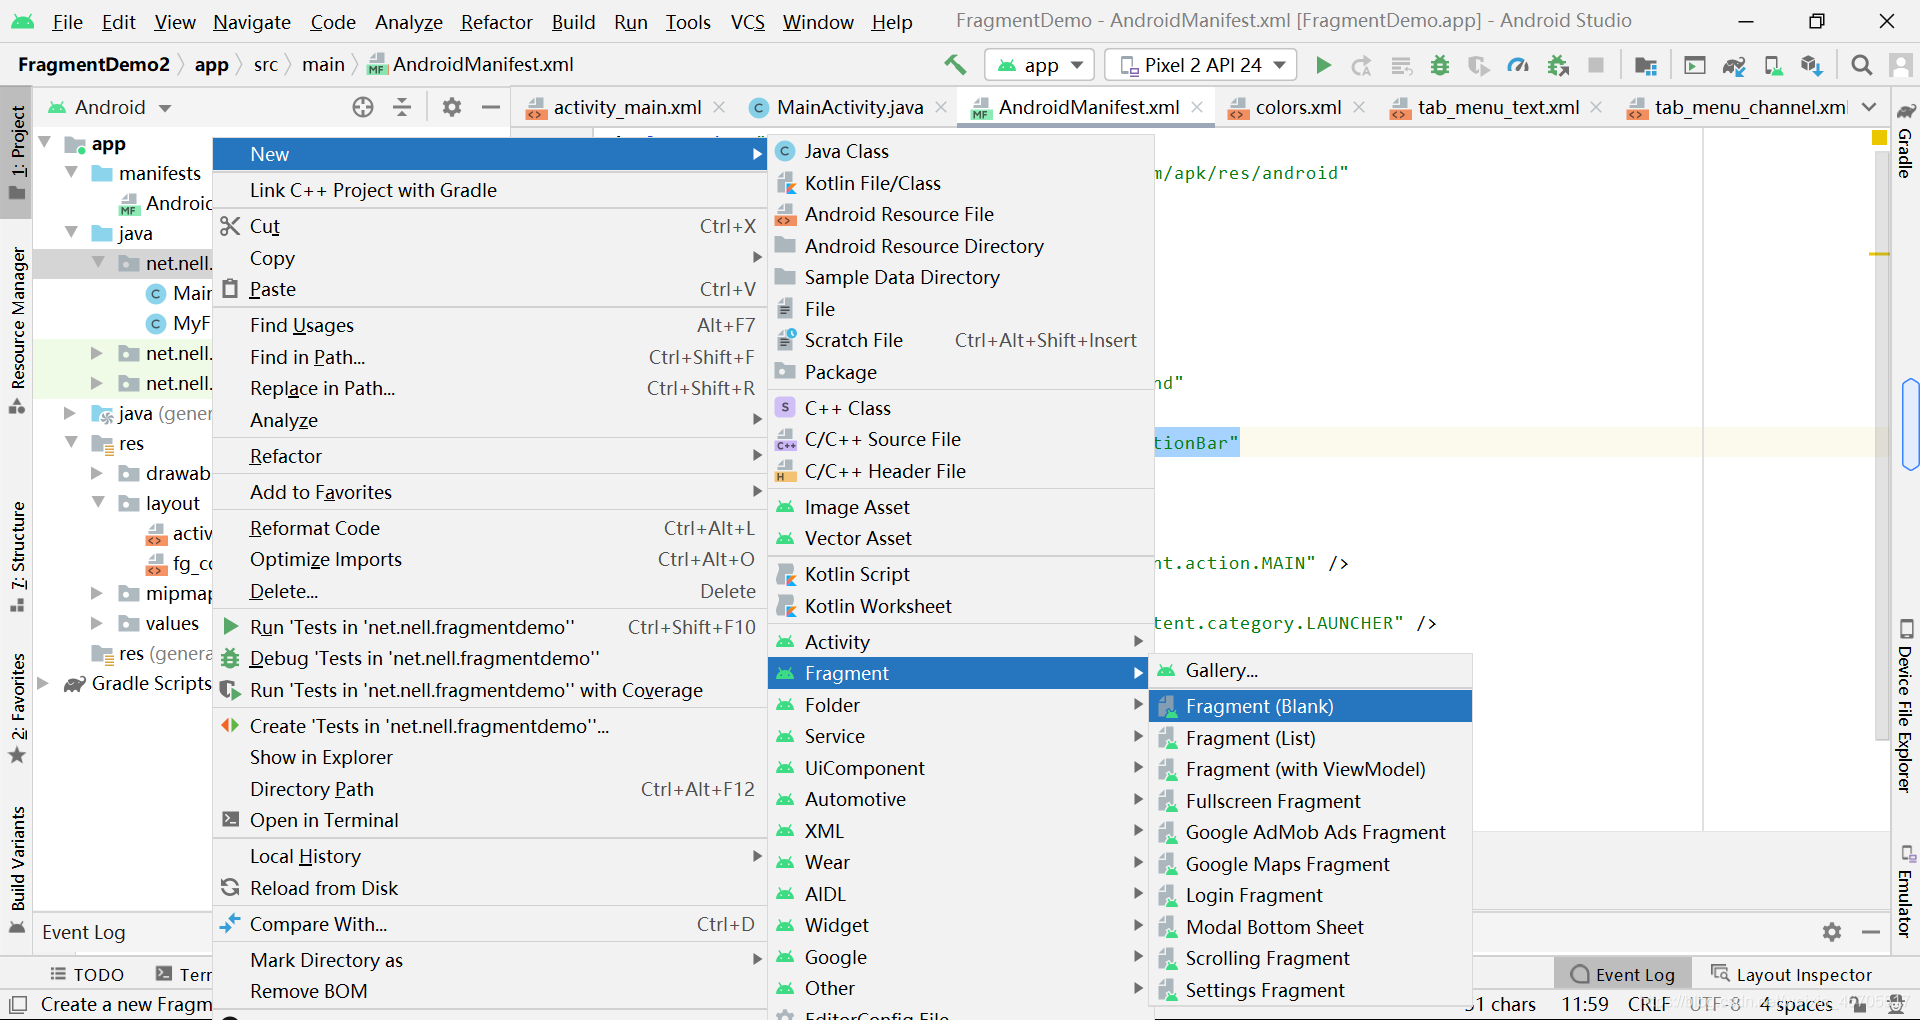
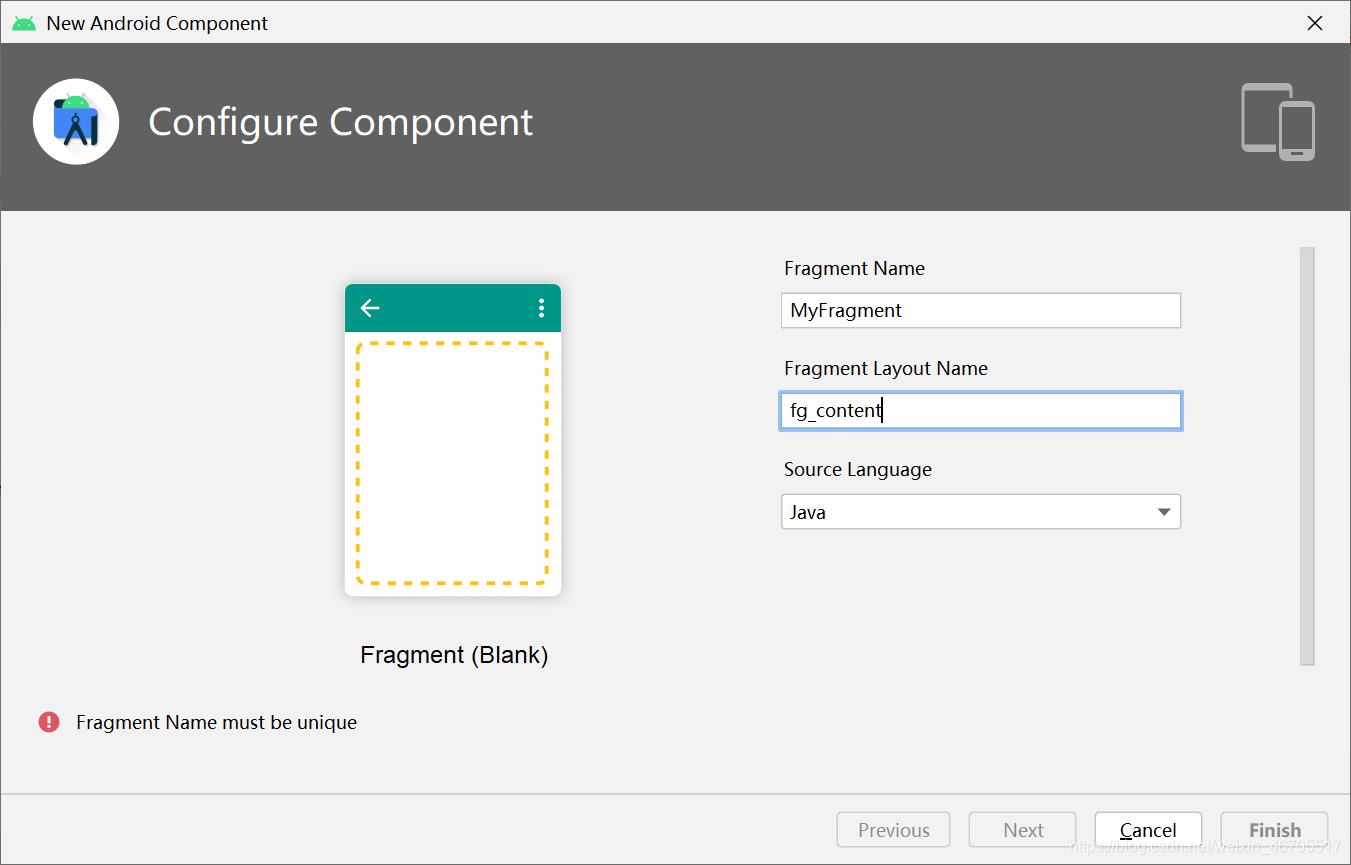
由于博客为我将项目编写完成后才加上写的,所以出现错误是由于我已经有了一个相同名字的文件。
<?xml version="1.0" encoding="utf-8"?>
<LinearLayout xmlns:android="http://schemas.android.com/apk/res/android"
    android:orientation="vertical" android:layout_width="match_parent"
    android:layout_height="match_parent"
    android:background="@color/bg_white">

    <TextView
        android:id="@+id/txt_content"
        android:layout_width="match_parent"
        android:layout_height="match_parent"
        android:gravity="center"
        android:text="呵呵"
        android:textColor="@color/text_yellow"
        android:textSize="20sp"/>

</LinearLayout>
package net.nell.fragmentdemo;

import android.os.Bundle;
import android.view.LayoutInflater;
import android.view.View;
import android.view.ViewGroup;
import android.widget.TextView;

import androidx.fragment.app.Fragment;

public class MyFragment extends Fragment {


    private String content;
    public MyFragment(String content) {


        this.content = content;
    }

    @Override
    public View onCreateView(LayoutInflater inflater, ViewGroup container, Bundle savedInstanceState) {


        View view = inflater.inflate(R.layout.fg_content,container,false);
        TextView txt_content = (TextView) view.findViewById(R.id.txt_content);
        txt_content.setText(content);
        return view;
    }
}
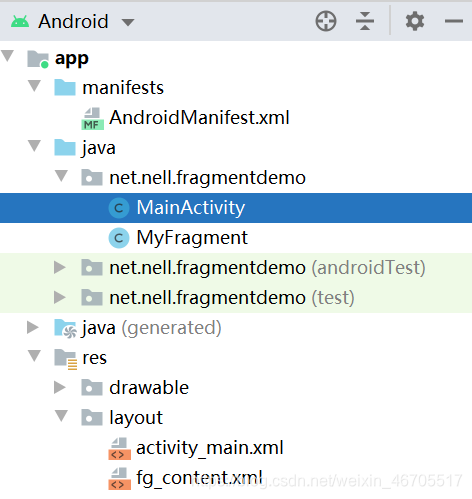
1.3.7 MainActivity.java
package net.nell.fragmentdemo;

import android.os.Bundle;
import android.view.View;
import android.view.Window;
import android.widget.FrameLayout;
import android.widget.TextView;

import androidx.appcompat.app.AppCompatActivity;
import androidx.fragment.app.FragmentManager;
import androidx.fragment.app.FragmentTransaction;

public class MainActivity extends AppCompatActivity implements View.OnClickListener{


    //UI Object
    private TextView txt_topbar;
    private TextView txt_channel;
    private TextView txt_message;
    private TextView txt_better;
    private TextView txt_setting;
    private FrameLayout ly_content;

    //Fragment Object
    private MyFragment fg1,fg2,fg3,fg4;
    private FragmentManager fManager;

    @Override
    protected void onCreate(Bundle savedInstanceState) {


        super.onCreate(savedInstanceState);
        requestWindowFeature(Window.FEATURE_NO_TITLE);
        setContentView(R.layout.activity_main);
        fManager = getSupportFragmentManager();
        bindViews();
        txt_channel.performClick();   //模拟一次点击,既进去后选择第一项
    }

    //UI组件初始化与事件绑定
    private void bindViews() {


        txt_topbar = (TextView) findViewById(R.id.txt_topbar);
        txt_channel = (TextView) findViewById(R.id.txt_channel);
        txt_message = (TextView) findViewById(R.id.txt_message);
        txt_better = (TextView) findViewById(R.id.txt_better);
        txt_setting = (TextView) findViewById(R.id.txt_setting);
        ly_content = (FrameLayout) findViewById(R.id.ly_content);

        txt_channel.setOnClickListener(this);
        txt_message.setOnClickListener(this);
        txt_better.setOnClickListener(this);
        txt_setting.setOnClickListener(this);
    }

    //重置所有文本的选中状态
    private void setSelected(){


        txt_channel.setSelected(false);
        txt_message.setSelected(false);
        txt_better.setSelected(false);
        txt_setting.setSelected(false);
    }

    //隐藏所有Fragment
    private void hideAllFragment(FragmentTransaction fragmentTransaction){


        if(fg1 != null)fragmentTransaction.hide(fg1);
        if(fg2 != null)fragmentTransaction.hide(fg2);
        if(fg3 != null)fragmentTransaction.hide(fg3);
        if(fg4 != null)fragmentTransaction.hide(fg4);
    }


    @Override
    public void onClick(View v) {


        FragmentTransaction fTransaction = fManager.beginTransaction();
        hideAllFragment(fTransaction);
        switch (v.getId()){


            case R.id.txt_channel:
                setSelected();
                txt_channel.setSelected(true);
                if(fg1 == null){


                    fg1 = new MyFragment("第一个Fragment");
                    fTransaction.add(R.id.ly_content,fg1);
                }else{


                    fTransaction.show(fg1);
                }
                break;
            case R.id.txt_message:
                setSelected();
                txt_message.setSelected(true);
                if(fg2 == null){


                    fg2 = new MyFragment("第二个Fragment");
                    fTransaction.add(R.id.ly_content,fg2);
                }else{


                    fTransaction.show(fg2);
                }
                break;
            case R.id.txt_better:
                setSelected();
                txt_better.setSelected(true);
                if(fg3 == null){


                    fg3 = new MyFragment("第三个Fragment");
                    fTransaction.add(R.id.ly_content,fg3);
                }else{


                    fTransaction.show(fg3);
                }
                break;
            case R.id.txt_setting:
                setSelected();
                txt_setting.setSelected(true);
                if(fg4 == null){


                    fg4 = new MyFragment("第四个Fragment");
                    fTransaction.add(R.id.ly_content,fg4);
                }else{


                    fTransaction.show(fg4);
                }
                break;
        }
        fTransaction.commit();
    }
}
在使用以上代码时,我有一个地方出错了。后来查看原因是因为在activity中无法使用getFragmentManager()。
通过查看源码可知,Acrivity中getFragmentManager( )用的是
**package android.app;**包下的代码,而Fragment是
package android.support.v4.app;
下的。这就好比有两大家族各族内的人员不能重名,package android.app
下有一个小明,而V4下也有个小明。那么自定义的Fragment是V4下的小明,如果在activity中用getFragmentManager( )强行给了android.app,那android.app坑定不会认同的。如果使用
getSupportFragmentManager()
就没问题了,因为他是V4下的,所以可用把这个小明送回V4。
1.3.8 运行效果
