一、文件的上传
1.upload.html
<!DOCTYPE html>
<html>
<head>
<meta charset="UTF-8">
<title>Insert title here</title>
</head>
<body>
	<!-- 设置表单的类型,是上传文件
			enctype="multipart/form-data"

		请求方式: 数据量比较大
			POST
	-->
	<form action="/springmvc/file/upload.do" method="POST" enctype="multipart/form-data">
		选择文件
			<input type="file" name="file" />
			<input type="submit" value="上传" />
	</form>
</body>
</html>
2.FileController.java
package com.yc.controller;

import java.io.File;
import javax.servlet.http.HttpServletRequest;
import javax.servlet.http.HttpSession;

import org.springframework.stereotype.Controller;
import org.springframework.web.bind.annotation.RequestMapping;
import org.springframework.web.bind.annotation.RequestParam;
import org.springframework.web.multipart.MultipartFile;

@Controller
@RequestMapping(value = "/file/")
public class FileController {

	@RequestMapping(value = "upload")
	// @RequestParam MultipartFile file 说明是获取前端传递过来的文件
	public String upload(@RequestParam MultipartFile file, HttpServletRequest request) {

		System.out.println("upload 进来的:" + file);
		// 拿到文件 ===> 保存到服务器目录

		String fileName = file.getOriginalFilename();

		System.out.println("fileName: " + fileName);

		// 1. 服务器的根目录
		// 当前线程 类加载的位置 找根路径的资源 转换为地址
		// String path =
		// Thread.currentThread().getContextClassLoader().getResource(".").getPath();

		// 网站根目录
		String path = request.getServletContext().getRealPath("/");

		System.out.println("path: " + path);

		// 2. 创建新文件
		// 新文件路径 . File.separator 获取系统的分隔符
		// / linux
		// \ windows
		// String newFilePath = path + File.separator + fileName;

		String newFilePath = path + File.separator;
		newFilePath += ("upload" + File.separator);
		newFilePath += fileName;

		// 自己的文件夹路径

		// 创建的新的文件
		File newFile = new File(newFilePath);

		// 判断文件夹路径是否存在?
		File parent = newFile.getParentFile();
		if (!parent.exists()) { // 如果父文件夹不存在
			parent.mkdirs(); // 那么就创建文件夹
		}

		// 将文件转换到新文件中
		try {
			file.transferTo(newFile);
		} catch (Exception e) {
			e.printStackTrace();
		}

		System.out.println(path);

		HttpSession session = request.getSession();

		session.setAttribute("img", fileName);

		return "upload-success.html";
	}
}
3.upload-success.html
<!DOCTYPE html>
<html>
<head>
<meta charset="UTF-8">
<title>Insert title here</title>
</head>
<body>
	上传成功!
</body>
</html>
4.springmvc.xml文件配置支持
<!-- 上传文件 -->
<bean id="multipartResolver" class="org.springframework.web.multipart.commons.CommonsMultipartResolver">
     <property name="defaultEncoding" value="utf-8" />

     <!-- 最大上传大小 104857600 字节 ~  100M -->
     <property name="maxUploadSize" value="104857600"/>

     <!-- 最大上传服务器的内存大小  -->
     <property name="maxInMemorySize" value="4096"/>
</bean>
5.测试

上传成功后会跳转至upload-success.html
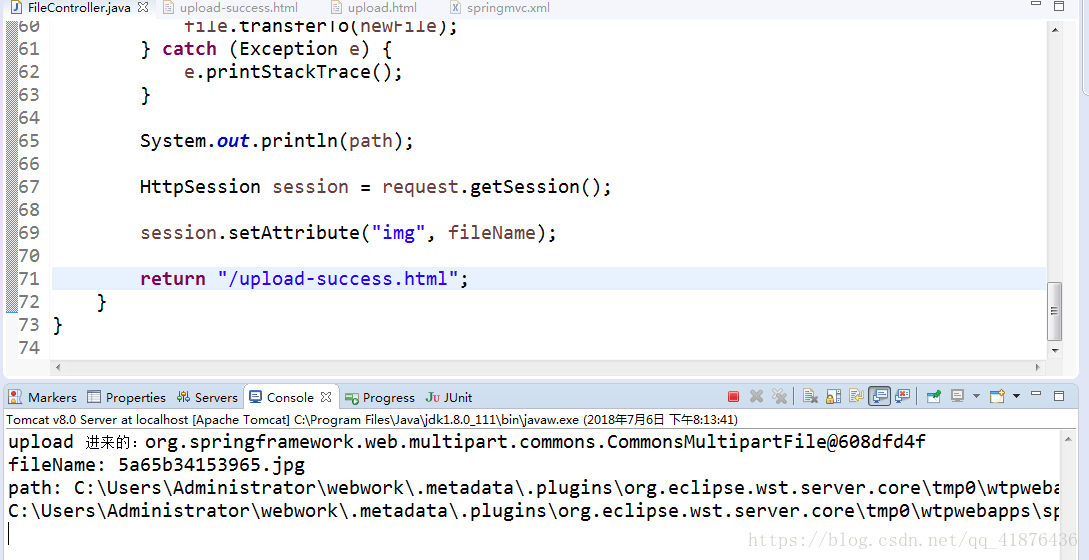
在eclipse控制台中也可以看到我们输出的图片存放路径
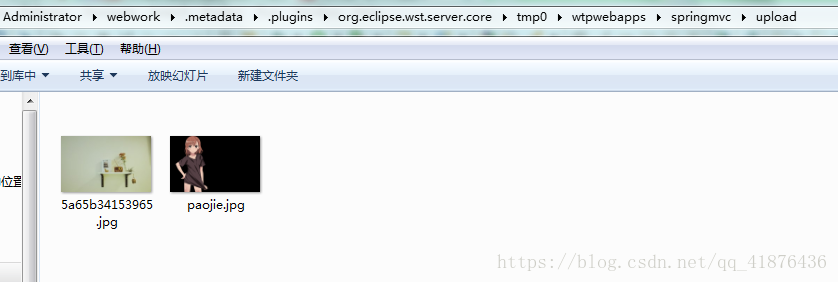
打开文件夹就可以看到上传的文件
//在上述类中,只用于测试是否上传成功,并未做文件重名会覆盖的问题修改。
二、文件下载
依然是我们的upload-success.html页面
<!DOCTYPE html>
<html>
<head>
<meta charset="UTF-8">
<title>Insert title here</title>
</head>
<body>
	上传成功!
<!-- /springmvc/file/download
 -->
<a href="/springmvc/file/download.do">下载</a>
</body>
</html>
<script src="/springmvc/js/jquery.min.js"></script>
<script>
//http://localhost:8080/springmvc/file/getImgName.do
$.ajax({
	url: "/springmvc/file/getImgName.do",
	dataType: "json",
	success: function(data) {
		// alert(data.img)
		var filePath = "/springmvc/upload/" + data.img;
		// 利用 jQuery生成1张图片
		var oImg = $('<img src="'   + filePath +  '" />')
		// 添加到body元素
		$("body").append(oImg);
	}
})
</script>
FileController.java文件中加入两个方法
@ResponseBody // 返回结果是1个json数据
	@RequestMapping("getImgName")
	public Map<String, Object> getImgName(HttpSession session) {

		String img = (String) session.getAttribute("img");

		Map<String, Object> map = new HashMap<String, Object>();

		map.put("img", img);

		return map;
	}
@RequestMapping(value = "download")
// HttpServletResponse response 向页面中输出内容
public String download(HttpSession session, HttpServletRequest request, HttpServletResponse response) {
// 1. 找到文件
String fileName = (String) session.getAttribute("img");
response.setCharacterEncoding("utf-8");
response.setContentType("multipart/form-data");
// 告诉浏览器,当前传输的内容是1个附件文件
response.setHeader("Content-Disposition", "attachment;fileName=" + fileName);
// 获取到上传文件的路径
String path = request.getServletContext().getRealPath("upload");
String filePath = path + File.separator + fileName;
try {
FileInputStream is = new FileInputStream(filePath);
// 获取输出的对象
ServletOutputStream os = response.getOutputStream();
// 创建数组值
byte[] b = new byte[1024];
int len = 0;
// 如果输入流中一直有内容的话,就一直读
while ((len = is.read(b)) > 0) {
os.write(b);
}
// 关闭http输出流
os.close();
} catch (Exception e) {
// TODO Auto-generated catch block
e.printStackTrace();
}
return "/file/upload-success.html";
}测试

提示文件下载成功。