前言:
本章内容的承接:Linux运维之搭建Lnmp架构(1)——Mysql、PHP源码安装
环境相同
一、获取Nginx源码包,解压
大家可以在Ngnix官网下载: http://nginx.org/
tar zxf nginx-1.14.0.tar.gz
二、进入目录,删除版本号信息
cd nginx-1.14.0

vim src/core/nginx.h
#define NGINX_VER          "nginx/"

三、关闭debug日志
vim auto/cc/gcc

171 # debug
172 #CFLAGS="$CFLAGS -g"

四、安装软件包—用pcre来解决C语言中使用正则表达式的问题
yum install pcre-devel -y
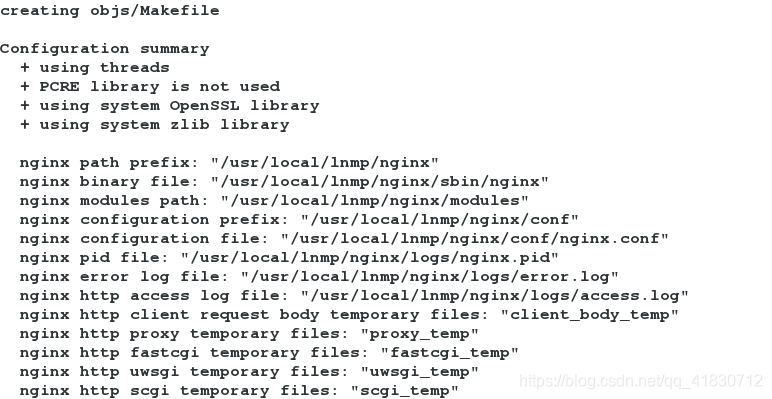
五、系统上测试存在的特性
./configure --prefix=/usr/local/lnmp/nginx --with-threads --with-file-aio --with-http_ssl_module --with-http_stub_status_module --user=nginx --group=nginx
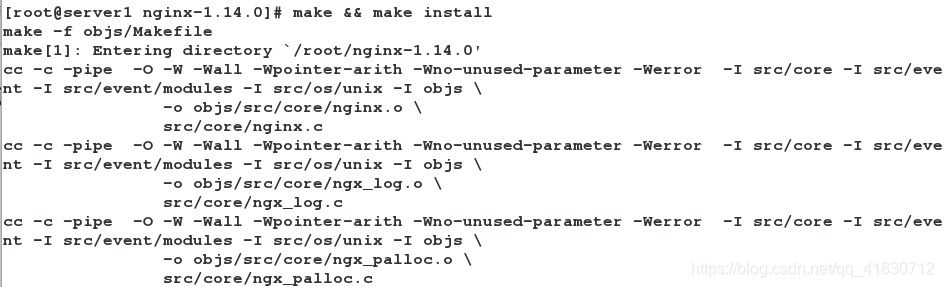
六、编译安装
make && make install
七、修改配置文件
vim /usr/local/lnmp/nginx/conf/nginx.conf
修改内容:
1
2 user nginx nginx;
3 worker_processes auto;
43 location / {
44 root html;
45 index index.php index.html index.htm;
46 }
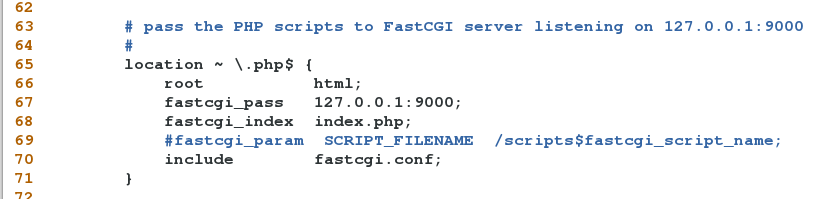
65 location ~ \.php$ {
66 root html;
67 fastcgi_pass 127.0.0.1:9000;
68 fastcgi_index index.php;
69 #fastcgi_param SCRIPT_FILENAME /scripts$fastcgi_script_name;
70 include fastcgi.conf;
71 }
八、检查是否出错
[root@server1 sbin]# cd /usr/local/lnmp/nginx/sbin
[root@server1 sbin]# ls
nginx
[root@server1 sbin]# ./nginx -t
nginx: the configuration file /usr/local/lnmp/nginx/conf/nginx.conf syntax is ok
nginx: configuration file /usr/local/lnmp/nginx/conf/nginx.conf test is successful

查看nginx的信息:
[root@server1 sbin]# ./nginx -v

如果没有删除版本信息,这里就会把nginx的版本暴露出来,不安全!
[root@server1 sbin]# ./nginx -V

这里会显示我们编译时加了什么参数。
九、制作软链接及启动、查看端口
制作软链接
[root@server1 sbin]# ln -s /usr/local/lnmp/nginx/sbin/nginx /usr/local/sbin/
[root@server1 sbin]# nginx -t
nginx: the configuration file /usr/local/lnmp/nginx/conf/nginx.conf syntax is ok
nginx: configuration file /usr/local/lnmp/nginx/conf/nginx.conf test is successful

启动nginx,查看端口
[root@server1 sbin]# nginx 				#启动
[root@server1 sbin]# netstat -tnlp
Active Internet connections (only servers)
Proto Recv-Q Send-Q Local Address               Foreign Address             State       PID/Program name
tcp        0      0 0.0.0.0:80                  0.0.0.0:*                   LISTEN      20877/nginx
tcp        0      0 0.0.0.0:22                  0.0.0.0:*                   LISTEN      927/sshd
tcp        0      0 127.0.0.1:25                0.0.0.0:*                   LISTEN      1003/master
tcp        0      0 127.0.0.1:9000              0.0.0.0:*                   LISTEN      15503/php-fpm
tcp        0      0 :::22                       :::*                        LISTEN      927/sshd
tcp        0      0 ::1:25                      :::*                        LISTEN      1003/master

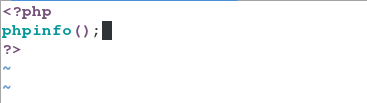
十、编写默认发布页,测试
[root@server1 sbin]# vim /usr/local/lnmp/nginx/html/index.php

<?php
phpinfo();
?>
测试:浏览器输入:172.25.75.1
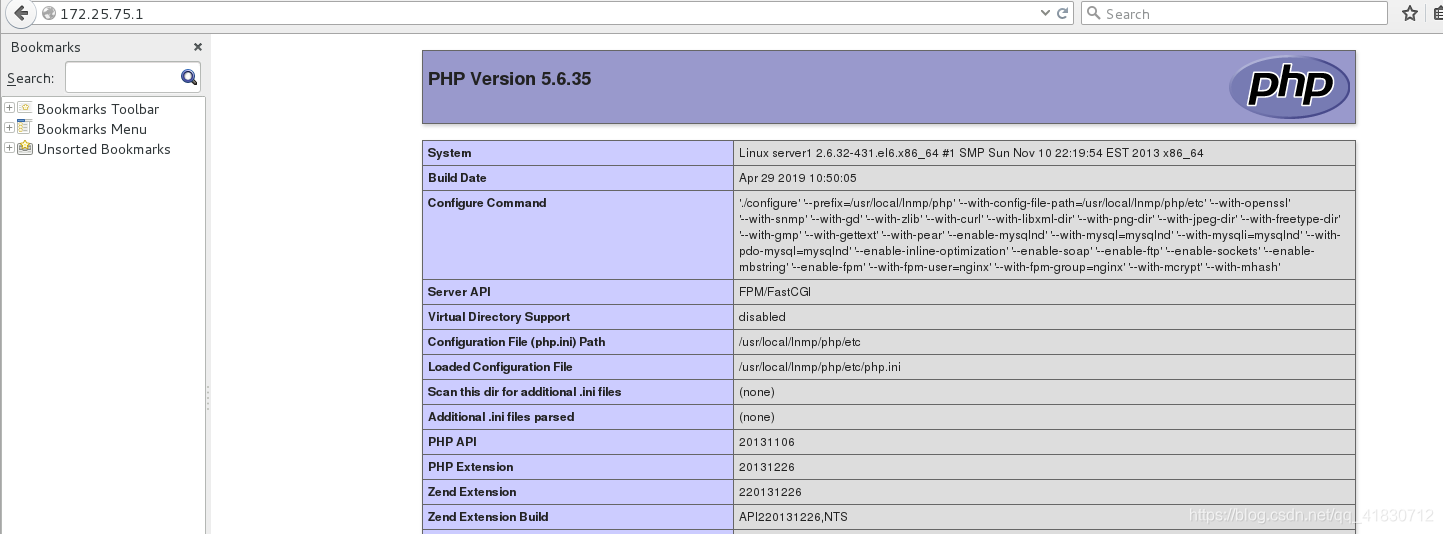
如图出现php的默认发布页,则说明nginx搭建成功!!!