一、什么是lnmp
LNMP是指一组通常一起使用来运行动态网站或者服务器的自由软件名称首字母缩写。L指Linux,N指Nginx,M一般指MySQL,也可以指MariaDB,P一般指PHP,也可以指Perl或Python。
LNMP代表的就是:Linux系统下Nginx+MySQL+PHP这种网站服务器架构。
php:一种脚本语言
二、lnmp的运行原理
浏览器发送http request请求到服务器(Nginx),服务器响应并处理web请求。如果是静态文本直接返回,否则将脚本(PHP)通过接口传输协议(网关协议)PHP-FCGI(fast-cgi)传输给PHP-FPM(进程管理程序),然后PHP-FPM调用PHP解析器的其中一个进程PHP-CGI来解析php脚本信息。【PHP-FPM在启动时启动了多个PHP-CGI子进程,并发执行。】然后将解析后的脚本返回到PHP-FPM,PHP-FPM再通过fast-cgi的形式将脚本信息传送给Nginx。服务器再通过Http response的形式传送给浏览器。浏览器再进行解析与渲染然后进行呈现。
三、mysql的安装
环境:一个内核20G左右的虚拟机server1,否则后面会报错
需要的安装包:
mysql-boost-5.7.17.tar.gz
cmake-2.8.12.2-4.el6.x86_64.rpm
1、解压安装包,建立lnmp目录
tar zxf mysql-boost-5.7.17.tar.gz
mkdir /usr/local/lnmp/

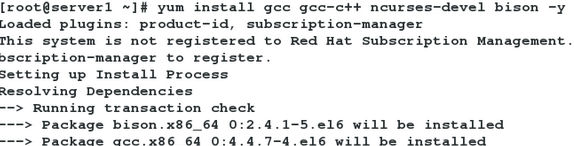
2、下载编译所需的包
yum install gcc gcc-c++ ncurses-devel bison -y
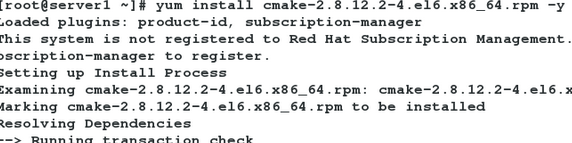
yum install cmake-2.8.12.2-4.el6.x86_64.rpm -y
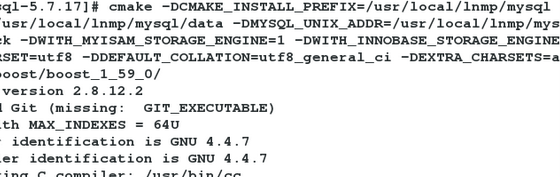
3、编译
cd mysql-5.7.17/
cmake -DCMAKE_INSTALL_PREFIX=/usr/local/lnmp/mysql -DMYSQL_DATADIR=/usr/local/lnmp/mysql/data -DMYSQL_UNIX_ADDR=/usr/local/lnmp/mysql/data/mysql.sock -DWITH_MYISAM_STORAGE_ENGINE=1 -DWITH_INNOBASE_STORAGE_ENGINE=1 -DDEFAULT_CHARSET=utf8 -DDEFAULT_COLLATION=utf8_general_ci -DEXTRA_CHARSETS=all -DWITH_BOOST=boost/boost_1_59_0/
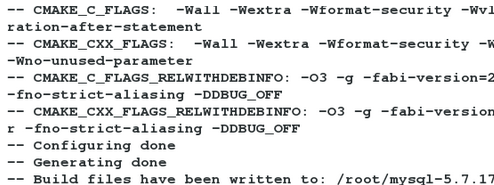
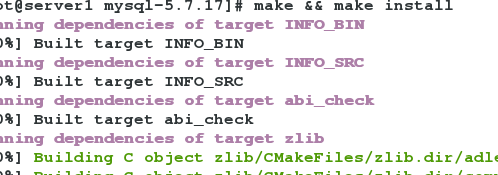
4、安装
make && make install
5、添加mysql用户及用户组
groupadd -g 27 mysql
useradd -u 27 -g 27 mysql -s /sbin/nologin
6、配置mysql环境变量
vim ~/.bash_profile
# User specific environment and startup programs

PATH=$PATH:$HOME/bin
PATH=$PATH:$HOME/bin:/usr/local/lnmp/mysql/bin

source ~/.bash_profile
7、配置mysql配置文件
cd support-files/
cp my-default.cnf /etc/my.cnf
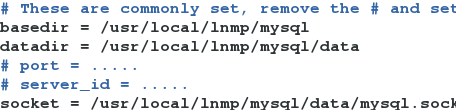
vim /etc/my.cnf
basedir = /usr/local/lnmp/mysql
datadir = /usr/local/lnmp/mysql/data
# port = .....
# server_id = .....
socket = /usr/local/lnmp/mysql/data/mysql.sock
chown root.mysql /usr/local/lnmp/mysql -R
8、制作mysql服务的启动脚本
[root@server1 support-files]# cd /usr/local/lnmp/mysql/support-files/
[root@server1 support-files]# cp mysql.server /etc/init.d/mysqld
[root@server1 support-files]# chown root.root /etc/init.d/mysqld
[root@server1 support-files]# ll /etc/init.d/mysqld
-rwxr-xr-x 1 root root 10916 Apr 24 18:13 /etc/init.d/mysqld
9、初始化
mysqld --user=mysql --initialize		#最后会给一个密码,之后要用
chown mysql.mysql /usr/local/lnmp/mysql/data/ -R
/etc/init.d/mysqld start
10、mysql安全初始化
[root@server1 support-files]# mysql_secure_installation

Securing the MySQL server deployment.

Enter password for user root: 			# 这里输入初始化给的初始密码

The existing password for the user account root has expired. Please set a new password.

New password:

Re-enter new password:

VALIDATE PASSWORD PLUGIN can be used to test passwords
and improve security. It checks the strength of password
and allows the users to set only those passwords which are
secure enough. Would you like to setup VALIDATE PASSWORD plugin?

Press y|Y for Yes, any other key for No: No
Using existing password for root.
Change the password for root ? ((Press y|Y for Yes, any other key for No) :

 ... skipping.
By default, a MySQL installation has an anonymous user,
allowing anyone to log into MySQL without having to have
a user account created for them. This is intended only for
testing, and to make the installation go a bit smoother.
You should remove them before moving into a production
environment.

Remove anonymous users? (Press y|Y for Yes, any other key for No) :

 ... skipping.


Normally, root should only be allowed to connect from
'localhost'. This ensures that someone cannot guess at
the root password from the network.

Disallow root login remotely? (Press y|Y for Yes, any other key for No) :

 ... skipping.
By default, MySQL comes with a database named 'test' that
anyone can access. This is also intended only for testing,
and should be removed before moving into a production
environment.


Remove test database and access to it? (Press y|Y for Yes, any other key for No) :

 ... skipping.
Reloading the privilege tables will ensure that all changes
made so far will take effect immediately.

Reload privilege tables now? (Press y|Y for Yes, any other key for No) :

 ... skipping.
All done!
11、测试
mysql -p
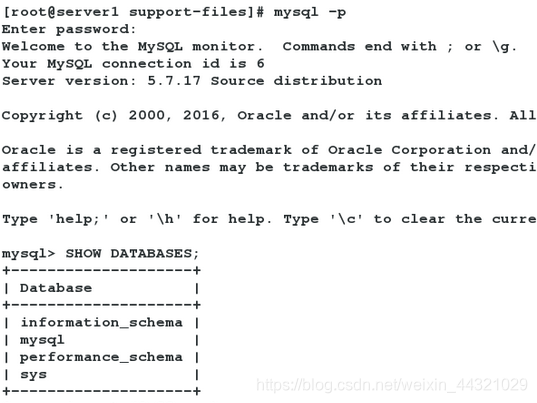
mysql安装成功!!
四、安装php
安装所需安装包:
php-5.6.35.tar.bz2
libmcrypt-2.5.8-9.el6.x86_64.rpm
libmcrypt-devel-2.5.8-9.el6.x86_64.rpm
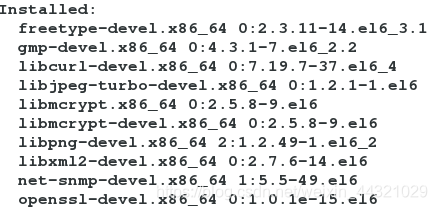
1、解决安装php的依赖
yum install -y net-snmp-devel libmcrypt-* gmp-devel-4.3.1-7.el6_2.2.x86_64 freetype-devel 2:libpng-devel-1.2.49-1.el6_2.x86_64 libjpeg-turbo-devel-1.2.1-1.el6.x86_64 libcurl-devel openssl-devel libxml2-devel
2、解压安装包
tar jxf php-5.6.35.tar.bz2

3、编译
cd cd php-5.6.35

./configure --prefix=/usr/local/lnmp/php --with-config-file-path=/usr/local/lnmp/php/etc --with-openssl --with-snmp --with-gd --with-zlib --with-curl --with-libxml-dir --with-png-dir --with-jpeg-dir --with-freetype-dir --with-gmp --with-gettext --with-pear --enable-mysqlnd --enable-inline-optimization --enable-soap --enable-ftp --enable-sockets --enable-mbstring --enable-fpm --with-fpm-user=nginx --with-fpm-group=nginx --with-mcrypt --with-mhash
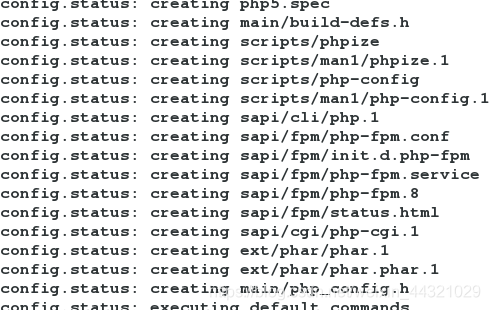
4、安装
make && make install

5、复制并配置php配置文件,添加nginx用户
[root@server1 php]# cd /usr/local/lnmp/php/etc/
[root@server1 etc]# ls
pear.conf  php-fpm.conf.default
useradd nginx
[root@server1 etc]# cp php-fpm.conf.default php-fpm.conf
[root@server1 etc]# vim php-fpm.conf

 25 pid = run/php-fpm.pid

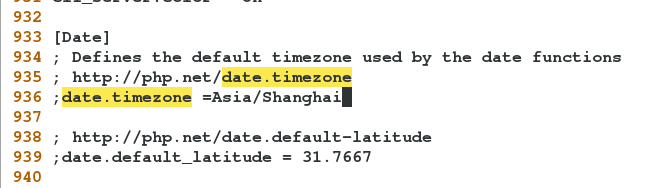
6、复制文件,修改时区
[root@server1 fpm]# cp ~/php-5.6.35/php.ini-production /usr/local/lnmp/php/etc/php.ini
[root@server1 fpm]# vim /usr/local/lnmp/php/etc/php.ini
7、配置php服务启动脚本
[root@server1 php-5.6.35]# cd ~/php-5.6.35/sapi/fpm/
[root@server1 fpm]# cp init.d.php-fpm /etc/init.d/php-fpm
[root@server1 fpm]# chmod +x /etc/init.d/php-fpm、

8、测试启动php服务
/etc/init.d/php-fpm start
五、安装Nginx
需要安装包:nginx-1.14.0.tar.gz
1、解压
tar zxf nginx-1.14.0.tar.gz
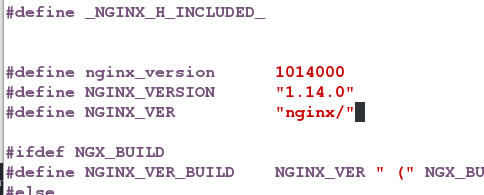
2、删除版本信息(为了安全)
cd nginx-1.14.0
vim src/core/nginx.h
#define NGINX_VER          "nginx/"
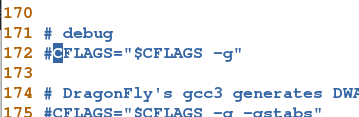
3、关闭debug日志
vim auto/cc/gcc

171 # debug
172 #CFLAGS="$CFLAGS -g"

4、安装pcre (用来解决c语言中的正则表达式)
yum install pcre-devel -y
5、测试存在的特性
--with-http_ssl_module --with-http_stub_status_module --user=nginx --group=nginx
6、编译安装
make && make install
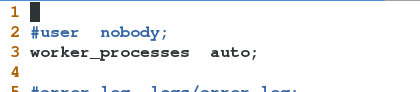
7、修改配置文件
vim /usr/local/lnmp/nginx/conf/nginx.conf
修改内容:
2 user  nginx nginx;
  3 worker_processes  auto;

 43         location / {
 44             root   html;
 45             index  index.php index.html index.htm;
 46         }

 65         location ~ \.php$ {
 66             root           html;
 67             fastcgi_pass   127.0.0.1:9000;
 68             fastcgi_index  index.php;
 69             #fastcgi_param  SCRIPT_FILENAME  /scripts$fastcgi_script_name;
 70             include        fastcgi.conf;
 71         }


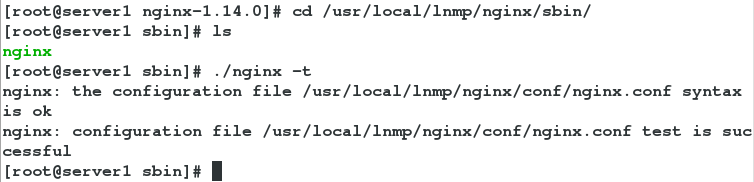
8、检查是否有错误
[root@server1 sbin]# cd /usr/local/lnmp/nginx/sbin
[root@server1 sbin]# ls
nginx
[root@server1 sbin]# ./nginx -t
nginx: the configuration file /usr/local/lnmp/nginx/conf/nginx.conf syntax is ok
nginx: configuration file /usr/local/lnmp/nginx/conf/nginx.conf test is successful
查看nginx的信息:
[root@server1 sbin]# ./nginx -v
发现没有版本信息,这样就会安全很多
9、制作软链接及启动、查看端口
制作软链接
[root@server1 sbin]# ln -s /usr/local/lnmp/nginx/sbin/nginx /usr/local/sbin/
[root@server1 sbin]# nginx -t
nginx: the configuration file /usr/local/lnmp/nginx/conf/nginx.conf syntax is ok
nginx: configuration file /usr/local/lnmp/nginx/conf/nginx.conf test is successful
9、启动nginx ,查看端口信息
[root@server1 sbin]# nginx 				#启动
[root@server1 sbin]# netstat -tnlp
Active Internet connections (only servers)
Proto Recv-Q Send-Q Local Address               Foreign Address             State       PID/Program name
tcp        0      0 0.0.0.0:80                  0.0.0.0:*                   LISTEN      20877/nginx
tcp        0      0 0.0.0.0:22                  0.0.0.0:*                   LISTEN      927/sshd
tcp        0      0 127.0.0.1:25                0.0.0.0:*                   LISTEN      1003/master
tcp        0      0 127.0.0.1:9000              0.0.0.0:*                   LISTEN      15503/php-fpm
tcp        0      0 :::22                       :::*                        LISTEN      927/sshd
tcp        0      0 ::1:25                      :::*                        LISTEN      1003/master
10、编写默认发布页,测试
[root@server1 sbin]# vim /usr/local/lnmp/nginx/html/index.php

<?php
phpinfo();
?>
11、测试,在网页上搜索172.25.60.1
如果出现空白页面,就在/usr/local/lnmp/ngin/conf/fastcgi_params里写入:
fastcgi_param SCRIPT_FILENAME$document_root$fastcgi_script_name;
然后重启;

出现php页面,则安装成功