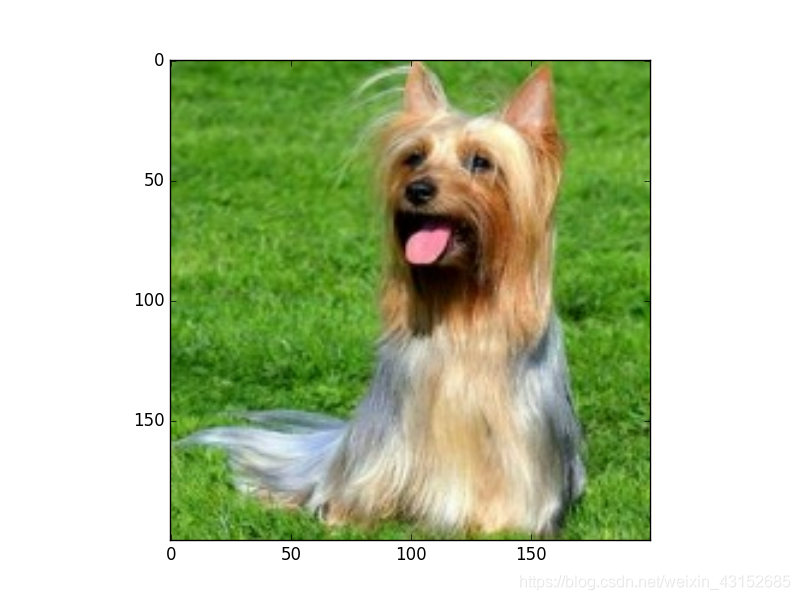
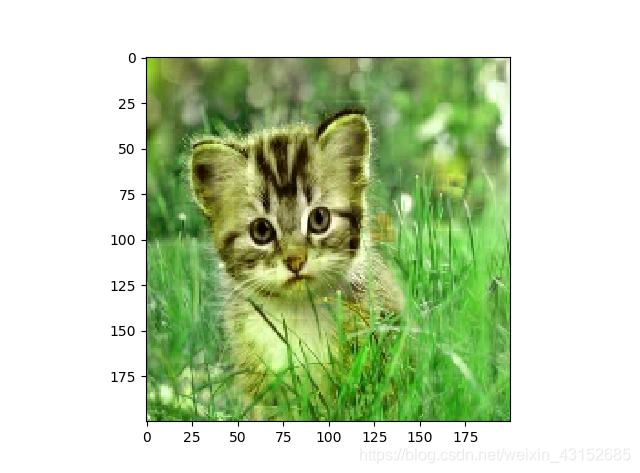
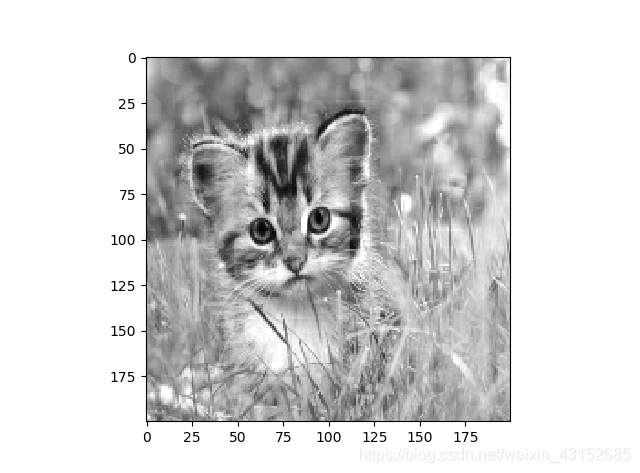
实验中使用的原始图像:
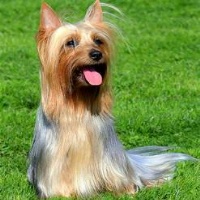
图像的原始像素为:200*200
1、图像编码处理:
图像可以看成一个三维矩阵,矩阵中的每一个数表示了图像上的不同位置,不同颜色的亮度。然而图像在存储时并不是直接记录这些矩阵中的数字,而是记录经过压缩编码之后的结果。将一张图像还原成一个三维矩阵,需要解码的过程。
以下代码示范了如何使用TensorFlow中对jepg格式图像的编码/解码过程:
import matplotlib.pyplot as plt
import tensorflow as tf

#读取图像的原始数据
image_raw_data=tf.gfile.FastGFile("dog",'rb').read()

with tf.Session()as sess:
    img_data=tf.image.decode_jpeg(image_raw_data)
    #将图像使用jpeg的格式解码从而得到图相对应的三维矩阵。Tensorflow还提供了tf.image.decode_png
    #函数对png格式的图像进行解码。解码之后的结果为一个张量,在使用它的取值之前需要明确调用运行的过程

    print(img_data.eval())

    #使用pyplot工具可视化得到的图像
    plt.imshow(img_data.eval())
    plt.show()

    #将数据的类型转化成实数方便下面的样例程序对图像进行处理
    img_data=tf.image.convert_image_dtype(img_data,dtype=tf.float32)

    #将表示一张图像的三维矩阵重新按照jpeg格式编码并存入文件中,打开这张图像,可以得到和原始图像一样的图像
    encoded_image=tf.image.encode_jpeg(img_data)
    with tf.gfile.GFile("/path/to/output","wb") as f:
        f.write(encoded_image.eval())
运行结果:
[[[ 72 134 35]
[ 75 137 38]
[ 74 136 37]
…
[ 81 140 48]
[ 88 147 55]
[ 93 152 60]]
[[ 80 142 43]
[ 85 147 46]
[ 82 144 45]
…
[ 83 142 50]
[ 92 151 59]
[ 99 158 66]]
[[ 90 152 51]
[ 88 151 47]
[ 82 144 43]
…
[ 80 139 47]
[ 87 146 54]
[ 92 151 59]]
…
[[ 96 148 50]
[109 161 63]
[ 91 143 45]
…
[ 88 147 37]
[ 82 141 33]
[115 174 66]]
[[100 152 54]
[101 153 55]
[ 86 138 40]
…
[ 94 153 45]
[103 160 55]
[ 97 154 49]]
[[ 57 109 11]
[ 83 135 37]
[ 78 130 32]
…
[ 95 154 46]
[ 97 154 49]
[ 90 147 42]]]
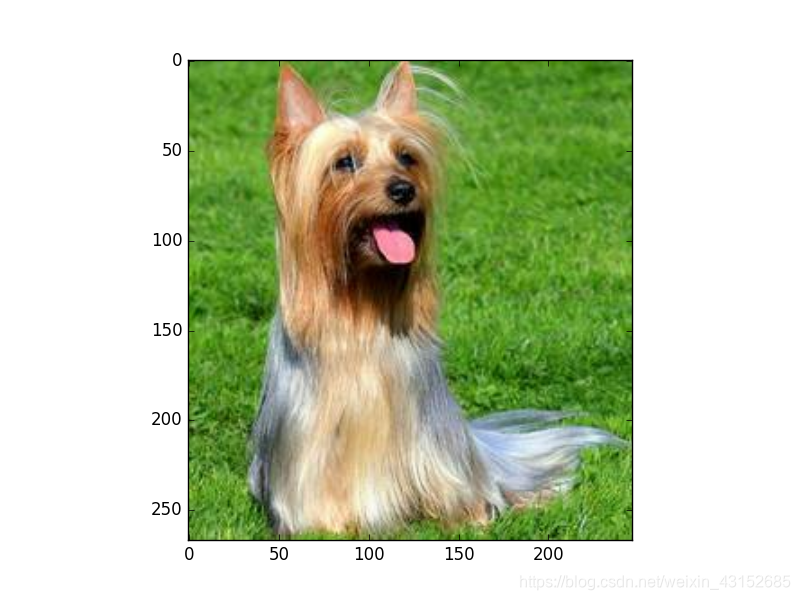
可视化图像:
2、图像大小调整
大小调整的任务:将图像的像素作为输入提供给神经网络之前,需要先将图像的大小统一。
TensorFlow提供了四种不同的方法,并将它们封装到tf.image.resize_images函数。
方法一:
resizd = tf.image.resize_images(img_data, [200, 200], method=0)
#通过 tf.image.resize_images函数调整图像的大小。第一个参数为原始图像,第二个参数为调整后图像的大小,method参数给出了调整图像大小的算法
Method=0:双线性插值法
Method=1:最近邻居法
Method=2:双三次插值法
Method=3:面积插值法
代码如下:
import matplotlib.pyplot as plt
import tensorflow as tf
#读取图像的原始图像 这里可能会出现decode‘utf-8’的error 读用rb就搞定
image_raw_data = tf.gfile.FastGFile('dog', 'rb',).read()#dog为图片的名称,如果在当前路径下就不用该路径了
with tf.Session() as sess:
#对图片进行解码 二进制文件解码为uint8
img_data = tf.image.decode_jpeg(image_raw_data)
#利用matplotlib显示图片
plt.imshow(img_data.eval())
plt.show()
################ 主要程序
#将图片转换为 float32类型 相当于归一化
#这样方便对图像数据进行处理
img_data = tf.image.convert_image_dtype(img_data, dtype=tf.float32)
#重新大小 第二个参数和第二个参数都为调整后的图像的大小 method 是调整图像大小的方法
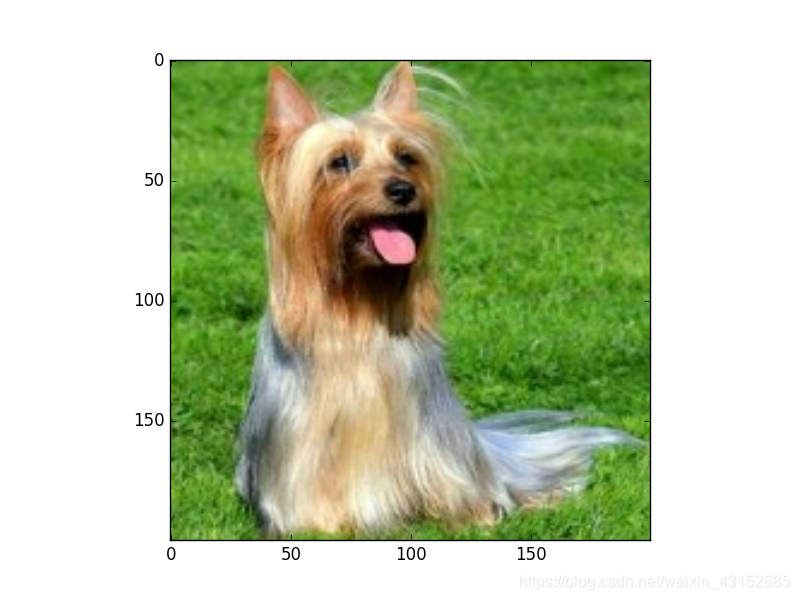
resizd = tf.image.resize_images(img_data, [100, 100], method=0)
plt.imshow(resizd.eval())
plt.show()
我将method取值为0、1、2、 3都运行了一下,对比不同图片的结果:
 原始图像:
原始图像:
 双线性插值法:
 最近邻居法:
 双三次插值法:
 面积插值法:
 不同的算法调整出来的结果会有细微差别,但不会相差太远。(确实没看出差别)
方法二:
TensorFlow还提供了API对图像进行裁剪或者填充,可通过tf.image.resize_image_with_crop_or_pad函数来调整图像大小。
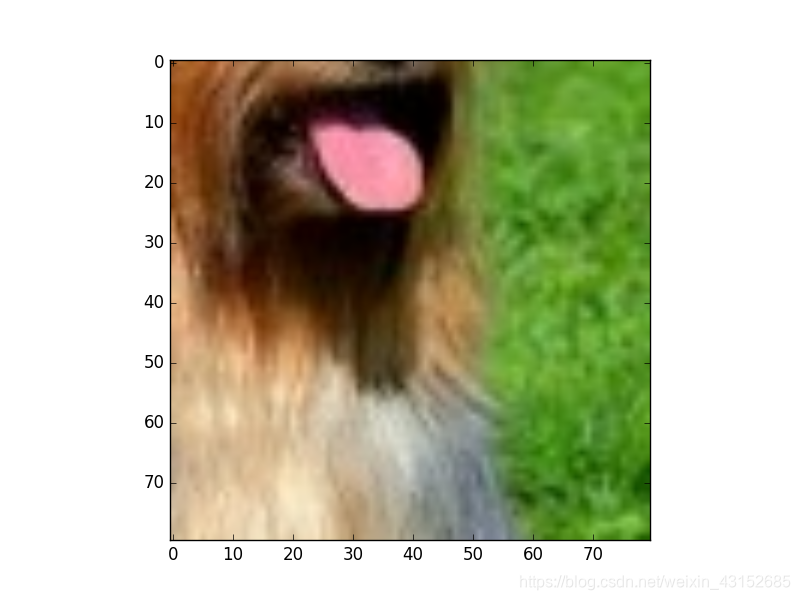
croped=tf.image.resize_image_with_crop_or_pad(img_data,80,80) #自动剪裁
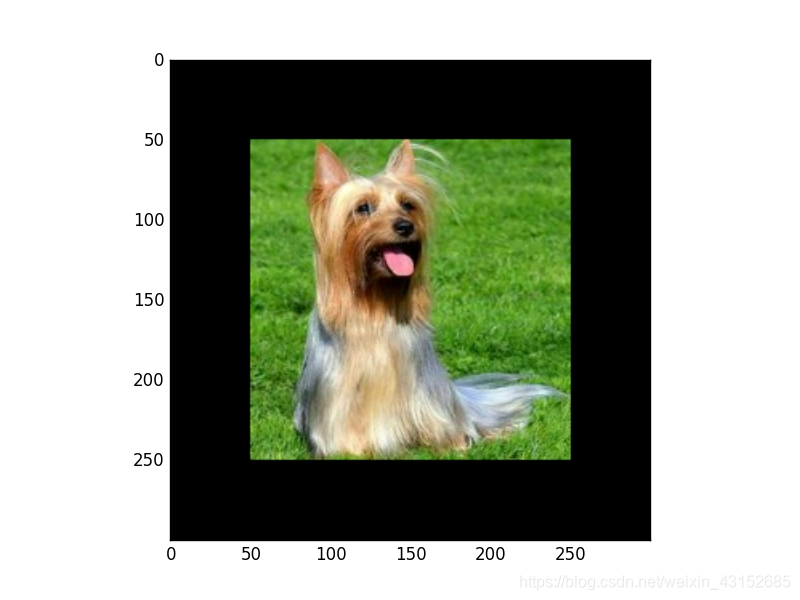
padded=tf.image.resize_image_with_crop_or_pad(img_data,300,300) #自动填充
#第一个参数为原始图像大小,后两个参数为目标图像大小。原始图像尺寸大于目标图像,会自动截取原始图像中居中的部分,如果小于,则会自动在原始图像四周填充全0背景。
自动剪裁到8080
 自动填充到300300
 3、还支持通过比例调整图像大小
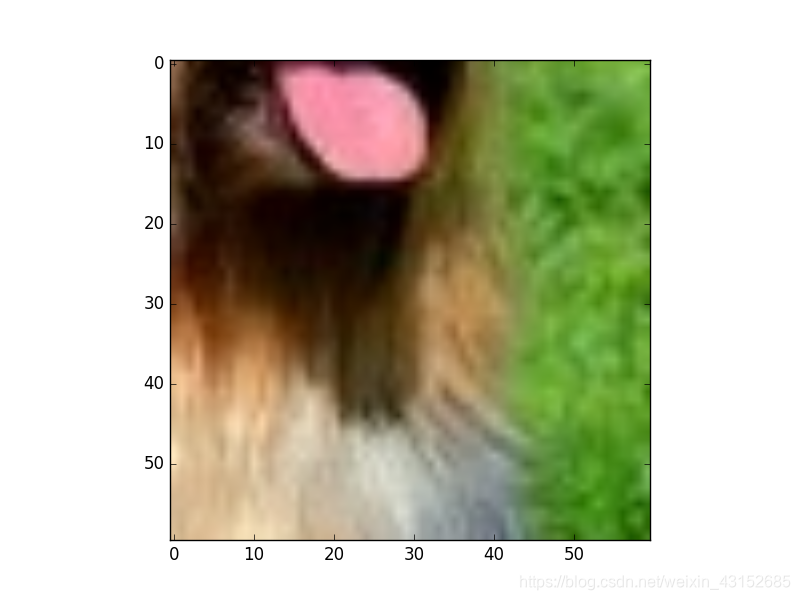
tf.image.central_crop函数可以按照比例裁剪图像
central_cropped=tf.image.central_crop(img_data,0.5)
    plt.imshow(central_cropped.eval())
    plt.show()
用了0,3 0.5两个比例
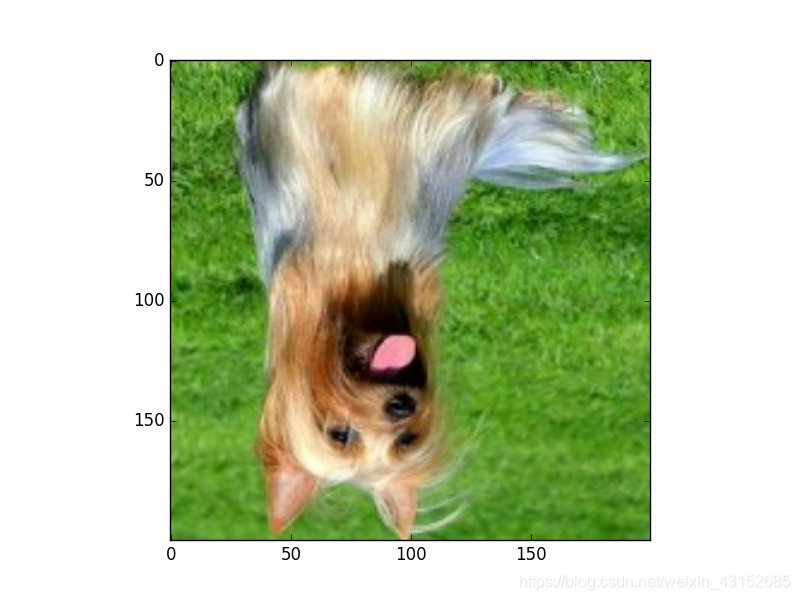
3、图像翻转:
flipped=tf.image.flip_up_down(img_data)
    plt.imshow(flipped.eval())
    plt.show()  #上下翻转
flipped=tf.image.flip_left_right(img_data)
    plt.imshow(flipped.eval())
    plt.show()  #左右翻转
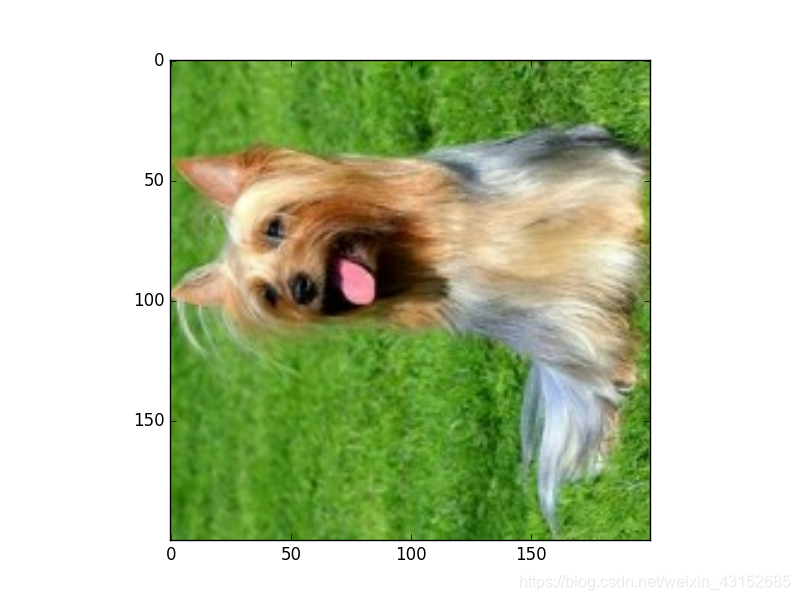
transposed=tf.image.transpose_image(img_data)
    plt.imshow(transposed.eval())
    plt.show()  #沿对角线翻转
4、图像色彩调整
原始图像
1)亮度:
adjusted=tf.image.adjust_brightness(img_data,-0.5)
    plt.imshow(adjusted.eval())
    plt.show()
adjusted=tf.image.adjust_brightness(img_data,0.5)
plt.imshow(adjusted.eval())
plt.show()
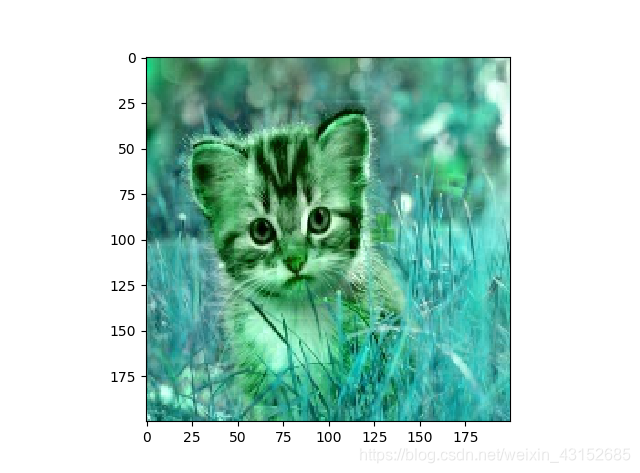
 2)对比度:
adjusted=tf.image.adjust_contrast(img_data,-5)
adjusted=tf.image.random_contrast(image,lower,upper)
[lower,upper]的范围随机调整图像的亮度。
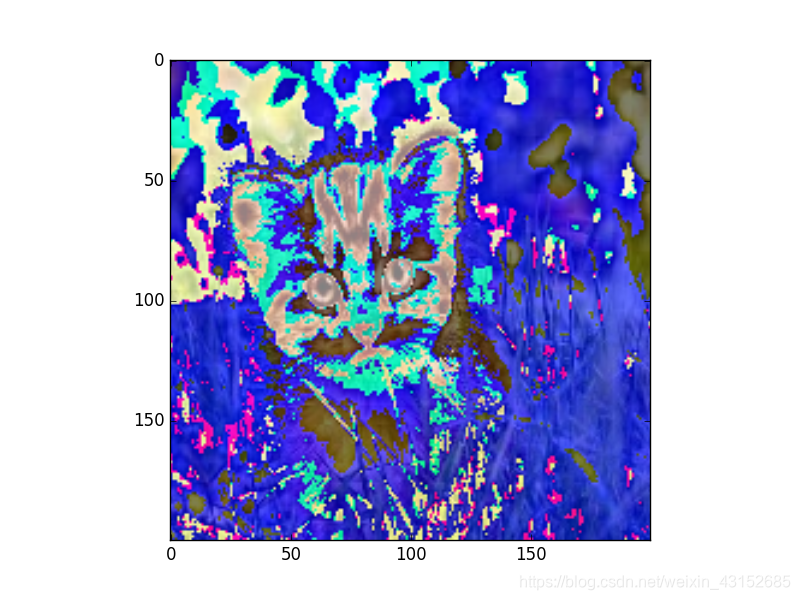
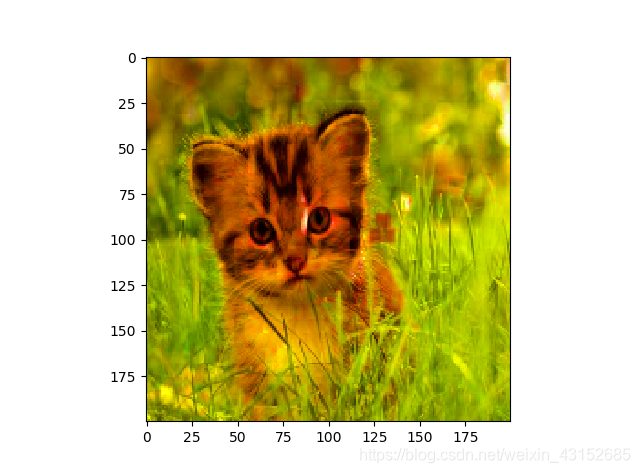
3)色相:
adjusted=tf.image.adjust_hue(img_data,0.1)
0.1、0.3、0.6……

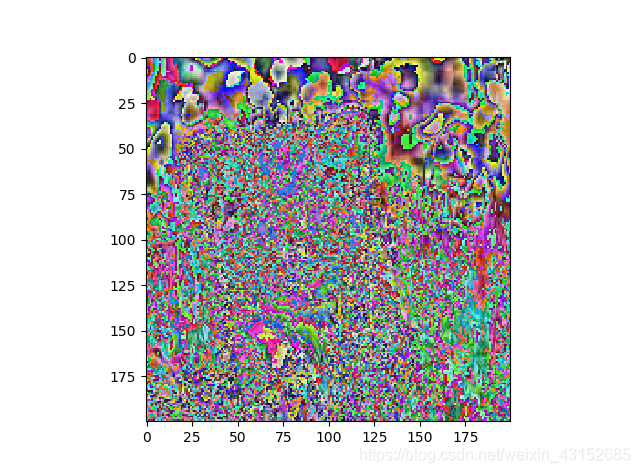
4)饱和度:
adjusted=tf.image.adjust_saturation(img_data,5)
-5、5
参考书:《TebsorFlow实战Google深度学习框架》