版权声明:本文为博主原创文章,遵循 CC 4.0 BY-SA 版权协议,转载请附上原文出处链接和本声明。
Mask R-CNN使用方法
背景:想要使用Mask R-CNN已经训练好的模型处理图片,进行物体检测
相关教程链接
相关教程:
https://github.com/matterport/Mask_RCNN
https://machinelearningmastery.com/how-to-perform-object-detection-in-photographs-with-mask-r-cnn-in-keras/
Mask R-CNN环境配置
- 环境:Anaconda3
环境配置步骤:
- (Windows下)使用管理员身份打开Anaconda Promp;(Linux下)
- 从github上得到 Mask R-CNN库:
git clone https://github.com/matterport/Mask_RCNN.git
下载完成后如下图所示:

如果尚未安装git,可以参考: Git安装教程
- clone完成后,在当前目录下会有文件夹
Mask_RCNN,接着:
cd Mask_RCNN
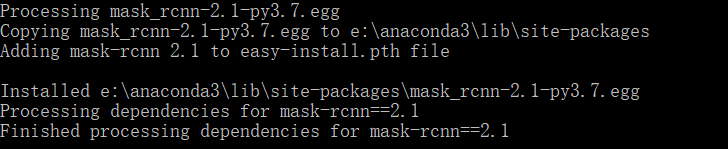
python setup.py install
安装完成后的截图:
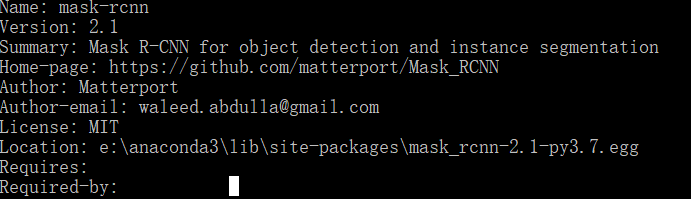
- 验证安装是否成功:
pip show mask-rcnn
安装成功时,图片如下:
使用Mask R-CNN处理图片
- 首先,下载Mask R-CNN在COCO数据集上训练好的权重,mask_rcnn_coco.h5下载地址
- 编写程序,加载mrcnn模型,加载权重,首先,必须通过实例MaskRCNN类定义模型。
- 此类需要配置对象作为参数。 配置对象定义了在训练或推理期间如何使用模型。
详细教程参考:https://github.com/matterport/Mask_RCNN/blob/master/samples/demo.ipynb
import mrcnn.model as modellib
from mrcnn import visualize

class_names = ['BG', 'person', 'bicycle', 'car', 'motorcycle', 'airplane',
               'bus', 'train', 'truck', 'boat', 'traffic light',
               'fire hydrant', 'stop sign', 'parking meter', 'bench', 'bird',
               'cat', 'dog', 'horse', 'sheep', 'cow', 'elephant', 'bear',
               'zebra', 'giraffe', 'backpack', 'umbrella', 'handbag', 'tie',
               'suitcase', 'frisbee', 'skis', 'snowboard', 'sports ball',
               'kite', 'baseball bat', 'baseball glove', 'skateboard',
               'surfboard', 'tennis racket', 'bottle', 'wine glass', 'cup',
               'fork', 'knife', 'spoon', 'bowl', 'banana', 'apple',
               'sandwich', 'orange', 'broccoli', 'carrot', 'hot dog', 'pizza',
               'donut', 'cake', 'chair', 'couch', 'potted plant', 'bed',
               'dining table', 'toilet', 'tv', 'laptop', 'mouse', 'remote',
               'keyboard', 'cell phone', 'microwave', 'oven', 'toaster',
               'sink', 'refrigerator', 'book', 'clock', 'vase', 'scissors',
               'teddy bear', 'hair drier', 'toothbrush']

# define configuration
class InferenceConfig(coco.CocoConfig):
    # Set batch size to 1 since we'll be running inference on
    # one image at a time. Batch size = GPU_COUNT * IMAGES_PER_GPU
    GPU_COUNT = 1
    IMAGES_PER_GPU = 1

# define the model
rcnn = modellib.MaskRCNN(mode='inference', model_dir='../sys3detection/models/', config=InferenceConfig())

# load coco model weights
 rcnn.load_weights('../sys3detection/models/mask_rcnn_coco.h5', by_name=True)


# get predicted result
results = rcnn.detect([img], verbose=0)
r = results[0]
visualize.display_instances(img, r['rois'], r['masks'], r['class_ids'],
                                    class_names, r['scores'])